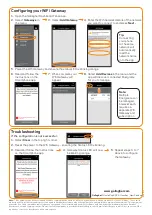
WiFi GATEWAY
INSTALLATION INSTRUCTIONS
Package contents
•
WiFi Gateway
•
1 x RJ12 cable
•
5V Power Supply
•
Instructions
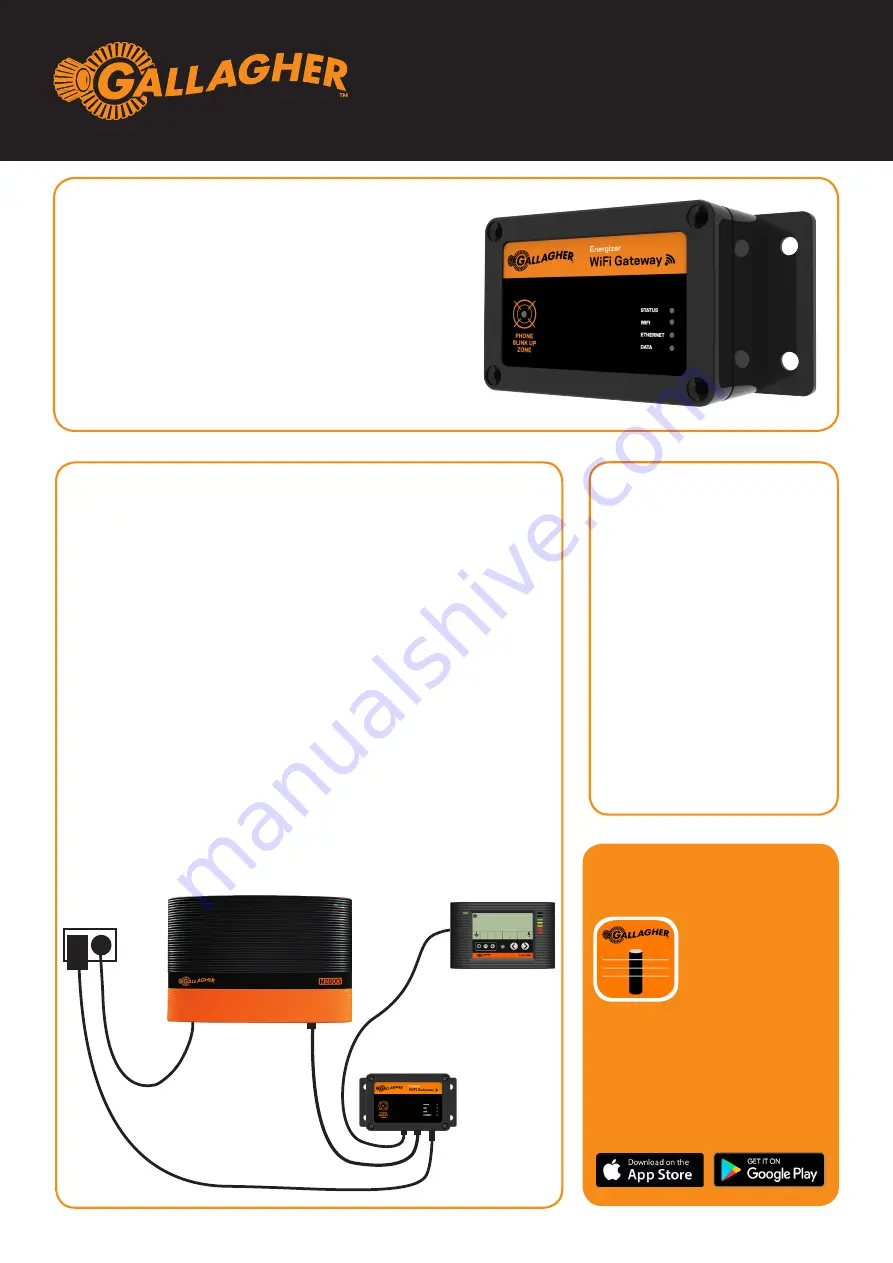
The Gallagher WiFi Gateway is compatible with all
i Series Energizers and provides the ability to manage
your i Series Energizer via the Gallagher Dashboard
Fence app.
WiFi Gateway Installation
Before installing your WiFi Gateway you need to ensure you are
able to provide WiFi network coverage at the install location of your
i Series Energizer. If you are in a remote location consider a WiFi
Mobile hotspot as a connectivity solution.
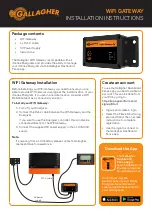
To install your WiFi Gateway:
1. Turn off your Energizer.
2. Connect the RJ12
cable between the Wifi Gateway and the
Energizer.
If you want to use the Energizer controller, this can also be
connected directly to the Wifi Gateway.
3. Connect the supplied 5V power supply to the 110V/230V
supply.
Note:
If powering from a 12V battery please contact a Gallagher
representative for assistance.
Create an account
To use the Gallagher Dashboard
Fence app you need to create an
account. This can be done from
your PC by going to:
https://ap.appsonfarm.com/
signup/Start
• Signup and create a login.
• Select the Fence Monitoring
plan and follow the on screen
instructions to complete
registration.
• Use the login to connect to
the Gallagher Dashboard
Fence app.
RJ12 cable
5V power
supply
Download the App
The
Gallagher
Dashboard
Fence app
is
downloadable from
the Apple App and
Google Play stores.
Control and view the
performance of your i Series
Energizer. Set alarms and
receive notifications direct to
your smartphone.


