background image

Main Features (Not including “S” series*):

•  Independent programming of each individual valve

•  Weekly or cyclical programming

•  4 operations per day at each valve in weekly program mode

•  Irrigation duration: 1 minute to 12 hours

•  Irrigation frequency in cyclical program: from once a day to once every thirty days

•  Waterproof (IP68)

•  Weather resistant

•  Irrigation duration modifiable as a function of percentage entered

•  Operation of 1 to 6 valves and from master valve

•  Option of manual computerized operation of each individual valve

•  Option of sequential manual operation

•  Powered by 9V alkaline batteries

•  Option to connect to a sensor

•  Operational temperature -10°C to 70°C

*  The “S” series features are detailed in Chapter 7

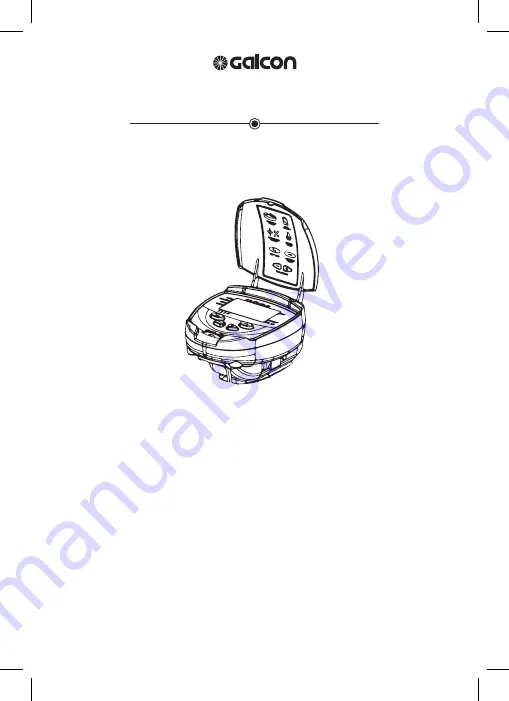
Battery Operated Irrigation Controller 

Installation and Operating Instructions

6100 Series

Содержание 6100 Series

Страница 1: ...ays Waterproof IP68 Weather resistant Irrigation duration modifiable as a function of percentage entered Operation of 1 to 6 valves and from master valve Option of manual computerized operation of eac...

Страница 2: ...Hour Time Format 11 4 3 Valve Selection 12 4 4 Setting the Irrigation Duration 12 4 5 Selecting Days of the Week for Irrigation 13 4 6 Setting Irrigation Start Times 14 4 7 Example Programming a Week...

Страница 3: ...in the Irrigation Program 22 6 5 Sensor 23 7 Instructions for Series S Controllers DC 1S DC 2S DC 4S DC 6S 24 7 1 Main Features of the S Series 24 7 2 Defining the Duration of Irrigation in a Periodi...

Страница 4: ...be opened regardless of the controller s operation This mode is useful when immediate irrigation is required and the controller is not assembled yet The operating lever is below the solenoid The lever...

Страница 5: ...eeds to be inserted and for 18V two batteries 2 NOTE AII controller display elements appear briefly on the display followed by a blinking at 12 00 The controller is now ready to be programmed Replace...

Страница 6: ...the solenoid 2 Position the solenoid wires so that they will go through the opening in the base Connect the controller 3 to the base NOTE Assembly of a filter upstream of the valve is mandatory 3 2 In...

Страница 7: ...ws 2 not included b Remove the bracket 3 from the controller and mount it on the wall adapter by sliding it downwards onto the mounting plate c Press the controller 4 into the bracket The controller f...

Страница 8: ...n airtight box 3 Connect the black wire coming out from the solenoid to the black wire of the controller according to the valve number The valve number is marked on the wires on the controller 4 Conne...

Страница 9: ...ng instructions need to be followed Connect the cables to the valves 3 using the special waterproof connectors 2 supplied with the product See illustration 1 Cut the cover of the cable coming out of t...

Страница 10: ...aid of 4 buttons Enter Button Used to switch between the desired programming modes Set Button Used to select the parameter to be changed e g hour minute etc The selected parameter can only be changed...

Страница 11: ...irrigation system at the correct times the current time and day of the week must first be set 1 Press Enter several times until the Clock appears 2 Press Set The hour digits will blink Set the curren...

Страница 12: ...display 3 Place the arrow in front of the valve you want to program using and 4 Press Enter to proceed to the next step DC4 valve manual now duration days starts 4 4 Setting the Irrigation Duration Th...

Страница 13: ...t day of the week You can select additional days of the week in the same manner 5 Canceling Scheduled Irrigation Days Bring the blinking arrow under the day you want to cancel Click Set The arrow belo...

Страница 14: ...ssing Plus or Minus Repeat actions 2 3 for programing II III IV if required 5 To cancel a specific start time select it by pressing Enter and press Set The hour digits will blink Press Plus or Minus u...

Страница 15: ...onday Press Set until the flashing arrow appears below Tuesday and then click on the plus symbol The arrow below Tuesday will stop flashing and move to the right to Wednesday Press Set twice to move t...

Страница 16: ...this operation we program the controller to operate the irrigation system once for a fixed number of days for the time allotted to irrigation Note The duration of the valve opening is determined accor...

Страница 17: ...he time display will flash 3 Set the desired opening time using or Pay attention to the AM and PM terms 4 Press Set until the number to the right of the start hour flashes the number above the word da...

Страница 18: ...ppear in the display After 5 seconds the remaining irrigation time appears counting down on the monitor To close manually press Enter until the manual watering icon appears and press in the display Th...

Страница 19: ...the display press and hold for 5 seconds Valve No 1 will open and operate for the duration of the programmed irrigation When valve No 1 closes valve No 2 will open and so on until the end All valves...

Страница 20: ...bled now 3 To return control to the controller press Enter until the clock icon appears and then press continuously until the icon disappears 4 Downtime may be carried out while the valve is turned on...

Страница 21: ...ually operating a computerized waiting valve the letter W Wait will appear on the display and the valve will open as soon as another valve closes 1 Press Enter until a clock is displayed 2 Wait until...

Страница 22: ...eries are low and are not replaced in time the battery icon will appear steadily All other displays will disappear all valves will close and programs will disappear Replace the batteries as soon as po...

Страница 23: ...s of dry contact N C sensors can be used The sensor connection is performed as described in Section 3 4 Wiring the controller to a two wire solenoid page 8 As long as the sensor does not close the cir...

Страница 24: ...that allows you to set part of the day the irrigation window in which only the defined periodic irrigation program will be carried out see Section 6 2 The irrigation window is set for a small irrigati...

Страница 25: ...and PM terms 4 Press Enter until the Close Window icon appears The screen will display 12 00 AM or the last window closing time entered 5 Set the desired window closing time using or note the AM and...

Страница 26: ...not irrigate Press to stop the sensor The word OFF will appear on the display Example 5 minutes of irrigation every 30 minutes from 9 00 AM to 5 00 PM Programming is done at 09 20 so the program will...

Страница 27: ...on The valve does not open in the automatic program or in computerized manual operation 1 The connection between the controller and the solenoid is faulty 1 Disconnect the solenoid from the controller...

Страница 28: ...tioning as a direct result of defective production by Galcon in relation to the material and the quality of work Galcon undertakes within a reasonable period of time to repair the defective product or...

Страница 29: ...alcon or its authorized reseller even if the products are marked by trademarks similar to the trademarks which are used by Galcon 7 After replacement or repair of the product the warranty for the new...

Страница 30: ...her document and or obligation and including any other warranty shall not be valid remedies and other conditions whether given verbally or in writing and or given explicitly or implicitly for a specif...

Страница 31: ...es cause harmful interference to radio or television reception which can be determined by turning the equipment off and on the user is encouraged to try to correct the interference by one or more of t...

Страница 32: ...GDB 622 Galcon Kfar Blum Tel 972 4 6900222 info galconc com www galconc com...

Отзывы: