Time-setting options
en
11
¡
Recommended oblong cookware
:
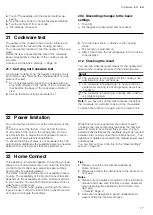
As two separate cooking zones
Recommended for cooking with two items of cook-
ware.
You can use the front and rear zone independently of
one another, and set a separate power level for each
zone.
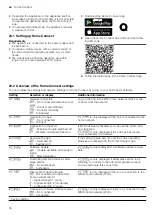
9.2 Flex Zone connect
By default, the flexible zone is configured as two separ-
ate cooking zones. Switch on the following function to
connect the cooking zones:
1.
Select one of the two cooking zones.
2.
Press .
a
The display lights up. The zone is connected.
Note:
If you move or lift the cookware from an active
connected cooking zone, an automatic search starts.
Each item of cookware that is found within the cooking
zone during this search is heated at the previously se-
lected power level.
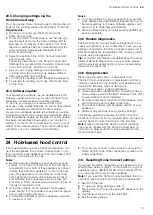
9.3 Flex Zone disconnecting
▶
Touch .
a
The cooking zones are separated and work inde-
pendently of each other.
10 Time-setting options
Your hob has various functions for setting the cooking
time:
¡
Switch-off timer
¡
Timer
¡
Runtime
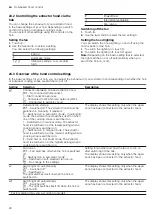
10.1 Switch-off timer
Allows you to program a cooking time for one or more
cooking zones. Once the time has elapsed, the cook-
ing zone is automatically switched off.
Switching on Switch-off timer
1.
Select the cooking zone and the power level.
2.
Touch .
a
lights up in the cooking zone.
3.
Use the rotary knob to select the cooking time.
a
The cooking time begins to count down.
a
Once the cooking time has elapsed, the cooking
zone is switched off and a signal tone sounds.
Note:
When you set a cooking time for a cooking zone
in which the Frying Sensor is activated, the cooking
time will not start counting down until the selected tem-
perature level has been reached.
Changing or switching off Switch-off timer
1.
Select the cooking zone and then touch .
2.
Use TwistPad to change the cooking time or set it to
to delete the cooking time.
10.2 Timer
Enables the activation of a timer of 0–99 minutes. This
function can be used independently of the cooking
zones and other settings. It does not automatically
switch off the cooking zones.
Switching on Timer
1.
Touch .
2.
Use the rotary knob to select the required time.
3.
Use to confirm the setting.
a
The time starts to elapse.
a
A signal tone sounds and the displays flash once
the time has elapsed.
Changing or switching off the Timer
1.
Touch .
2.
Change the running time using the rotary knob or
set it to
to delete the running time.
3.
Press to confirm.
Timer Plus
If you press for a few seconds before the signal tone
ends, the Runtime function is switched on. The display
shows the time that has elapsed since the end of the
programmed time for the Timer function. The time that
was previously set flashes Timer on the function dis-
play.
▶
Press and hold for a few seconds.
a
Runtime stops and the displays go out.
a
The function is switched off.
Содержание CI 292
Страница 1: ...en Information for Use CI 292 Induction hob Gaggenau ...
Страница 26: ......
Страница 27: ......


