G-SATA Installation Guide
Page 6
6.2
Connecting G-SATA to your Computer
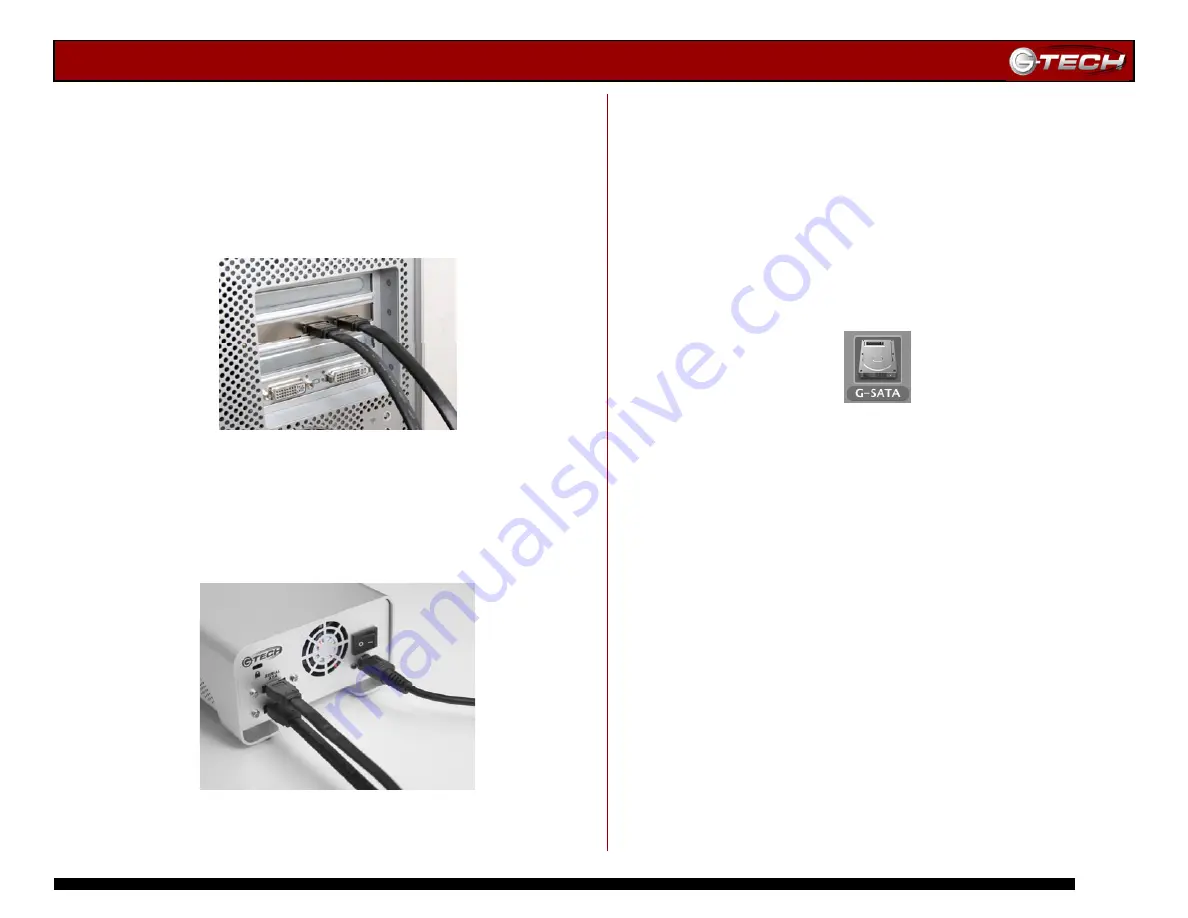
1. Attach the supplied SATA cables to the G-SATA PCI
adapter as shown below.
Note:
The supplied cables have different types of SATA connectors on each
end. The
L-shaped
connector attaches to the SATA PCI adapter. Be sure to
connect the cable using the proper orientation. It should snap easily into
place. Do not force the cable connectors into the adapter. Make certain
that the SATA cables are securely attached to the G-SATA PCI adapter.
6.3 Attaching the SATA and Power Cables to G-SATA
1. Attach the supplied SATA cables to the back of G-SATA
and attach the power supply cable as shown below.
Note:
Be sure to connect the cable using the proper orientation. It should
snap easily into place. Do not force the cable connectors into G-SATA.
Make certain that the SATA cables are securely attached to G-SATA.
2. Connect the supplied power cord to the Power Supply
“brick” and plug the other end in to a surge protector or
wall outlet.
7. INITIALIZING G-SATA
Now that G-SATA is physically connected to your computer, it
must be initialized for use with your operating system.
•
For Mac OS X installations, follow the instructions below
•
For Windows 2000/XP installations, proceed to Section 7.2
7.1
Mac OS X (10.4)
G-SATA is initialized at the factory as a striped (RAID 0)
Mac OS X volume. Power on G-SATA, wait 10 seconds, then
power on your Mac. G-SATA will mount on the desktop as
shown below.
Note:
G-SATA may also be initialized as two independent volumes or as a
mirrored (RAID 1)
volume for data security
.
Consult your Mac OS X
documentation on the steps required to re-initialize
as individual volumes
or as a mirror.
If it becomes necessary to re-initialize G-SATA as a striped
volume (RAID 0) for Mac OS X, follow the instructions on
the next page.
Содержание G-SATA
Страница 2: ...G SATA Installation Guide Page 2 ...
Страница 3: ...G SATA Installation Guide Page 3 ...


