USER GUIDE |
USB BACKUP HSM
Page
22
of 31
[9] USING WITH A KMES, RKMS, OR GUARDIAN
The USB Backup HSM can be used with a KMES Series 3, RKMS Series 3, or Guardian Series 3 for key and
database backup storage, ensuring that the data collected is kept secure.
[9.1] MANUAL BACKUP
The manual backup feature backs up all of the data contained within the database, and saves it to the
USB Backup HSM. This includes data for users, certificate authorities, host and networks, remote devices,
printers, logs, and keys (in cryptogram form), but does not include the Master File Key or user passwords, as
this information is stored on the Secure Cryptographic Device (SCD) in memory. The backup feature also does
not currently back up mailer templates.
In order to perform a backup, the current users must be members of a user group with the Database Backup
and Update System Configuration permissions enabled. The Admin Group has this permission enabled by
default.
1. Unlock the USB Backup HSM, and insert it into one of the USB ports on the rear of the unit.
NOTE: It will take approximately 20 seconds for the device to detect the USB Backup HSM. Before
conducting a database backup, ensure that the USB Backup HSM has a sufficient amount of free space
for the operation.
2. Select Configuration from the left toolbar.
3. In the
Configuration
window, select Backup.
4. Right-click on Backup then click Run. An error will appear if the USB Backup HSM is improperly
connected.
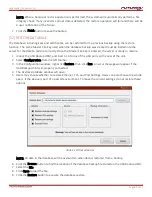
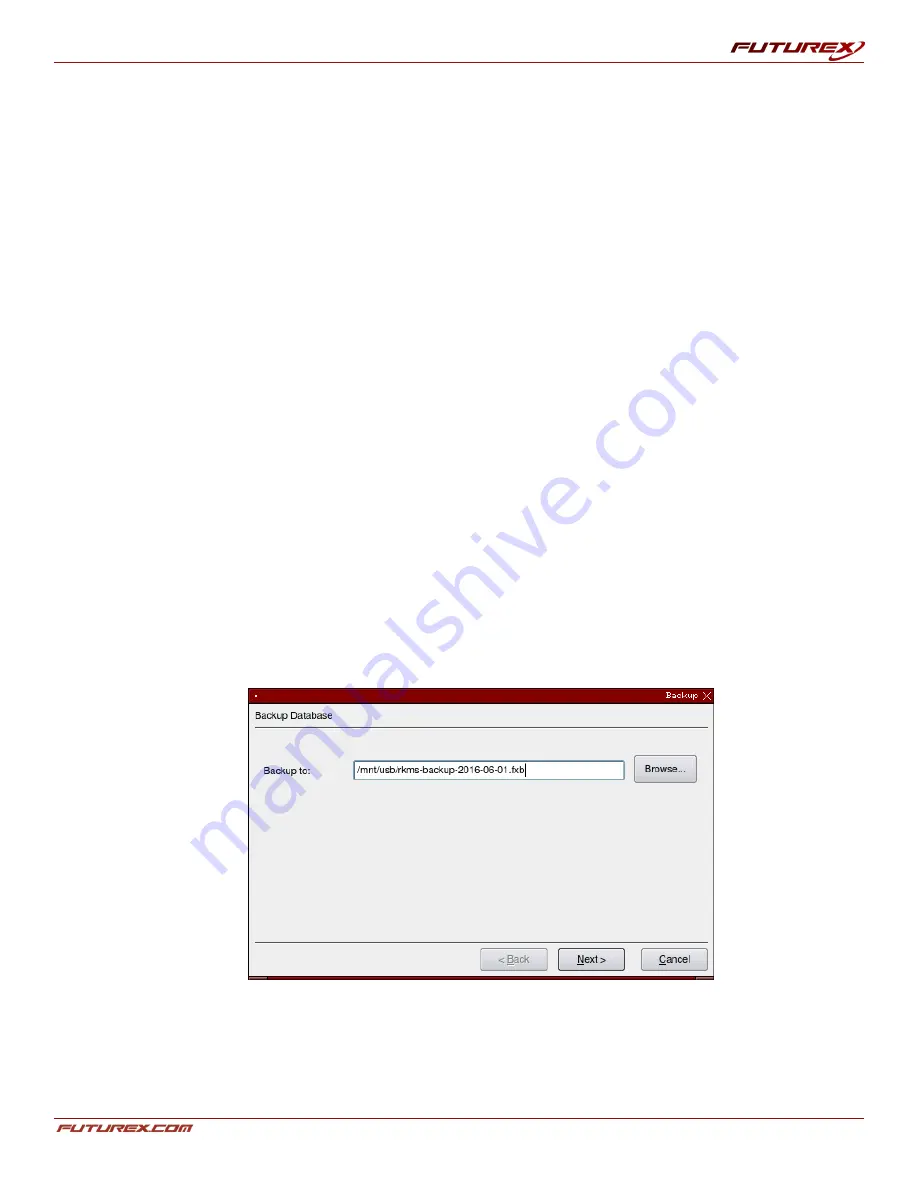
5. The
Backup Database
window opens with a default path and name for the backup file.
FIGURE: BACKUP WINDOW
6. Select the default backup location by clicking the Next button, or choose a different file backup location
by clicking the Browse button.

