


204
3. Enter the job menu name.
This may be up to 64 characters long.
4. Select the job button position, and select the [Edit] button.
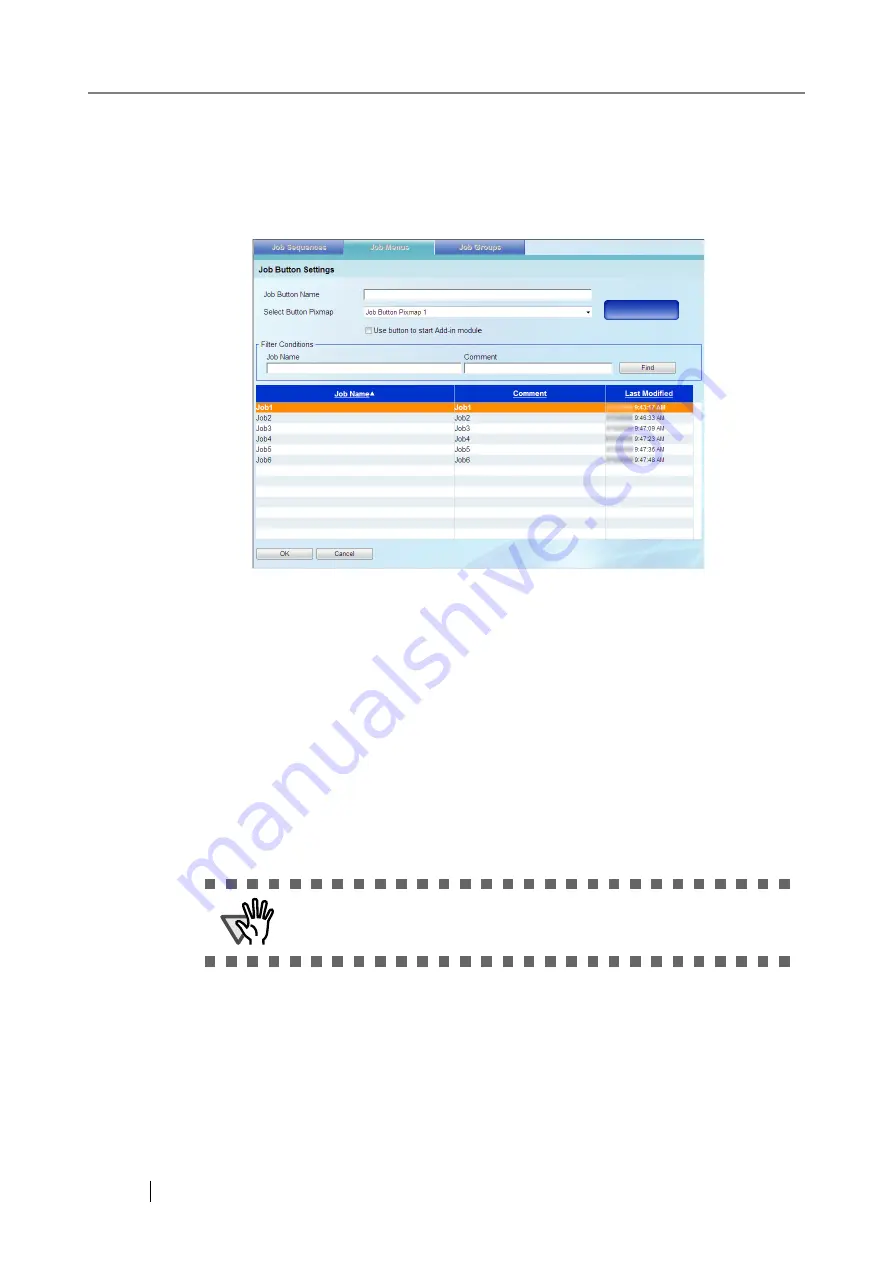
The "Job Button Settings" window appears.
5. Enter the job button name.
This may be up to 32 characters long.
6. In the [Select Button Pixmap] drop-down list box, select a job button pixmap.
The selected job button pixmap is inserted into the job button mockup image on the right,
allowing the resulting button design to be checked.
7. Set whether to start up the Add-in module.
To start up the Add-in module when the job button is selected, select the [Use button to start
Add-in module] checkbox.
If this checkbox is selected, the Add-in module is assigned to the job button, rather than the
job sequence. The "Job Button Name" and "Select Button Pixmap" are ignored. The button
specified by the Add-in module appears in the Job Menu.
ATTENTION
Even if the checkbox is selected, if the Add-in module is not installed in
a scanner, the target job menu button will not be shown on the screen.
Содержание ScanSnap iScanner fi-6010N
Страница 1: ...Operator s Guide P3PC 2962 01ENZ0 fi 6010N Network Scanner ...
Страница 2: ......
Страница 38: ...xxxvi ...
Страница 60: ...22 ...
Страница 74: ...36 ...
Страница 144: ...106 Example 4 When searching for all users no Search Base DN setting or DC example DC com ...
Страница 260: ...222 ...
Страница 404: ...366 z Save tab z Quality tab ...
Страница 488: ...450 ...
Страница 526: ...488 ...
Страница 532: ...494 ...
Страница 646: ...608 ...
Страница 652: ...614 ...
Страница 653: ...fi 6010N Network Scanner Operator s Guide 615 G Appendix G Glossary ...
Страница 658: ...620 ...


