


Working with the notebook
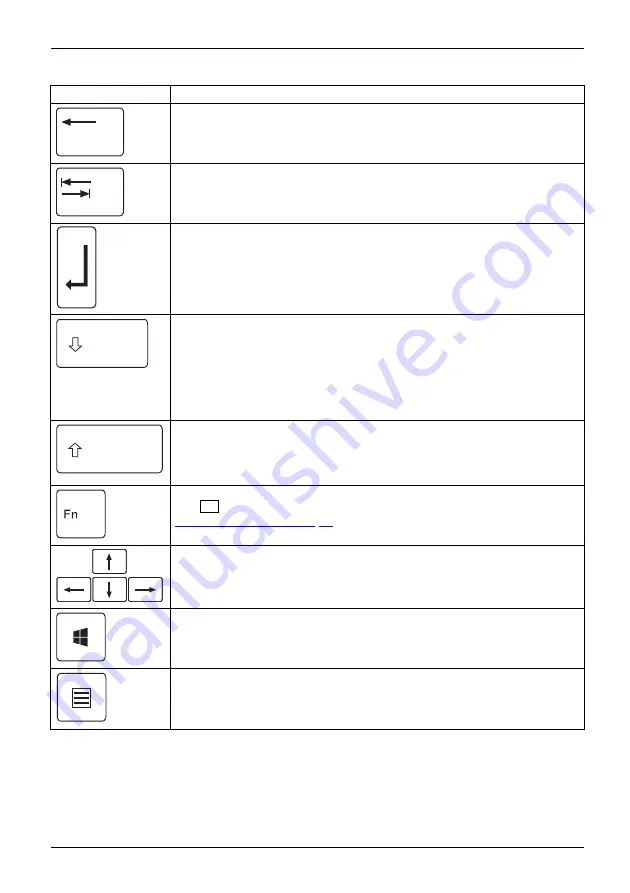
Key
Description
Backspace key
The Backspace key deletes the character to the left of the cursor.
Backspace
Backspace
Tab key
The Tab key moves the cursor to the next tab stop.
Tabkey
Enter key (return)
The Enter key terminates a command line. The command you have entered
is executed when you press this key.
Enterkey
Return
Enter
Linefeed
Caps Lock key
The Caps Lock key activates the Caps Lock mode, and the corresponding
icon is displayed in the Windows information area. In Caps Lock mode, all
of the characters you type appear in upper case. In the case of overlay
keys, the character printed on the upper left of the key will appear when
that key is pressed. To cancel the Caps Lock function, simply press the
Caps Lock key again.
Shiftkey
CapsLock
Shift key
The Shift key causes uppercase characters to appear. In the case of overlay
keys, the character printed on the upper left of the key appears when that
key is pressed.
Shiftkey
Shift
Fn button
The
Fn
key enables the special functions indicated on overlay keys (see
Fnkey
Cursor keys
The cursor keys move the cursor in the direction of the arrow, i.e. up, down,
left, or right.
Cursorkeys
Cursorcontrolkeys
Windows key
The Windows key switches between the start screen and the last used
application.
Windowskey
Menu key
The Menu key opens the menu for the active application.
Fujitsu
25
Содержание Lifebook S935
Страница 1: ...System Operating Manual FUJITSU LIFEBOOK S935 ...
Страница 3: ......
Страница 10: ...Contents Index 90 6 Fujitsu ...


