228
4.8
Setting the Scan Options
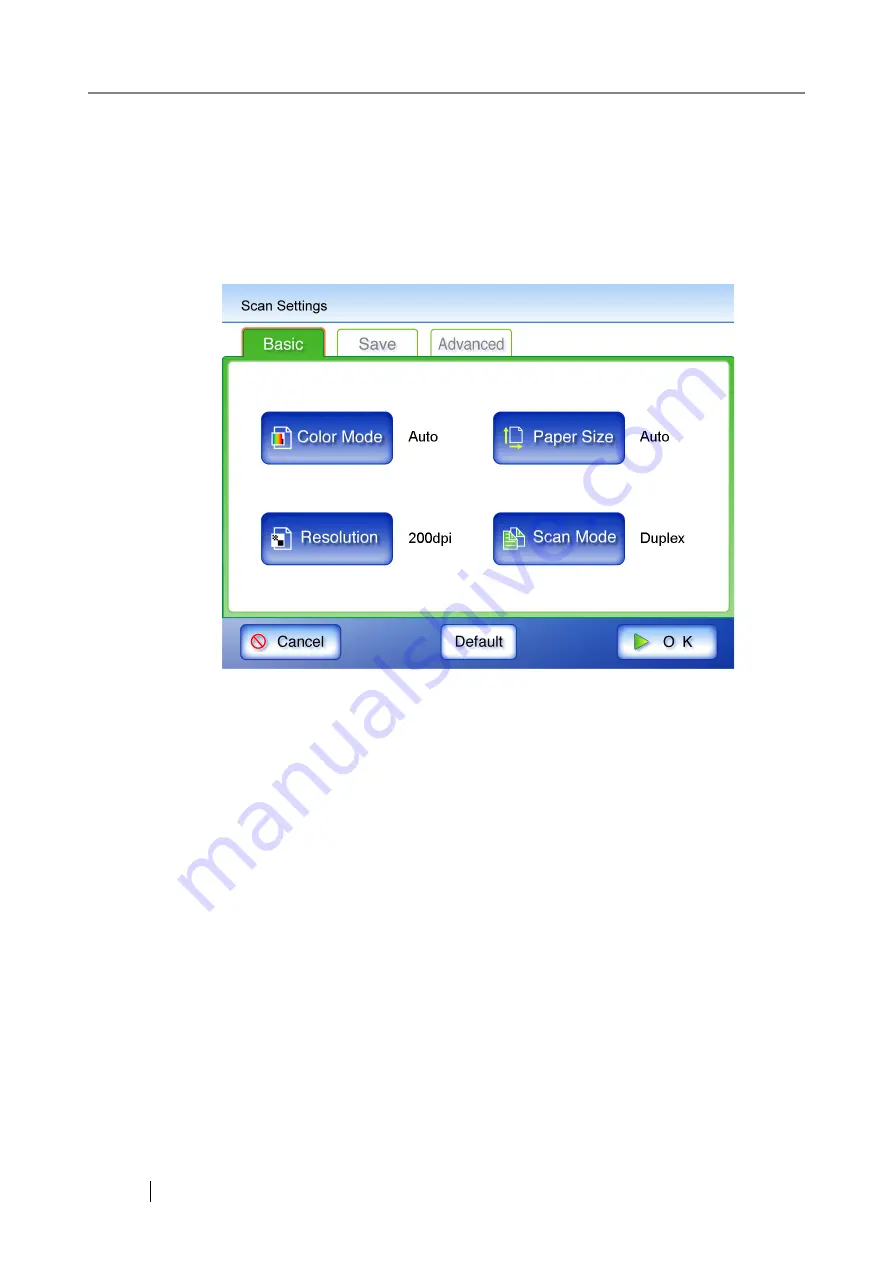
On the following screens, press the [Scan Settings] button to access the "Scan Settings" screens.
•
"Send e-Mail" screen
•
"Send Fax" screen
•
"Print" screen
•
"Save" screen
The following two classes of setting options are available.
•
Default
These are the factory settings. To put a high priority on the scan speed, press the [Default]
button.
•
Custom
This is shown when the user has customized any scanning preferences from the "Default"
option.
Press each scan option button to set it as desired.
Function settings (for e-Mail, Fax, Print, Save) are saved for each user, and will be used
each time that user logs in.
For details, refer to the sections from
onward.
Содержание FI-6000NS
Страница 1: ...P3PC 1852 06ENZ0 ...
Страница 2: ......
Страница 10: ...x ...
Страница 28: ...xxviii ...
Страница 70: ...42 3 Press the Connect button The Login screen appears ...
Страница 72: ...44 5 Press the Login button If the user name and password are valid the System Settings screen appears ...
Страница 78: ...50 5 Press the Now button The system is restarted ...
Страница 122: ...94 4 Press the Add button The screen for adding a network printer is displayed ...
Страница 202: ...174 ...
Страница 296: ...268 ...
Страница 316: ...288 6 Press the OK button The Maintenance screen is shown again ...
Страница 348: ...320 ...
Страница 358: ...330 ...
Страница 362: ...334 ...
Страница 426: ...398 ...
Страница 427: ...Network Scanner fi 6000NS Operator s Guide 399 D Appendix D Glossary ...
Страница 432: ...404 ...


