35
4. SETUP AND MAINTENANCE
4
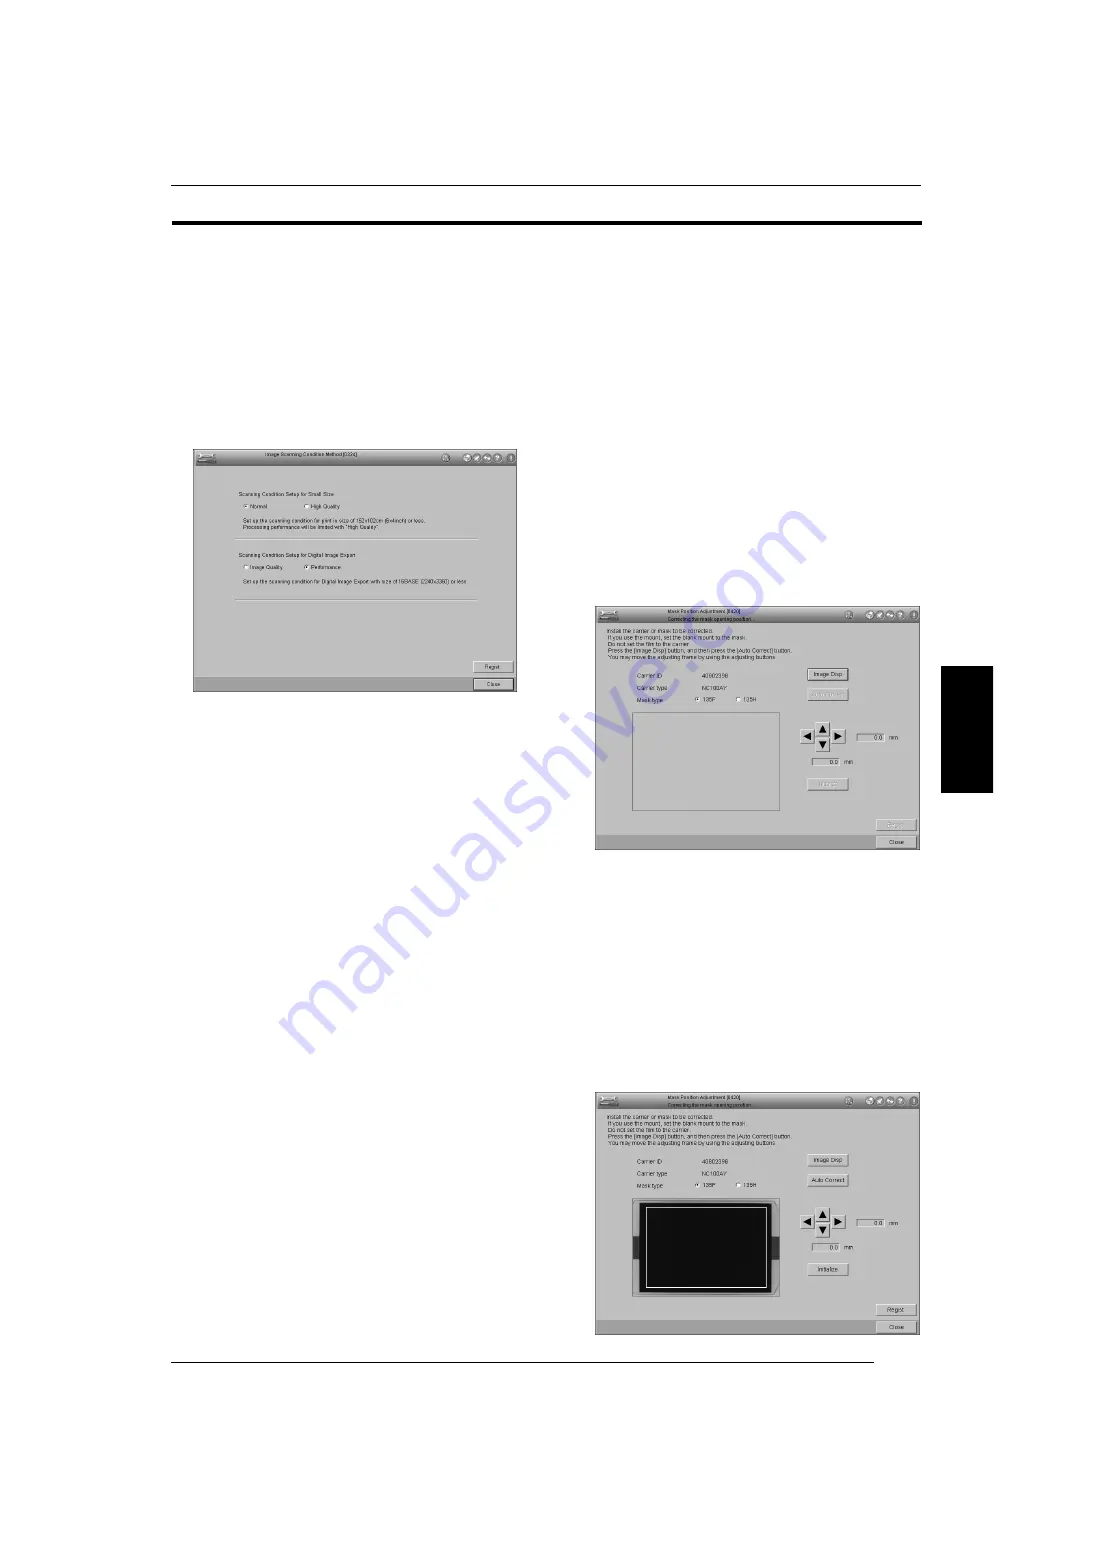
4.4.6 Image Scanning Condition Method (0324)
[Selection]
[Setup and Maintenance]
→
[03 Scanner Adjustment/
Maintenance]
→
[0324 Image Scanning Condition Method]
[Procedure]
Select the scanning condition when scanning small size prints or
digital image export.
1. Select “Normal” or “High Quality” for “Scanning Condition
Setup for Small Size”.
Normal:
Image quality is standard but processing
speed is increased.
High Quality:
Image quality is high but processing speed
is reduced.
2. Select “Image Quality” or “Performance” for “Scanning
Condition Setup for Digital Image Export”.
Image Quality:
Image quality is high but processing speed
is reduced.
Performance:
Image quality is standard but processing
speed is increased.
3. Click the [Regist.] button.
4. Click the [Close] button.
• Operation returns to the menu screen.
4.5
Carrier Adjustment/Maintenance
4.5.1 NC100AY Fixed Feeding Setup (0400)
See the “Operating Instructions” manual.
4.5.2 Mask Position Adjustment (0420)
This menu is used to calibrate the mask position for the monitor
screen and prints.
Always perform this adjustment for all masks to be used.
[Selection]
[Setup and Maintenance]
→
[04 Carrier Adjustment/
Maintenance]
→
[0420 Mask Position Adjustment]
[Procedure]
Adjust the mask position.
1. Install the carrier and mask to be used.
• The carrier ID, carrier type and mask type are displayed.
NOTE: • To adjust position of the mount mask, install the
mount holder without film.
• Do not insert a film.
2. 135 feed lane of the NC100AY: Select “135F” or “135H” for
“Mask type”.
135M/IX240M of the MFC10AY: Select “135M” or “240M” for
“Mask type”.
3. Click the [Image Disp] button.
• The mask position and adjustment frame are displayed.
4.5
4.4.6
4.5.1
4.5.2
SP3000_instruct_E.book 35 ページ 2007年12月11日 火曜日 午後1時6分


