


91
6.3 Scanning ID Cards
[Sharpness]
Specify the sharpness level to make the image sharper or softer.
[Contrast]
Specify image contrast.
[Background Suppression]
Specify whether to suppress the background color of the document (the color of the paper or
background) when scanning.
[Original Size]
Select the document size to be scanned.
[Add Folder]
Specify whether to create a new folder to which the scanned data is stored.
[Top & Bottom Erase], [Left & Right Erase], [Center Erase]
Specify whether to remove the shadows on the top and bottom, the left and right, or the middle
when scanning a thick document or a booklet.
[Next Orig on Doc Glass]
Specifies whether to show a confirmation screen regarding the next document after a document has
been placed on the document glass and scanned.
6.3
Scanning ID Cards
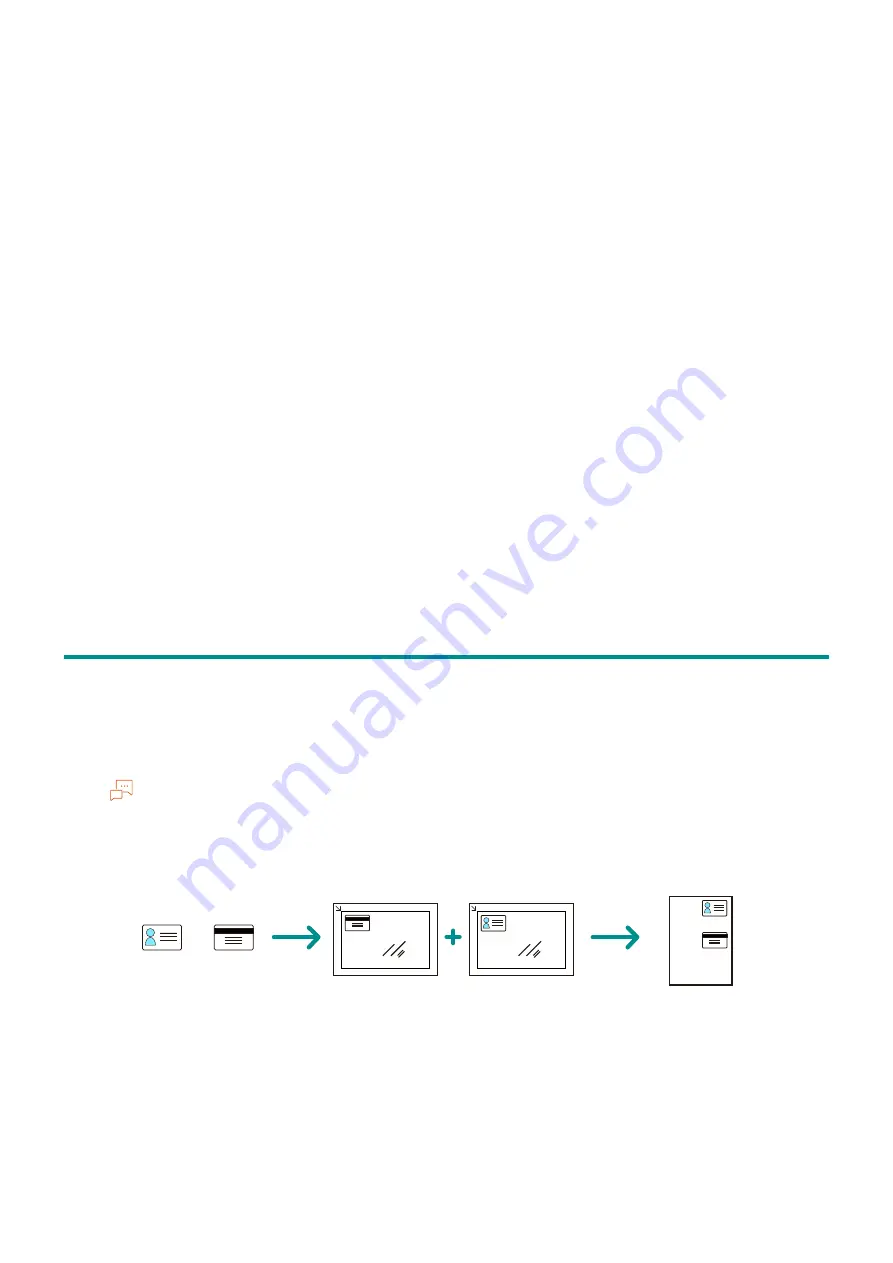
Basic ID Card Scanning
You can save the data for both scanned sides of an ID card in shared computer folders and on an FTP
server.
Note
It is necessary to specify the server addresses in advance. For details, refer to [Scan/Fax phonebook tool]
Help.
Front
Back
ID card
ID card orientation
Scanned data
Front
Back
SEF orientation


