60
Printer Connection and Software Installation
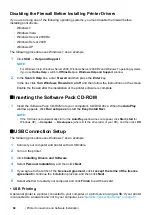
Disabling the Firewall Before Installing Printer Drivers
If you are running one of the following operating systems, you must disable the firewall before
installing print drivers:
•
Windows 7
•
Windows Vista
•
Windows Server 2008 R2
•
Windows Server 2008
•
Windows XP
The following procedure uses Windows 7 as an example.
1
Click
Start
→
Help and Support
.
NOTE:
•
For Windows Vista, Windows Server 2008, Windows Server 2008 R2 and Windows 7 operating systems,
if you use
Online Help
, switch to
Offline Help
on
Windows Help and Support
window.
2
In the
Search Help
box, enter
firewall
and then press the
Enter
key.
In the list, click
Turn Windows Firewall on or off
and then follow the instructions on the screen.
Enable the firewall after the installation of the printer software is complete.
Inserting the Software Pack CD-ROM
1
Insert the
Software Pack CD-ROM
into your computer's CD/DVD drive. When the
AutoPlay
window appears, click
Run setup.exe
to start the
Easy Install Navi
.
NOTE:
•
If the CD does not automatically start or the
AutoPlay
window does not appear, click
Start
(
start
for
Windows XP)
→
Computer
→
D:\setup.exe
(where D is the drive letter of your CD), and then click
OK
.
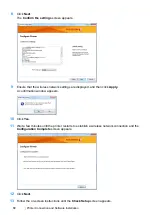
USB Connection Setup
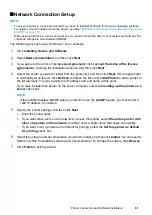
The following procedure uses Windows 7 as an example.
1
Connect your computer and printer with a USB cable.
2
Turn on the printer.
3
Click
Installing Drivers and Software
.
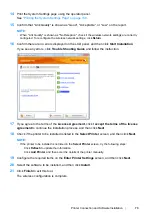
4
Select
Personal Installation
, and then click
Next
.
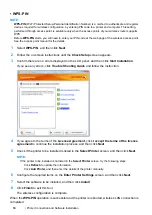
5
If you agree to the terms of the
License Agreement
, click
I accept the terms of the license
agreement
to continue the installation process, and then click
Next
.
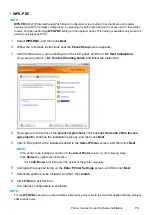
6
Select whether to restart your computer and click
Finish
to exit the wizard.
• USB Printing
A personal printer is a printer connected to your computer or a print server using a USB. If your printer
is connected to a network and not to your computer, see
Содержание DocuPrint P255 dw
Страница 1: ...User Guide DocuPrint P255 d P255 dw ...
Страница 6: ...6 Contents ...
Страница 26: ...26 Product Features ...
Страница 38: ...38 Basic Operation ...
Страница 69: ...Printer Connection and Software Installation 69 5 Select Advanced ...
Страница 114: ...114 Printer Connection and Software Installation ...
Страница 195: ...Troubleshooting 195 7 Close the rear cover 8 Insert the paper tray into the printer and push until it clicks into place ...
Страница 197: ...Troubleshooting 197 4 Lower the levers to the original position 5 Close the rear cover ...
Страница 226: ...226 Troubleshooting ...
Страница 248: ...248 Contacting Fuji Xerox ...
Страница 252: ...252 Index X XML Paper Specification print driver 58 96 ...

