Printer Connection and Software Installation
41
Connecting Printer to Your Computer
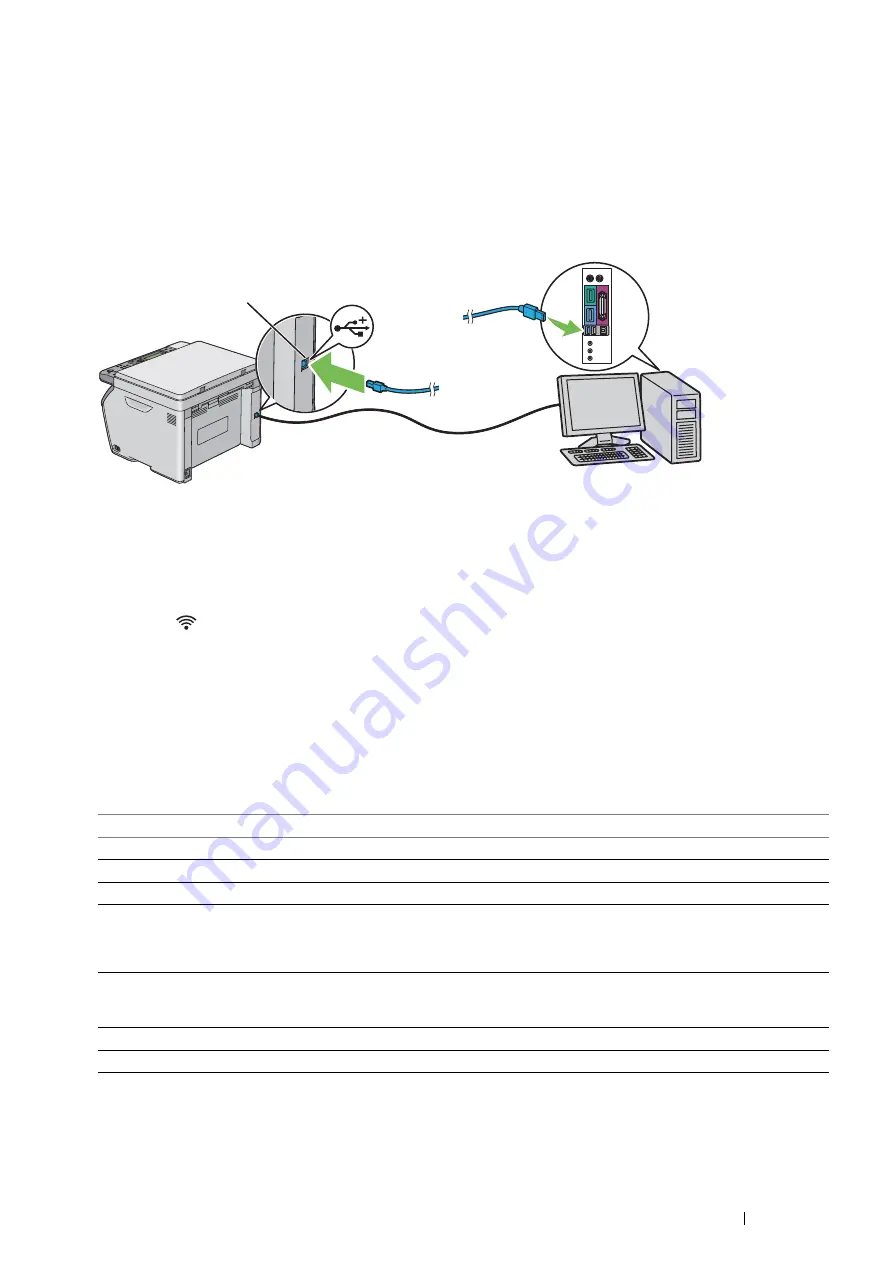
USB Connection
To connect the printer to a computer via USB:
1
Make sure that the printer is turned off and unplugged from the power source.
2
Connect the smaller USB connector into the USB port at the rear of the printer and the other end to a USB port
of the computer.
NOTE:
•
Do not connect the printer USB cable to the USB slot available on the keyboard.
Wireless Connection
This section describes how to connect the printer to a computer via wireless network.
Confirm that the
(
Wi-Fi
) LED is blinking before configuring the wireless connection.
IMPORTANT:
•
The Wireless LAN feature is not available in all locations. Please check with your local Fuji Xerox representative for
availability of wireless in your location.
•
If you are using a method other than Wi-Fi Protected Setup™ (WPS) to configure your wireless network settings, be sure to
get the SSID and security information from a system administrator before starting the setup procedure.
•
Be sure to configure necessary settings on the wireless LAN access point (Registrar) or router before starting the printer
setup. For information on the access point or router settings, refer to the manual supplied with the product.
The specifications of wireless setting function are described below:
*1
WPA stands for Wi-Fi Protected Access
®
.
*2
WPS 2.0 compliant. WPS 2.0 works on access points with the following encryption types: Mixed Mode PSK, WPA-PSK-AES,
WPA2-PSK-AES, Open (No Security)
Item
Specification
Connectivity
Wireless
Connectivity Standard
IEEE 802.11b/802.11g/802.11n compliant
Bandwidth
2.4 GHz
Data Transfer Rate
IEEE 802.11b mode: 11, 5.5, 2, 1 Mbps
IEEE 802.11g mode: 54, 48, 36, 24, 18, 12, 9, 6 Mbps
IEEE 802.11n mode: 65 Mbps
Security
64 (40-bit key)/128 (104-bit key) WEP, WPA™-PSK (TKIP, AES)
*1
, WPA2™-PSK
(AES)
*1
(IEEE 802.1x attestation function of WPA 1x non-corresponds), Mixed
Mode PSK
Certifications
Wi-Fi
®
, Wi-Fi Direct
®
, WPA2.0 (Personal)
Wi-Fi Protected Setup (WPS)
*2
Push Button Configuration (PBC), Personal Identification Number (PIN)
USB port
Содержание DocuPrint CM115 w
Страница 1: ...DocuPrint CM115 w User Guide ...
Страница 151: ...Scanning 151 5 Select any unused number and click Add The Add Network Scan Address page appears 9 8 7 6 5 4 3 2 1 ...
Страница 194: ...194 Digital Certificates 9 Digital Certificates Using Digital Certificates on page 195 ...
Страница 204: ...204 Troubleshooting 4 Lower the levers to their original position 5 Close the rear cover ...
Страница 261: ...Contacting Fuji Xerox 261 12 Contacting Fuji Xerox Technical Support on page 262 Online Services on page 263 ...
Страница 267: ...DocuPrint CM115 w User Guide ME6929E2 1 Edition 1 July 2014 Fuji Xerox Co Ltd Copyright 2014 by Fuji Xerox Co Ltd ...


