80
3 Printing
Printing on Custom Size Paper
The following procedure uses Windows XP WordPad as an example.
Important
• Make sure to set paper sizes correctly. Setting wrong paper sizes can cause printer malfunctions.
Note
• The method for displaying the Properties dialog box varies depending on the application being used.
Refer to the documentation of the application.
1.
On the [File] menu, select [Print].
2.
Select the printer from the [Select Printer] list box, and then click [Preferences].
3.
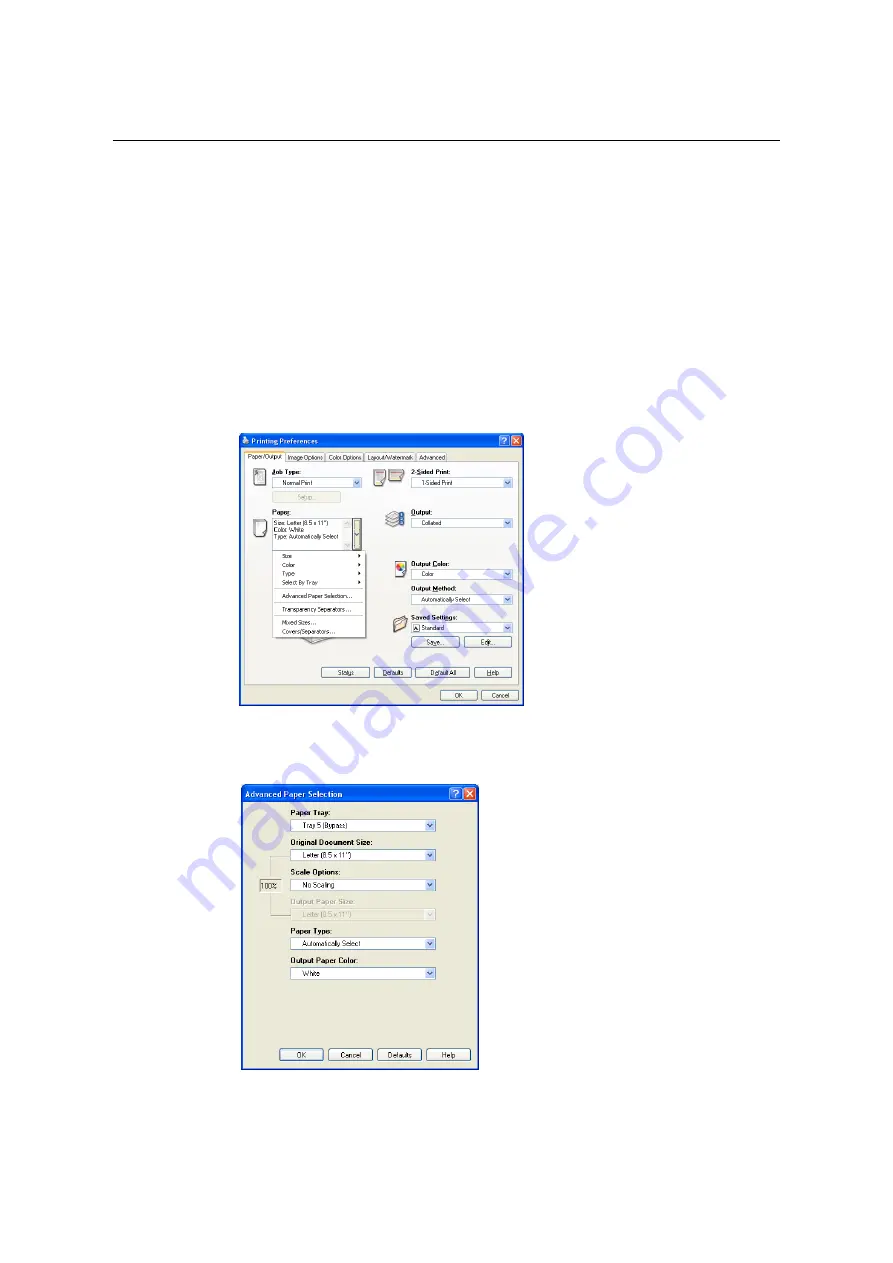
The [Paper/Output] tab appears.
Click <v> beside the [Paper] to display the options, and then select the registered
custom paper size from [Size].
4.
When the paper is loaded in the Bypass Tray, click <v> beside the [Paper] to display
the options, and then select [Advanced Paper Selection].
5.
Click [OK].
6.
Click [Print] on the [Print] dialog box to start printing.
Содержание DocuPrint C5005 d
Страница 1: ...User Guide DocuPrint C5005 d...
Страница 78: ...78 3 Printing 2 Click the Device Settings tab 3 Click Custom Paper Size...
Страница 219: ...6 1 Clearing Paper Jams 219 4 Push the tray in gently until it stops...
Страница 227: ...6 1 Clearing Paper Jams 227 5 Gently close the top left cover D 6 Return the upper left cover A to the original position...
Страница 384: ...384 7 Maintenance 23 When the setting is over press the Settings button to return to the print screen...
Страница 462: ...DocuPrint C5005 d User Guide Fuji Xerox Co Ltd ME4989E2 1 Edition1 November 2010 Copyright 2010 by Fuji Xerox Co Ltd...


