3.3 Printing on Custom Size or Long-size Paper
77
1.
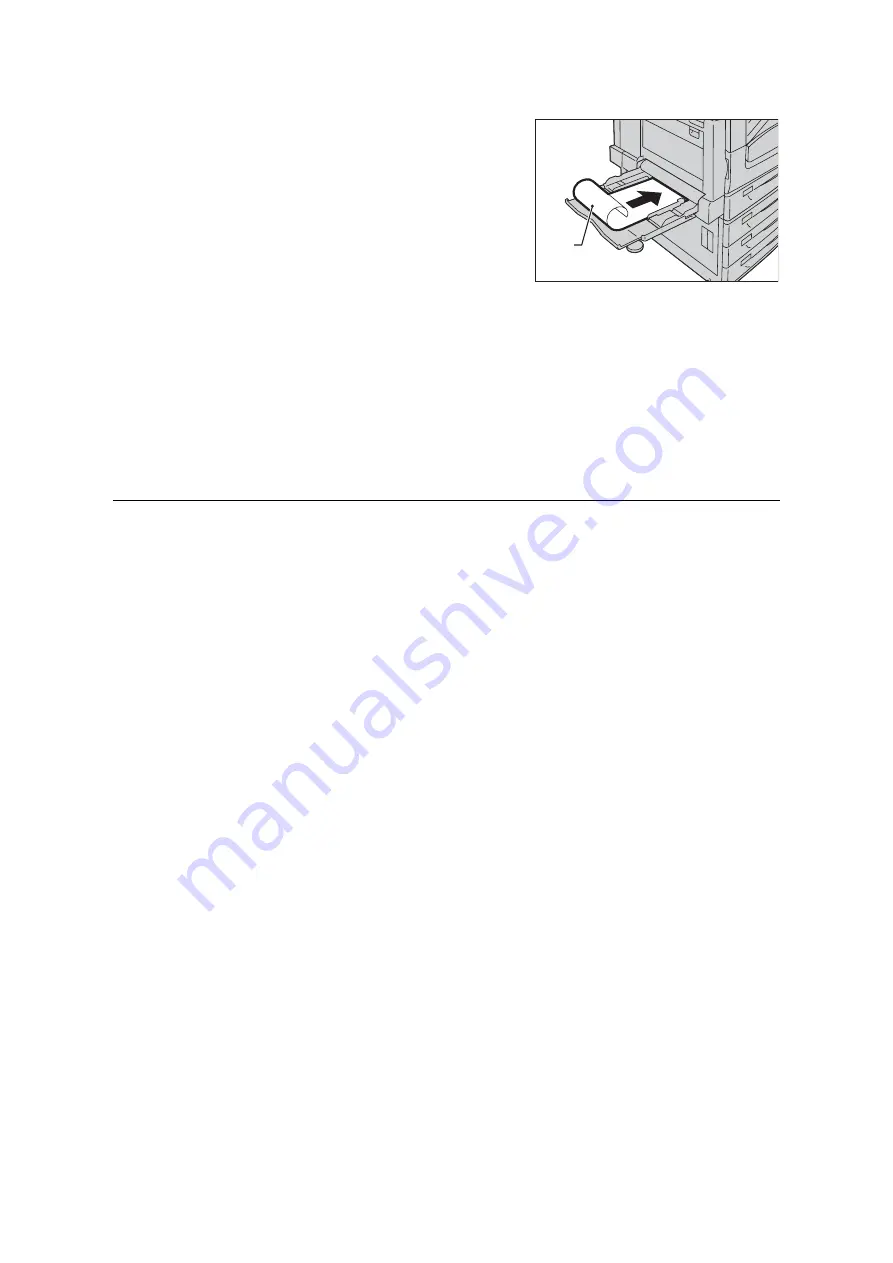
With the print side of the long-size paper
facing down, load the paper into the bypass
tray with the trailing edge curled as shown
in the illustration.
Note
• Curl the trailing edge of the long-size paper as far as
possible from the paper inlet slot. Curling it too close
to the paper inlet slot can result in the trailing edge
feeding into the printer, causing the paper to be
creased or wrinkled.
• Carefully insert the leading edge of the paper into the
inlet slot of the bypass tray. Incorrect insertion can
cause paper jams.
• Load paper one sheet at a time.
2.
Adjust the paper guides to the size of the
long size paper.
Since long-size paper is long, print one
sheet at a time to ensure that the output
print does not fall to the floor.
Registering Custom Size Paper
Custom size paper needs to be registered with the print driver before it can be used. The
following example shows how to do this with Windows XP.
When loading custom size paper in tray 1, 2, 3, or 4, use the control panel to configure the
paper size settings. For information on how to configure settings on the control panel, refer
to “Setting the Paper Sizes of Trays” (P. 129).
Important
• Make sure the paper size settings are configured correctly with the print driver or on the control panel.
Setting the wrong paper size can cause malfunction of the printer.
Note
• Only users with administrator level access authority can change settings. Users without administrator
privileges can only view settings.
• Changing the settings on the [Custom Paper Size] dialog box while the printer is being used as a local
printer can affect settings for other printers on your computer. Changing settings when the printer is a
network printer can affect other network-shared printers on other computers over the network. This is
because the printer uses its own form database when it is local, while it uses the form database of a
server that has a print queue when it is networked.
1.
On the [Start] menu, select [Printers and Faxes] (select [Printer] or [Devices and
Printers] depending on OS) and display the properties of the printer being used.
Print
Side
Содержание DocuPrint C5005 d
Страница 1: ...User Guide DocuPrint C5005 d...
Страница 78: ...78 3 Printing 2 Click the Device Settings tab 3 Click Custom Paper Size...
Страница 219: ...6 1 Clearing Paper Jams 219 4 Push the tray in gently until it stops...
Страница 227: ...6 1 Clearing Paper Jams 227 5 Gently close the top left cover D 6 Return the upper left cover A to the original position...
Страница 384: ...384 7 Maintenance 23 When the setting is over press the Settings button to return to the print screen...
Страница 462: ...DocuPrint C5005 d User Guide Fuji Xerox Co Ltd ME4989E2 1 Edition1 November 2010 Copyright 2010 by Fuji Xerox Co Ltd...


