44
1 Printer Environment Settings
*1
These settings can only be set using CentreWare Internet Services. They cannot be configured on the
control panel. Some security features are not supported on the model available in China.
*2
You can set the administrative ID and password. The default system administrator ID and password are
“11111” and “x-admin”, respectively.
*3
EP Service is not supported on the model available in China.
*4
IC Card Reader (optional) is required. The IC Card Reader may not be supplied with the printer in some
regions. Contact your dealer for details.
Using CentreWare Internet Services
Follow these steps when accessing CentreWare Internet Services.
1.
Start your computer and launch a web browser.
2.
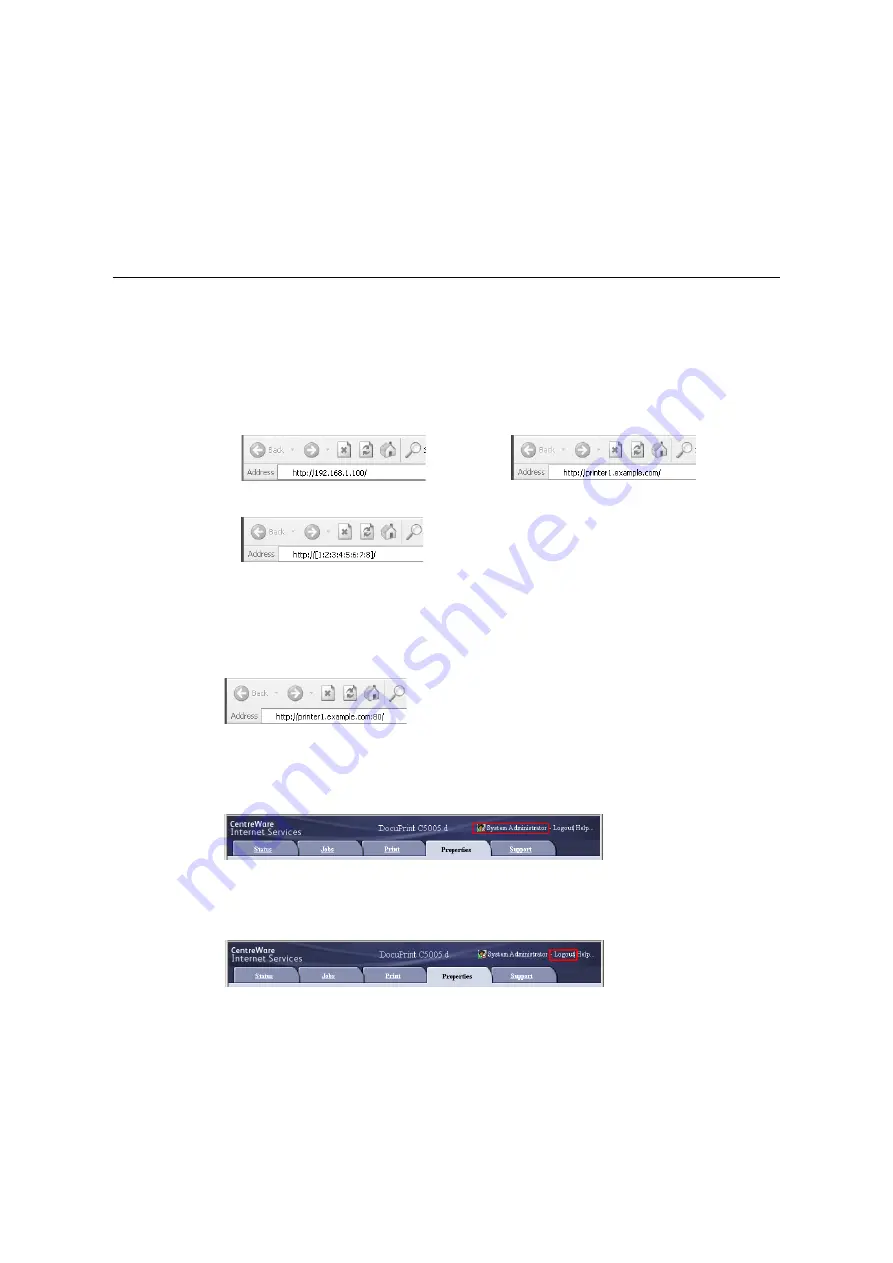
In the URL field, enter the IP address or URL of the printer, and press the <Enter>
key. The top page of CentreWare Internet Services is displayed.
Note
• When specifying a port number, enter a “:” (colon) and then “80” (the factory default port number) after
the address. Verify the printer's port number by printing [Configuration Report].
• The port number can be changed under the [Properties] tab > [Connectivity] > [Protocols] > [HTTP]. If
you change the port number, you must enter a “:” (colon) and then the port number after the address.
• Displays a screen for entering the user name and password when the Authentication function is set.
Enter the ID and password of the administrator or user registered on the printer. Contact your
administrator for information on your ID and password. User information is displayed on the upper right
when CentreWare Internet Services is started up.
• After you logged in with the ID and password for administrator or the user registered in the printer to
configure and confirm settings, make sure to click [Logout] to log out the system in order to prevent the
leakage of information.
• When data encryption is enabled, enter “https” instead of “http” before the address when accessing
CentreWare Internet Services.
• For information about data encryption features, refer to “7.9 Security Features” (P. 343) and “7.11 Control
Access to Printer Features by Pre-registering Users” (P. 365).
• Example - URL
• Example - IP address for IPv4
• Example - IP address for IPv6
Содержание DocuPrint C5005 d
Страница 1: ...User Guide DocuPrint C5005 d...
Страница 78: ...78 3 Printing 2 Click the Device Settings tab 3 Click Custom Paper Size...
Страница 219: ...6 1 Clearing Paper Jams 219 4 Push the tray in gently until it stops...
Страница 227: ...6 1 Clearing Paper Jams 227 5 Gently close the top left cover D 6 Return the upper left cover A to the original position...
Страница 384: ...384 7 Maintenance 23 When the setting is over press the Settings button to return to the print screen...
Страница 462: ...DocuPrint C5005 d User Guide Fuji Xerox Co Ltd ME4989E2 1 Edition1 November 2010 Copyright 2010 by Fuji Xerox Co Ltd...


