368
7 Maintenance
7.
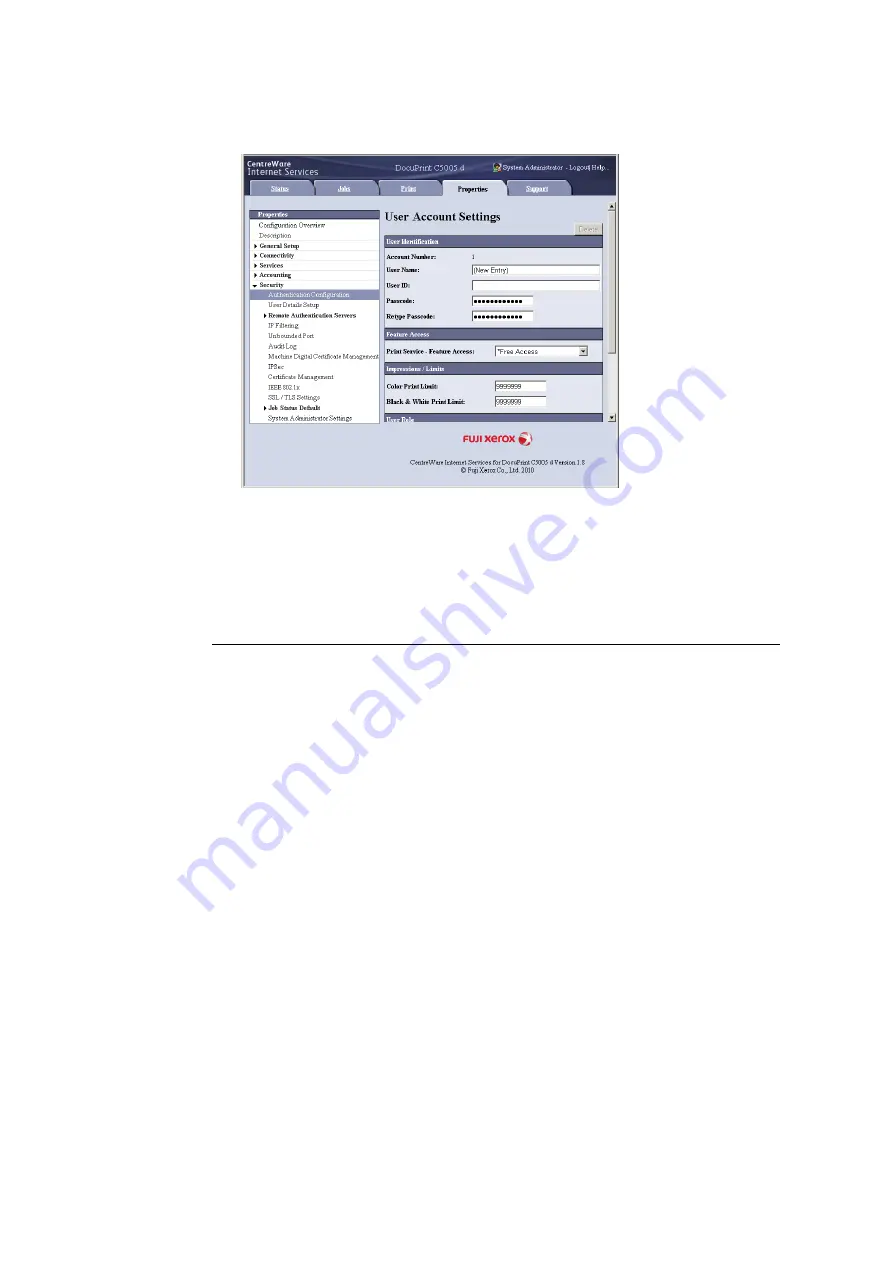
On the screen that appears, configure each of the settings and then click [Apply].
Note
• The user ID and password set on this page are also used by the print driver.
• To discard any changes in the settings and revert to original (pre-change) settings, click [Undo].
8.
To register more users, repeat steps 5 through 7.
Create Authorization Group and Association with Users
After setting [Local Accounting] and [Local Accounts] on the control panel, you will be able
to use CentreWare Internet Services to register the authorization group to associate with
users.
By registering the authorization group which is allowed to temporarily disable active settings
and associating it with users, users are authorized to temporarily disable active settings.
Note
• For details about each setting item, refer to the online help for CentreWare Internet Services.
1.
Launch your web browser and access CentreWare Internet Services.
Note
• For information on how to access CentreWare Internet Services, refer to “1.6 Configuring the Printer
Using CentreWare Internet Services” (P. 41).
• If you are prompted to enter the administrator's ID and password, enter them and click [OK].
2.
Click the [Properties] tab.
Содержание DocuPrint C5005 d
Страница 1: ...User Guide DocuPrint C5005 d...
Страница 78: ...78 3 Printing 2 Click the Device Settings tab 3 Click Custom Paper Size...
Страница 219: ...6 1 Clearing Paper Jams 219 4 Push the tray in gently until it stops...
Страница 227: ...6 1 Clearing Paper Jams 227 5 Gently close the top left cover D 6 Return the upper left cover A to the original position...
Страница 384: ...384 7 Maintenance 23 When the setting is over press the Settings button to return to the print screen...
Страница 462: ...DocuPrint C5005 d User Guide Fuji Xerox Co Ltd ME4989E2 1 Edition1 November 2010 Copyright 2010 by Fuji Xerox Co Ltd...


