5 E-mail
90
1.
Specify e-mail destinations by entering addresses using the alphanumeric keypad
on the control panel.
You can send a document as e-mail attachments to multiple destinations in a single
operation. For more information, refer to
Specifying Destinations on page 92
4. Start the E-mail Job
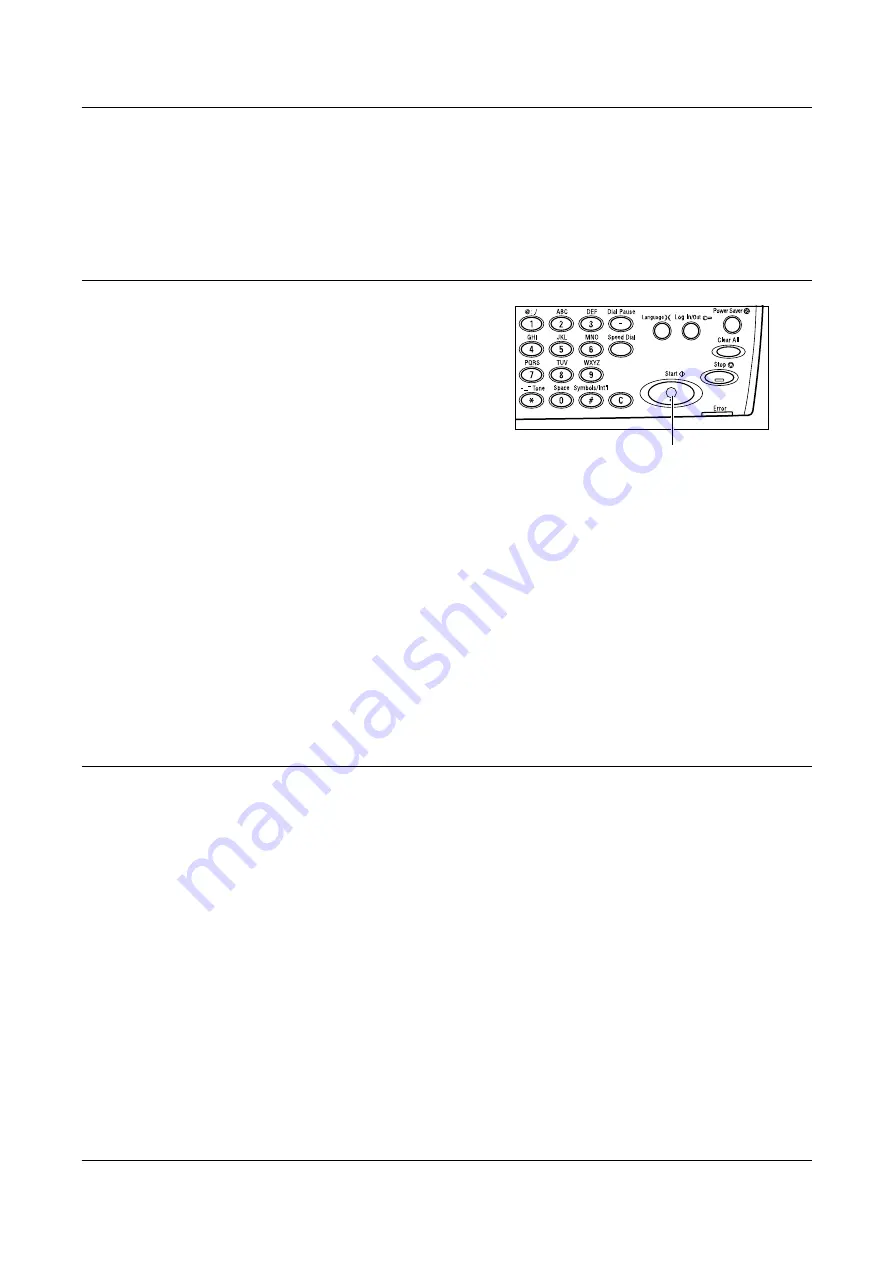
1.
Press the <Start> button on the control
panel to scan and send the documents.
NOTE:
If the <Start> button is pressed when
no document has been set, the machine will
assume that a document of A3 SEF size has
been set, so A3-sized data will be sent to
the specified recipient.
NOTE:
If the trouble, such as document jam
or memory full, is occurred while scanning multiple documents, the job is canceled
and the scanned data are deleted. If a memory full error has occurred, either delete
unnecessary data from the machine, or reduce the size of the scanned data by
reducing the resolution or the scanned area. To resume the same operation, load all
the documents again and press the <Start> button.
NOTE:
If the data for one page exceeds the following size, transmission processing
will be aborted for lack of memory capacity. Data for which transmission has been
aborted will be discarded and not re-sent.
• If memory has been expanded to 128 MB: 4 MB/page
• If memory has been expanded to 256 MB: 8 MB/page
5. Confirm the E-mail Job in the Job Status
Follow the steps below to confirm the e-mail job you started.
NOTE:
Check the Job History Report to see whether the e-mail has been sent. Even if
the Sent Report appears to indicate that the e-mail was sent normally, it may not
actually be possible to send the message. For how to print the Job History Report,
refer to
Report/List (Print Jobs) in the Product Overview chapter on page 43.
In case
of fax broadcasting, a transmission error to any one of the multiple specified recipients
will result in an error being displayed, even if the fax was sent successfully to some
recipients.
NOTE:
If mail transmission has failed because of some error, the data stored in the
machine may be deleted rather than being automatically re-sent to the specified
recipient. Check the Job History Report. If the fax was not sent, set the document
again and re-send it.
<Start> button
Содержание DocuCentre 1055
Страница 1: ...DocuCentre 1085 1055 User Guide...
Страница 10: ...10...
Страница 28: ...1 Before Using the Machine 28...
Страница 48: ...2 Product Overview 48...
Страница 62: ...3 Copy 62...
Страница 86: ...4 Fax 86...
Страница 122: ...7 CentreWare Internet Services 122...
Страница 130: ...8 Paper and Other Media 130...
Страница 172: ...9 Setups 172...
Страница 182: ...10 Maintenance 182...
Страница 208: ...11 Problem Solving 208...
Страница 238: ...13 Glossary 238...
Страница 244: ...14 Index 244...
Страница 245: ...DocuCentre 1085 1055 User Guide ME4040E2 1 Edition 1 July 2007 Fuji Xerox Co Ltd Copyright 2007 by Fuji Xerox Co Ltd...


