Store to WSD
235
Sca
n
4
2
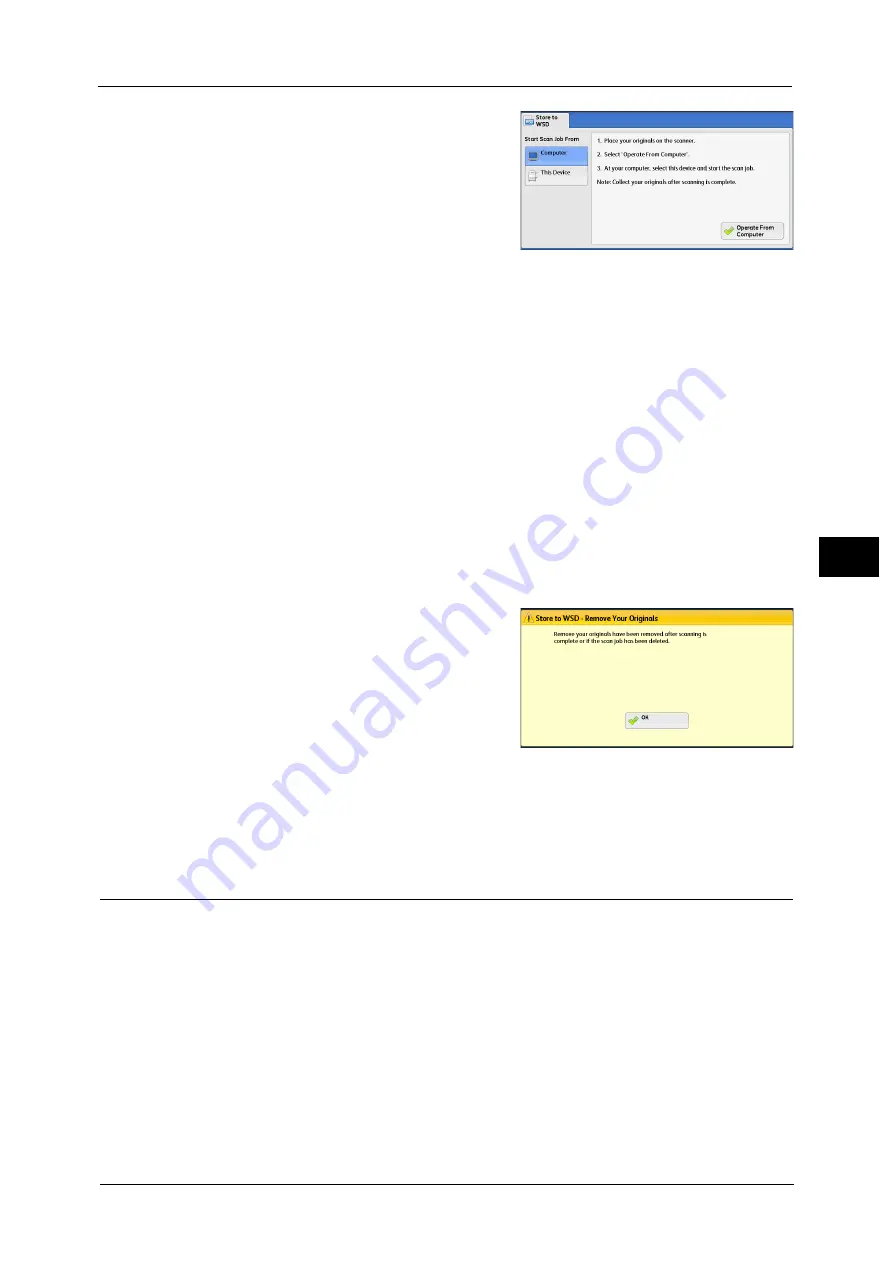
Load the document on the document glass or in
the document feeder, and select [Operate From
Computer].
The standby screen is displayed on the touch
screen.
Note
•
Select [Delete] to exit standby mode. After
exiting standby mode, [Store to WSD -
Remove Your Originals] screen is displayed on
the touch screen.
3
Operate scan from a network computer. To operate scan from a network computer, use
application which supports image loading feature such as [Windows Fax and Scan]. The
following describes the method using [Windows Fax and Scan] with Windows 7.
Note
•
This method is not available for computers with Windows Vista Home Basic or Windows Vista Home
Premium. To operate scan from such a computer, use another method, for example, selecting [From
Scanner or Camera] in the Paint application.
1) Click the [Start] button, click [All Programs], and then click [Windows Fax and Scan].
2) Click [Scan] at the bottom of the left pane, and then click [New Scan] on the toolbar.
3) In the [New Scan] dialog box, click [Change...], and then select the machine.
4) Check that the machine model name is displayed to the right of [Scanner:].
Note
•
If the machine model name is not displayed, click [Change] and select the machine.
5) Click the [Profile] list, and then select [Document].
6) Specify the settings as necessary, and then click [Scan].
4
After being scanned, the scanned data is forwarded to the specified computer.
[Store to WSD - Remove Your Originals] screen
appears on the touch screen after a scan job has
been completed.
Note
•
If the standby screen is not displayed, a scan
job will not be started even when the network
computer recognizes the machine.
•
Select [Delete] button to abort an operation.
After an operation is aborted, [Store to WSD -
Remove Your Originals] screen is displayed on
the touch screen.
•
The machine will not enter the Power Saver mode while the standby screen is displayed. For
information on Power Saver mode, refer to "Power Saver Mode" (P.62).
5
Remove the originals from the document glass and then click [OK].
This Device (Storing Data Scanned by the Machine on a Network Computer)
You can forward the data scanned with the command from the machine to a specified
computer on the network.
1
Load the document on the document glass or in the document feeder, and select [This
Device].
2
Computer names and 5 processing methods are displayed in the [List of Computers]. Select
destination from the list in accordance with the intended use.
List of Computers
Lists destination and URL.
Note
•
Select from among 4 kinds of processing methods (Scan to PC, Scan for Print to PC, Scan for E-mail
to PC and Scan for OCR to PC) in accordance with the intended use.
Содержание Color C60
Страница 1: ...User Guide Color C70 Printer Color C60 Printer...
Страница 10: ...10...
Страница 13: ...Preface 13 Before Using the Machine 1...
Страница 74: ...2 Product Overview 74 Product Overview 2...
Страница 101: ...Copy 101 Copy 3 1 Use and to select from seven density levels...
Страница 166: ...3 Copy 166 Copy 3...
Страница 182: ...4 Scan 182 Scan 4 Original Size Specifying a Scan Size P 243 4 Press the Start button...
Страница 256: ...4 Scan 256 Scan 4...
Страница 290: ...7 Stored Programming 290 Stored Programming 7...
Страница 314: ...10 Job Status 314 Job Status 10 Print this Job Report Prints the Job Report...
Страница 352: ...11 Computer Operations 352 Computer Operations 11...
Страница 353: ...12 Appendix This chapter contains a glossary of terms used in this guide z Glossary 354...
Страница 358: ...12 Appendix 358 Appendix 12...
Страница 364: ...364 Index X XPS 200 XPS Signature 203...


