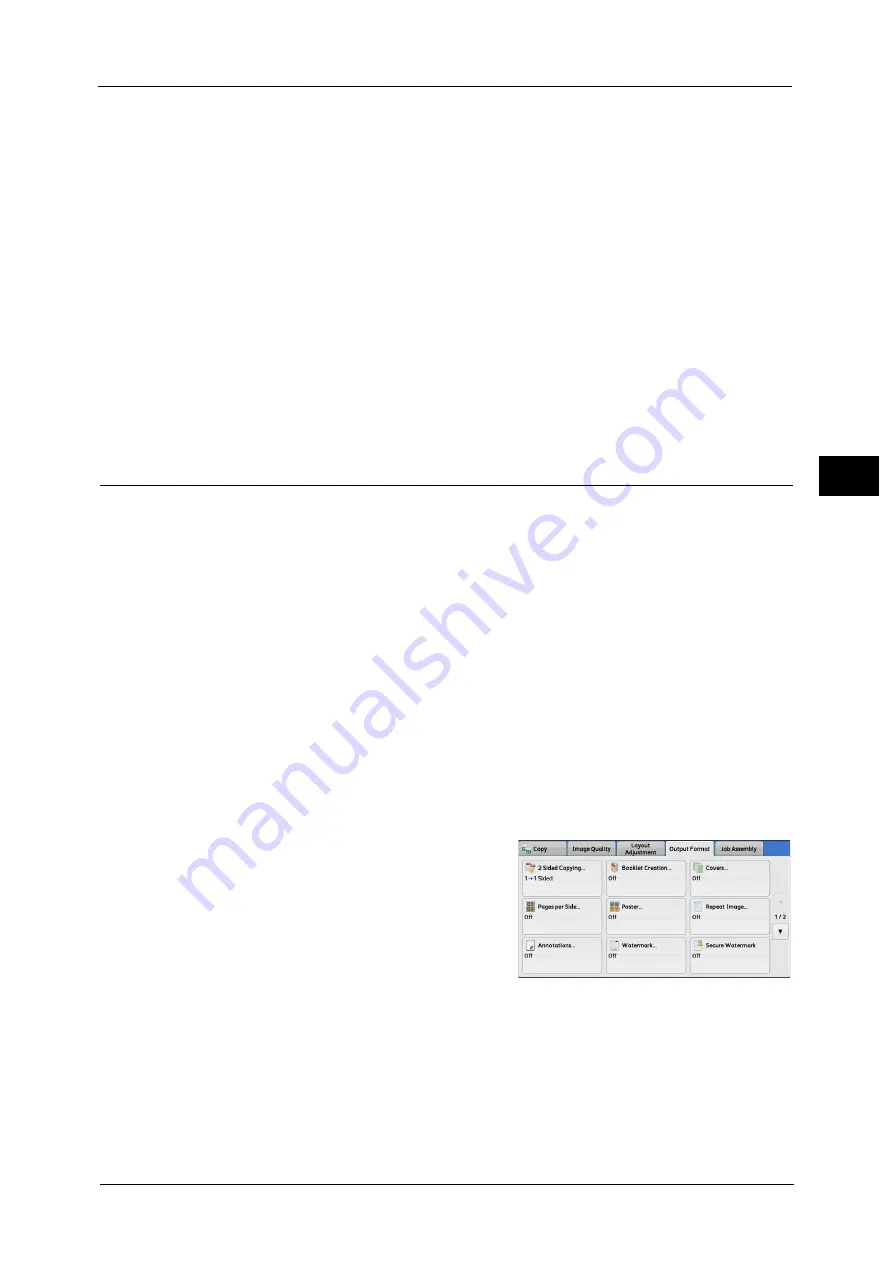
Output Format
139
Co
py
3
Start & End Page Numbers
Allows you to specify the start and end pages to add prefix text and page numbers, in the
range from 1 to 9999.
Note
•
Use [+] and [-], or the numeric keypad to enter the start and end page numbers.
Include Covers/Separators
This option is available when you select [All Pages]. Select this check box to include covers
and separators.
Starting Number
You can specify a starting page number in the range from 1 to 999999999 when you do not
set [Number of Digits], or can specify a starting page number of up to the allowable number
of digits specified in [Number of Digits].
Note
•
Use [+] and [-], or the numeric keypad to enter the starting page number.
Important •
If the page number exceeds the specified value (999999999 when [Number of Digits] is not set)
during copying, the copy job will be canceled.
Watermark (Printing Control Numbers on the Background of Copies)
This feature allows you to faintly print a sequential control number in the background of
each copy page.
If you set "1" as the starting number, "1" is printed on each page of the first copy set and "2"
is printed on each page of the second set.
To prevent, for instance, the duplication of confidential documents that are to be
distributed at a conference, you can use this feature to add sequential numbers to the
copies, and associate the numbers with the conference members.
Important •
When you select this feature, if the number of pages scanned by the machine exceeds the
maximum, the machine will not print the already-scanned data. In that case, follow the instructions
of the message displayed on the screen to cancel the job. The maximum number of pages that the
machine can scan is 999 pages per job.
Note
•
If a layout template is specified in [Apply Layout Template to Copy/Print Jobs] under [Force
Annotation] in the System Administration mode, the watermark specified here is overlapped with
the text on the layout template when printed. For information on [Force Annotation], refer to "5
Tools" > "Common Service Settings" > "Force Annotation" in the Administrator Guide.
•
When [Force Watermark - Copy] is set to [On], [Watermark] is fixed to [On], which cannot be
changed. For more information on Watermark, refer to "5 Tools" > "Common Service Settings" >
"Watermark" in the Administrator Guide.
1
Select [Watermark].
Содержание Color C60
Страница 1: ...User Guide Color C70 Printer Color C60 Printer...
Страница 10: ...10...
Страница 13: ...Preface 13 Before Using the Machine 1...
Страница 74: ...2 Product Overview 74 Product Overview 2...
Страница 101: ...Copy 101 Copy 3 1 Use and to select from seven density levels...
Страница 166: ...3 Copy 166 Copy 3...
Страница 182: ...4 Scan 182 Scan 4 Original Size Specifying a Scan Size P 243 4 Press the Start button...
Страница 256: ...4 Scan 256 Scan 4...
Страница 290: ...7 Stored Programming 290 Stored Programming 7...
Страница 314: ...10 Job Status 314 Job Status 10 Print this Job Report Prints the Job Report...
Страница 352: ...11 Computer Operations 352 Computer Operations 11...
Страница 353: ...12 Appendix This chapter contains a glossary of terms used in this guide z Glossary 354...
Страница 358: ...12 Appendix 358 Appendix 12...
Страница 364: ...364 Index X XPS 200 XPS Signature 203...


