


4 Fax
230
Fa
x
4
When using wildcards for the last two digits
When you specify address numbers, confirm that the corresponding fax numbers are correctly registered on the machine.
For information on how to register address numbers, refer to "5 Tools" > "Setup" > "Add Address Book Entry" in the
Administrator Guide.
Note
•
The maximum number of recipients that you can specify at one time is as follows:
Using address numbers only: 600 locations. Using the numeric keypad in combination with address
numbers: 600 locations.
•
An address number is always displayed in four digits. If [Auto Validation of Speed Dial Entry] is set to
[Validate entry after a fixed time] in the System Administration mode, and for example when you
enter "**", "0" is automatically added to the beginning of the wildcards to display "00**". For more
information, refer to "5 Tools" > "Common Service Settings" > "Other Settings" > "Auto Validation of
Speed Dial Entry" in the Administrator Guide.
•
You can use wildcards only for the last digit or last two digits of address numbers. The following is
not available: "*100", "**10", and "1*00"
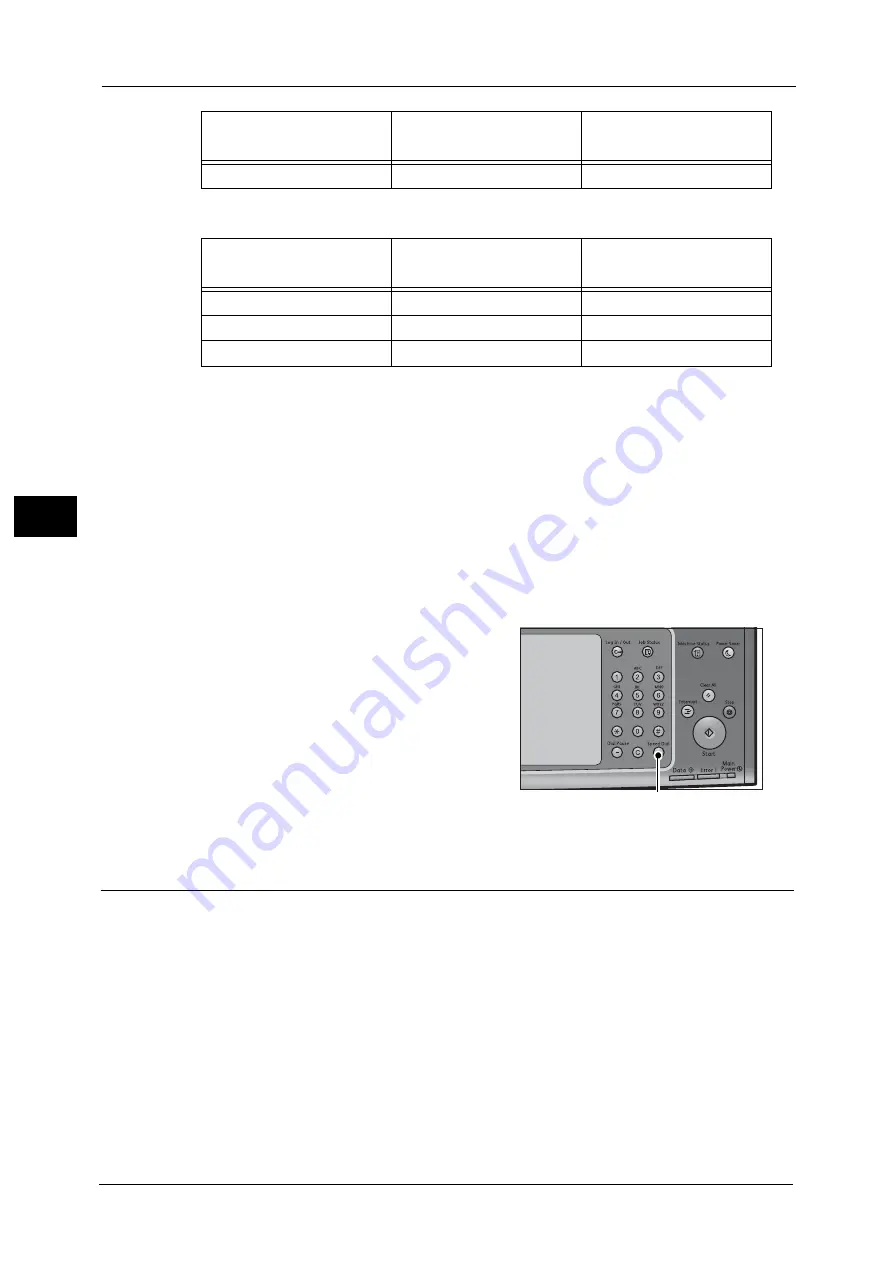
1
Press the <Speed Dial> button, and enter a 4-
digit address number. Repeat this step for each
additional recipient.
Add New Address (Registering a Destination on the Address Book)
You can register destinations on the Address Book. The current destinations specified on the
First Tab screen can also be registered.
Note
•
[Add New Address] is not displayed depending on the settings in the System Administration mode or
the number of registered addresses. For details on the settings and the number of addresses, ask
your system administrator.
100*
1000 - 1009
10
How to Enter Wildcard
Target Address Numbers
The Number of Target
Addresses
00**
0001 - 0099
99
01**
0100 - 0199
100
10**
1000 - 1099
100
How to Enter Wildcard
Target Address Numbers
The Number of Target
Addresses
<Speed Dial> button
Содержание apeosport-v c5585
Страница 12: ...12 ...
Страница 31: ...Safety Notes 31 Before Using the Machine 1 ...
Страница 80: ...2 Product Overview 80 Product Overview 2 3 Click OK ...
Страница 124: ...3 Copy 124 Copy 3 Lighten Darken Adjusting the Copy Density 1 Use and to select from seven density levels ...
Страница 188: ...3 Copy 188 Copy 3 ...
Страница 284: ...4 Fax 284 Fax 4 ...
Страница 301: ...Operations during Scanning 301 Scan 5 Original Size Specifying a Scan Size P 365 4 Press the Start button ...
Страница 331: ...E mail 331 Scan 5 Note This item is available for Microsoft Word format ...
Страница 378: ...5 Scan 378 Scan 5 ...
Страница 412: ...8 Stored Programming 412 Stored Programming 8 ...
Страница 436: ...11 Job Status 436 Job Status 11 Print this Job Report Prints the Job Report ...
Страница 478: ...12 Computer Operations 478 Computer Operations 12 ...
Страница 479: ...13 Appendix This chapter contains a glossary of terms used in this guide Glossary 480 ...
Страница 486: ...13 Appendix 486 Appendix 13 ...


