background image

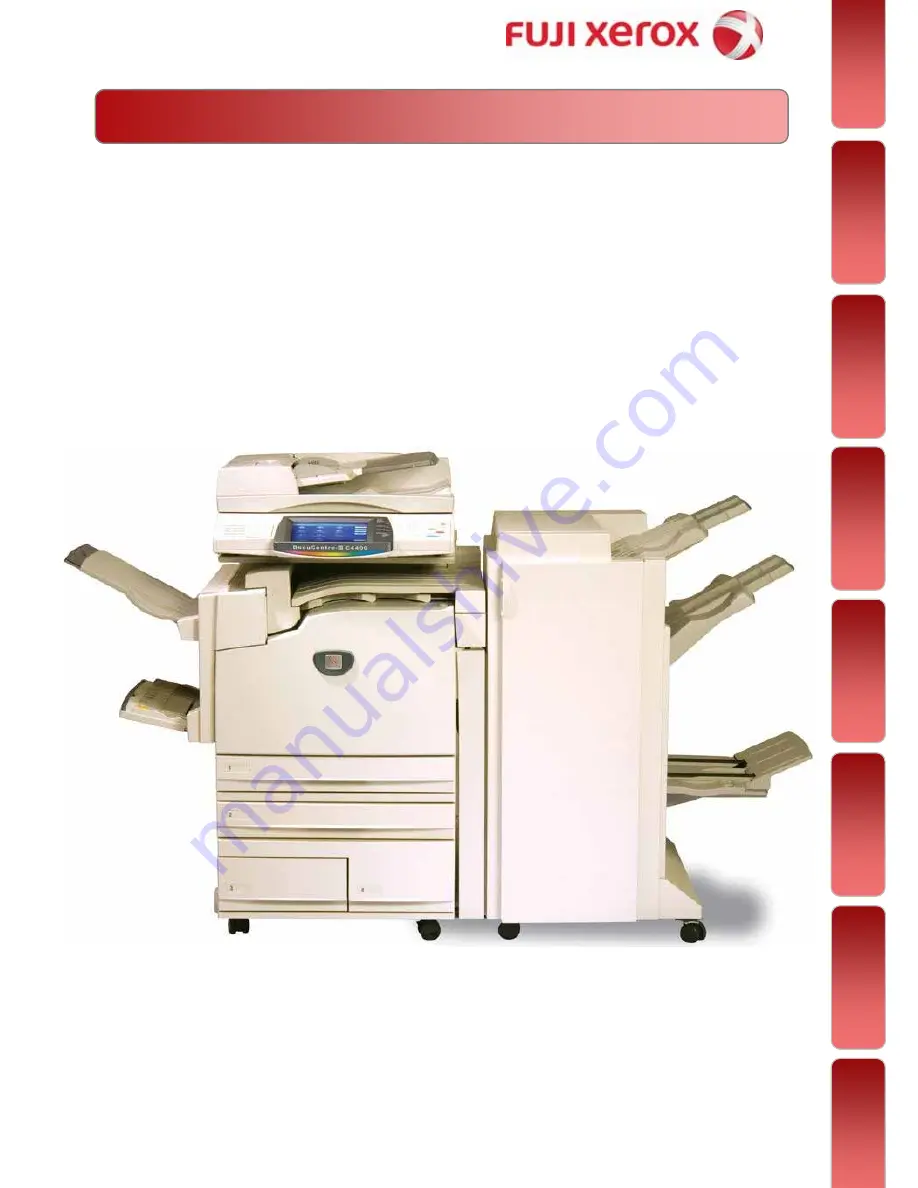
Quick User Guide 

Quick User Guide 

This User Guide is printed on FUJI XEROX Office Color Capable Products.

A

A

peos

peos

P

P

ort

ort

-

-

III C4400

III C4400

D

D

ocu

ocu

C

C

entre

entre

-

-

III C4400

III C4400

Feat

ure

s

Cop

y

Fax

Sc

an

Print

Pape

r Ja

m

s

Consumable

s

roubleshoo

tin

g

Содержание ApeosPort-III C4400

Страница 1: ...uide This User Guide is printed on FUJI XEROX Office Color Capable Products A Apeos peosP Port ort III C4400 III C4400 D Docu ocuC Centre entre III C4400 III C4400 Features Copy Fax Scan Print Paper J...

Страница 2: ...rror message displays Consumables Page 36 40 Describes procedures to replace consumables Toners Drum Waste Bottle Staples Troubleshooting Page 41 42 Online support Assistance describes measures to acq...

Страница 3: ...r Account press Log In Out button enter user details as follow Note Press Log In Out button again to Logout 02 02 Power Switch Turn ON Machine Turn OFF machine Energy Saver button Press to exit power...

Страница 4: ...A 3 A 4 A 5 Copy Output Sorting Page 09 To make copies collated stapled punched Multiple Up Page 08 To copy multiple documents onto a single sheet of paper Edge Erase Image Shift Page 10 To erase unwa...

Страница 5: ...for desired ratio select More for other presets 3 Select Paper Supply for tray selection 4 Enter number of copies 1 to 999 using numeric keypad 5 Press Start button You can make copies with scaling b...

Страница 6: ...ment onto 1 side of paper 1 2 Sided copy 1 sided document onto 2 sides of paper 2 2 Sided copy 2 sided document onto 2 sides of paper 2 1Sided copy 2 sided document on 1 side of the paper 4 Enter numb...

Страница 7: ...ing 3 Select an option and Select Save Left Page then Right Right Page then Left Top Page then Bottom Select Both Pages for scanning left right page 4 Press Start button Both Pages to copy both pages...

Страница 8: ...Select Layout Adjustment tab Select Mixed Sized Originals and Select ON 3 Select Auto on General Settings and Select Paper Size required Auto Paper Tray 4 Select Save and Press Start button Making co...

Страница 9: ...heet of paper 8 Pages Up 8 documents copied into 1 sheet of paper 4 Select Reading Order for document layout and Press Start button You can make copies from multiple sheets of documents onto single sh...

Страница 10: ...nishing if available Select Staple Punch Positions Select Save 4 Enter number of sets using numeric keypad and press Start button Collated arranged in page order per sets Uncollated arranged in total...

Страница 11: ...erase using arrow keys at 1mm increments each Image Shift set margin to shift using arrow keys at 1mm increments each Select Save 4 Enter number of sets using numeric keypad and Press Start button To...

Страница 12: ...hing Folding Stapling 4 Select Save and Press Start button Printed Covers The first page of the document is copied on the cover Note Making a copy into a booklet format Booklet Creation You can make c...

Страница 13: ...not repeated Auto Repeat Auto repeat according to original document size paper size and copy ratio Variable Repeat User defined number of times to repeat copy image Select Save 3 Select Layout Adjustm...

Страница 14: ...eft of the platen glass Close document cover and press Start 4 Open document cover and turn to the 2nd side Place it on the same place and press Start 5 The ID Card will then be printed To make copy o...

Страница 15: ...cally after each fax complete successfully unsuccessfully Transmission Report 01 78822984 12 45 CP ASDFG EWTEt dfrewtry Broadcast Send Page 15 To fax document to multiple locations Cancel Fax Job To c...

Страница 16: ...single multiple location s 1 Select Fax 2 Enter recipient s fax number using numeric keypad 3 Select Add button to enter multiple recipients fax number 4 If Group Entries is registered select Address...

Страница 17: ...elect Address Book button to select recipients from the registered entries 3 Select Retrieve fax entries using index from Address Book drop down list to search Recipients by Index Search 4 Or select r...

Страница 18: ...ok button to select recipients or enter Fax number using Numeric Keypad 3 Or select recipients fax number from the One Touch Dial 001 070 4 Select 2 Sided Scanning 2 Sided Head to Head or 2 Sided Head...

Страница 19: ...transmission 1 Select Fax 2 Select Fax Options tab Select Confirmation Options 3 On the Confirmation Options Screen Select Print Report 4 Select Address Book button to select recipients or enter Fax...

Страница 20: ...alphanumeric character e g Fuji Xerox F 8 Select Save when settings are completed Repeat steps 3 7 to continue or Press Close to Exit Setup Menu To Group Pre Registered Fax Address 1 All Services scre...

Страница 21: ...age 21 To scan documents and save the scanned data to a mailbox located at the machine SCAN FEATURES SCAN FEATURES Mailbox Scan to PC SMB Page 24 Scan to Email Page 23 To scan documents and send the s...

Страница 22: ...n the Layout Adjustment tab select Resolution if necessary 5 Press the Start button Documents are scanned and stored at the selected mailbox You can scan and save the scanned data to a pre registered...

Страница 23: ...n 3 Enter Mailbox number 001 200 and Password Click Confirm button 4 Select a document from the list and click Import Default file location at C My Document Fuji Xerox Network Scan You can import scan...

Страница 24: ...ew Receipient to enter email address s 3 Select Color Scanning select required file format if necessary 4 Select Layout Adjustment tab Resolution if necessary 5 On the Email Options tab select File Na...

Страница 25: ...ess Book or select Browse to search location 3 Select Color Scanning 2 Sided Scanning and File Format if necessary 4 Select Layout Adjustment tab Resolution if necessary 5 On the Filing Options tab se...

Страница 26: ...n Bottom Select Both Pages for scanning left right page 4 Select Original Size to enter document size or select from the Presets 5 On the Filing Options tab select File Name Press the Start button Boo...

Страница 27: ...ts when UserID password entered 26 26 To print multi page file into a booklet format and double sided Booklet Printing Page 30 To print files with a pre fixed text such as Urgent or Confidential over...

Страница 28: ...1 From application Select Printer Properties 2 On the Paper Output tab select Paper Select to select required paper tray Click OK 3 Select Output Color as COLOR or BLACK 4 Select OK on all open window...

Страница 29: ...ect Job Type Secure Print click Setup to enter User ID Passcode Click OK on all open window 3 From machine Press Job Status button Select Stored Documents tab Select Secure Print 4 Select UserID Docum...

Страница 30: ...From application Select Printer Properties 2 On the Paper Output tab select 2 Sided Print 2 Sided Print 2 Sided Flip on Short Edge 3 Select Output Color as COLOR or BLACK 4 Optional Feature Select Fin...

Страница 31: ...klet 1 From application Select Printer Properties 2 On the Layout tab select Booklet Poster Select Booklet Creation Choose Binding Left Right Optional Fold Staple Select OK 3 A popup window displays t...

Страница 32: ...Page Up to 32 Pages Up Select Image Order if required Select Draw Outlines to insert borders after each page 3 Select Fit to New Paper Size Set any preferred paper size or select A4 210mm x 297mm 4 S...

Страница 33: ...3 On the Watermarks tab select watermark e g Confidential Urgent etc or Select New Text to create Select Edit Watermark to edit any watermark 4 Select Print on Page 1 Only to print watermark on first...

Страница 34: ...pen windows 3 The Fax Recipient window displayed Enter recipient name and fax number on the text box and click To button Repeat step to add more than one recipient 4 Select OK on all open windows to p...

Страница 35: ...e remove the document Gently close the cover 1 2 3 4 Paper Jams 34 34 Paper Jam in Area 2 1 Gently open the cover in area 2 2 Pull both edge of the jammed paper to remove Gently close the cover 1 2 Pa...

Страница 36: ...the machine Gently push in the tray Paper Jam in Finisher Unit Optional Feature Gently open the finisher door Remove any jammed paper at selected area displayed on the screen If paper torn try to rem...

Страница 37: ...dle before opening Front Cover Remove new Waste Toner Container orange vinyl cap and cleaning rod from the box 1 2 Pull down on the orange colored tabs Hold the center section of the container pull co...

Страница 38: ...e in direction of the arrow Peel off the seal from the top of the cartridge shield Hold the Drum Cartridge firmly and slide cartridge into the machine using the light orange tab Remove protective shie...

Страница 39: ...ly 6 Insert the cartridge into the machine Close the Finisher Front Door 4 5 6 1 2 3 Replacing Staple Cartridge Booklet Finisher 1 Open the Finisher Front Door 2 Pull Booklet Maker access handles and...

Страница 40: ...g Billing Meter Supplies Status Consumables SUPPLIES CONSUMABLES On the Machine Panel press Machine Status button Select Supplies tab The status of consumables is shown as OK Replace Soon Order Now or...

Страница 41: ...Yellow Y CT200542 1 unit Drum Cartridge Black CT350352 1 unit Color C M Y CT350352 1 unit Waste Toner Container CWAA0485 1 unit For Finisher B Staple Cartridge CWAA0455 3pcs 5000 staples 50 sheets ca...

Страница 42: ...41 Checking Job Status oubleshooting On the Machine Panel press the Job Status button To find out more on the Error Codes Cause and Remedy please refer to Problem Solving section in Administrator Gui...

Страница 43: ...tion and faster machine uptime Please Logon to www fujixerox com my Click on any of the following link to start Download Download to download latest Driver or User Guide Support Support for FAQs or su...

Страница 44: ...Reserved 2010 by Customer Training Fuji Xerox Malaysia Printed in Malaysia For Service Supplies Enquiries Nationwide Toll Free 1 300 88 1163 Online support http onlinesupport fujixerox com The content...

Отзывы: