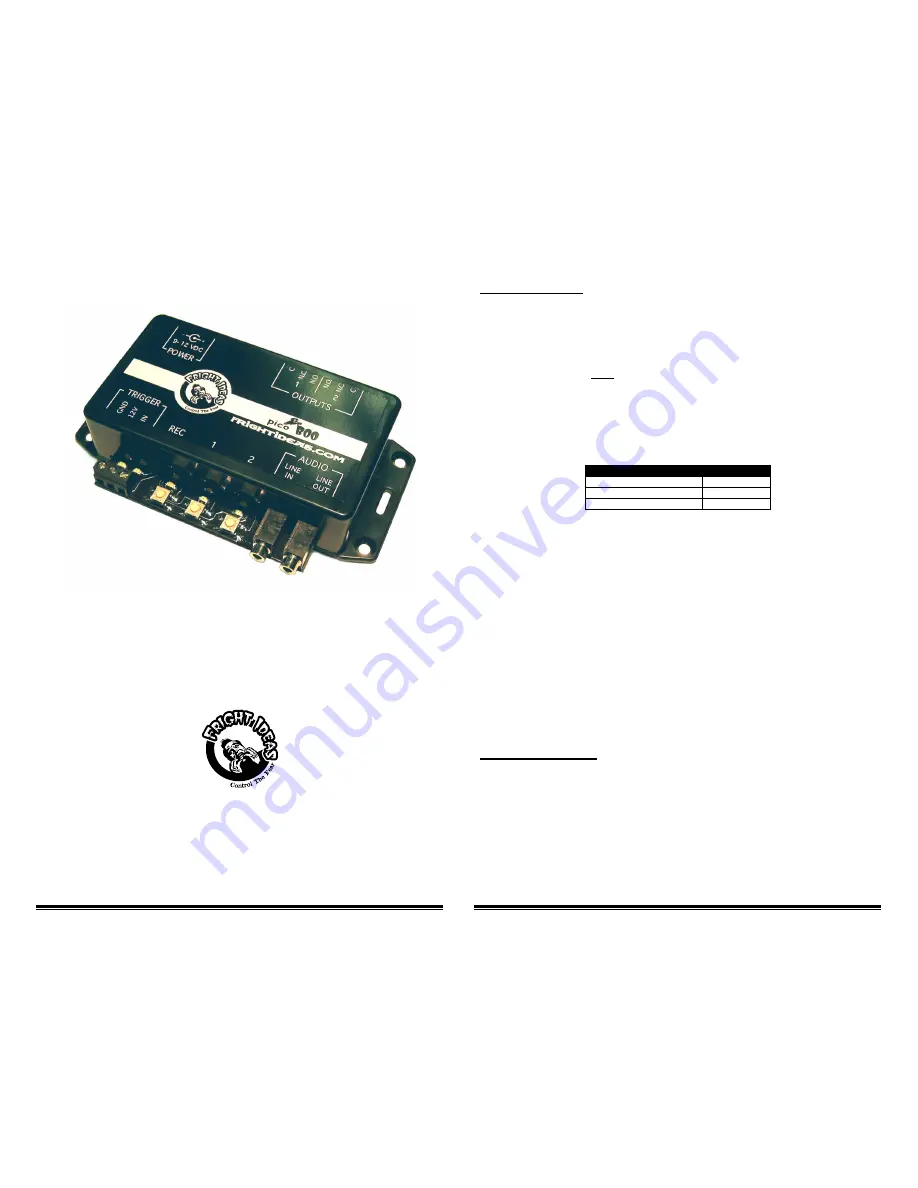
picoBoo FI-104 Operating Manual
picoBoo FI-104 Operating Manual
picoBoo FI-104
OPERATING MANUAL
471 Maybank Avenue
Toronto, Ontario M6N 3S7
Tel: 905-803-9274 Fax: 647-439-1470
www.frightideas.com
Recording Sounds
To begin recording you will need the following connected to the picoBoo:
•
A powered speaker or speakers connected to the picoBoo’s Line-Out.
•
An audio source such as a CD player or computer connected to Line-In. Make sure the source is not amplified.
•
A stereo audio cable to connect your audio source to the picoBoo’s Audio Line-In
Once the above is connected try pressing play on the audio source, you should be able to hear the sound faintly
through the connected speaker. Do not turn up the source volume so your speakers are really loud! Use this sound
only as a guide so you know when to start and stop recording. Once the sound is recorded and the picoBoo plays it
back it will be much louder than it is now.
You will have to experiment with the volume of your sound source to see what gives you the best recorded sound
quality. If the source is too loud the recording will sound distorted, if it’s too low you may not be able to turn the sound
up loud enough even with your speakers at full volume. Do a few test recordings, keep adjusting the source volume
and then previewing the sound from the picoBoo until you’re happy with the quality and volume level.
Volume Levels for Common Sources
Source
Volume Level
Computer
20% to 40%
iPod or Portable CD Player
75%
The ambient sound must always be recorded first, once you are happy with how it sounds you can move on to
recording the scare sound. The scare sound can then be recorded and re-recorded as needed. If the ambient sound
is ever changed the scare sound will have to be re-recorded, even if it does not need to be changed.
Sound Length
Record as long an ambient sound as possible, this sound will be looped while the picoBoo waits to be triggered. The
looping point will be heard less often if this sound is long, just make sure you leave enough room for your scare
sound, you have 2 minutes total space for your sounds. Your scare sound length is less critical, just make sure it’s
long enough to play for the entire length of the animation you want to record.
Recording and Previewing
To record the ambient sound hold “REC” and press “1”, press “REC” again to stop recording. To record the scare
sound hold “REC” and press “2”.
To preview the sound, make sure you stop the source if it is playing, then press either “1” to preview the ambient
sound, or “2” to preview the scare. Pressing “1” or “2” again while the sound is playing will stop it.
Turning Off Ambient Sound
To turn off the ambient sound make sure an audio source is connected to the audio-in, hold “REC” and press “1”.
Then within 3 seconds, press “REC” again.
Recording Animation
Once you have your sounds recorded you can begin recording the scare scene’s outputs.
Make sure you
disconnect the audio source form the Audio Line-In before you start
.
If you are having problems recording and are using a motion sensor for a trigger, disconnect the motion sensor and
read ahead to learn how to change your input to normally-open. Change back to normally-closed when you’re done.
1.
Press “REC”, the red light will turn on and the scare sound will start playing.
2.
Press the “1” & “2” output buttons to turn on the outputs as you want them to turn on. Synchronize your
actions with the sound, You can press each button as many times as you want or hold them for as long
as you want, whatever you do on those buttons will be recorded for up to 2 minutes.
3.
Press “REC” again to stop recording, the scene is automatically saved. Press “2” or trigger the input to
preview the scene.


