Using Auto-SYNC for Digital Input Connections
TIMS MVP
™
Setup and Configuration Guide 199
Custom C (Sharp max):
Similar to Custom B except that it performs a more thorough testing of candidate phase values.
Running the Auto-SYNC Wizard
Once the IDEA Auto-SYNC process has completed, the Auto-SYNC Wizard is automatically
started to facilitate fine tuning of the video settings. The Auto-SYNC Wizard can be started
manually at any time.
To start the Auto-SYNC wizard, you can do one of the following:
▪
Click the
Skip Intro
to skip the video calibration images information.
The three page introduction
provides basic information about image calibration and introduces the standard image
types that are most useful when using the Auto-SYNC Wizard.
To view details on the video
calibration images,
Recommended Calibration Images
▪
To view the video calibration images information as part of the Auto-SYNC wizard, click
Next
.
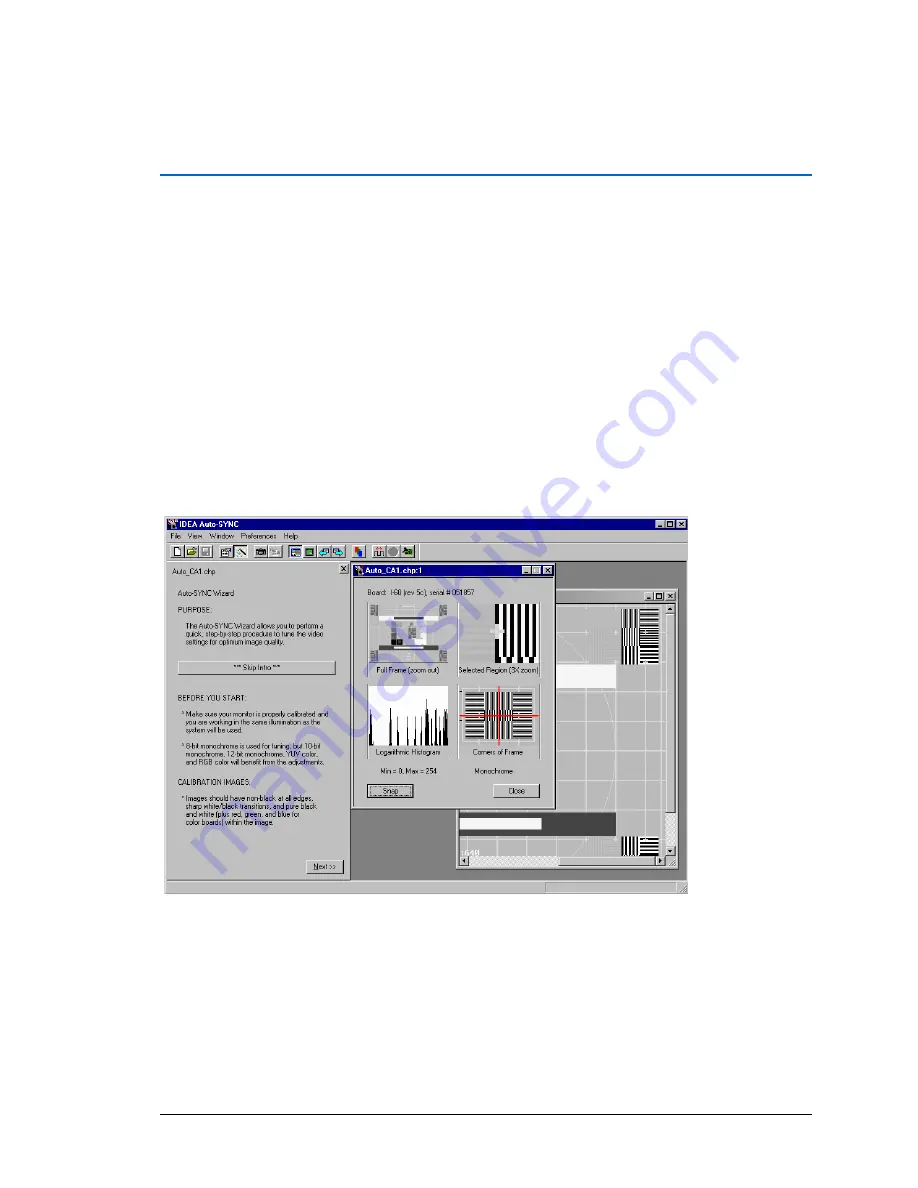
Figure 101: IDEA Auto-SYNC Wizard introductory screen once the CHP file is created
The upper window on the right side is called the “Multi
-
view window”. The Multi
-view window
displays multiple monochrome views of the image (zoom, histogram, etc.) and also displays the
board type (and its serial number) that is being used. When using an AccuStream board, the
Multi-view window can display either Y-only (luma) grayscale or one of the three RGB color
planes. The figure also shows a full-size window that displays the entire image (with scroll bars,
if needed). Both windows are useful when running the Auto-SYNC Wizard.


