TM
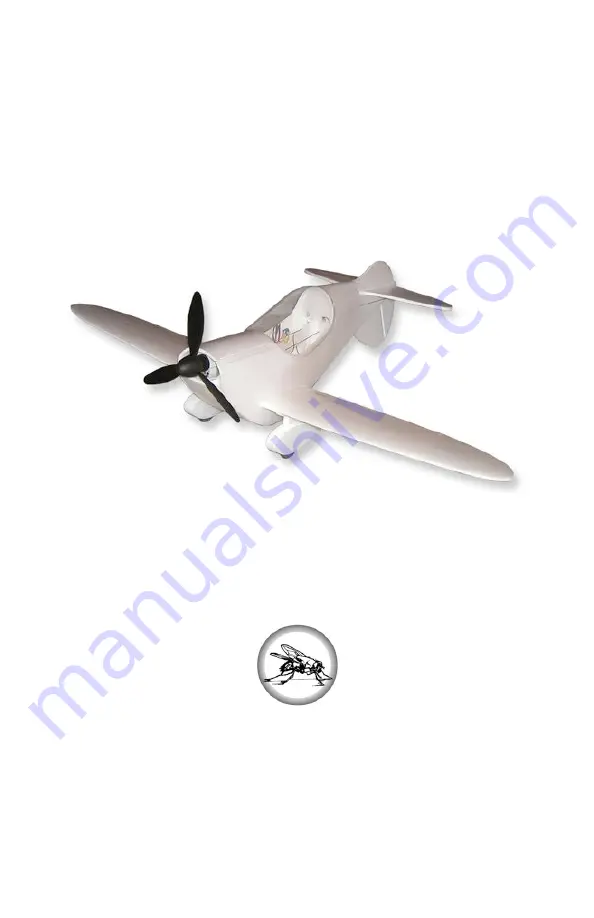
Gremlin
Instruction Manual
Electric Foam Parkflyer
Designed By: Dan Schwartz
Available Exclusively from:
www.FoamFly.com
4077 WoodCreek Dr.
Ypsilanti MI. 48197
USA
© 2006 FoamFly.com
!
Страница 1: ...TM Gremlin Instruction Manual Electric Foam Parkflyer Designed By Dan Schwartz Available Exclusively from www FoamFly com 4077 WoodCreek Dr Ypsilanti MI 48197 USA 2006 FoamFly com...
Страница 2: ......
Страница 3: ...It s a community too With pilots and designers from all over Please take pictures and videos of your Gremlin and I ll put them in the photo gallery Feel free to drop by and see what all the other foa...
Страница 4: ...And of course even a foam plane needs a few odds and ends to tie everything together Take a few moments to inspect what you ve got here As the items are called for you ll get more info on their inten...
Страница 5: ...stick will go b Peel one side of the fuselage bottom This will be the inside Next use your knife to split the tab at the rear end of the piece Carefully bend the foam into a curved shape that matches...
Страница 6: ...op section is properly centered and that everything lines up as noted above ii Hot Glue Weld the seams where the rudder exits the fuselage on the bottom Ta Da Make sure the especially that the tail an...
Страница 7: ...did e Fit the loop of each torque rod through the cutout in the wing then glue the tubing into the grooves to support the torque rods Cut a small groove into the bottom of each aileron where the end...
Страница 8: ...of the tubes they must be able to slide freely b Carefully slide the completed horizontal stabilizer through the slot in the fuselage Make sure that it is straight and centered and hot glue weld the h...
Страница 9: ...d press a z bend from the pushrod into the grommet You ll probably need to use needle nosed pliers for this Connect the other ends of the aileron pushrods to the aileron servo Hook up the pushrods for...
Страница 10: ...contact cement on both halve ready to go run a bead of hot glue in the grooves on the second half and then quickly press the two halves together b Some of the wheels are thicker than others so you mi...
Страница 11: ...r up as id does down Decide on a location to mount the battery It will either go up front slid partially under the wing or in the main cabin mounted on top of the wing out of the way of the aileron pu...
Страница 12: ...s will be ready to press together by the time that you re done applying glue to the last Then proceed in order for an exceptionally quick build Try applying glue to one piece then rubbing the two part...
Страница 13: ...oam a In certain areas you ll need to peel some of the skin from the foam to ensure that you get a good solid glue joint or to be able to bend the foam smoothly b Here s how you do it Use the tip of a...