


CM-6405 / CM-6408 Quick Install Guide Revision 120
December 2021
This document does not contain any export-controlled information.
For further advice on positioning and orienting the camera, see the camera's
installation and user guide.
Supplying Power to the Camera
The camera can be powered by:
·
A UL-listed L.P.S. (Limited Power Supply) unit, rated to a maximum temperature
of 60° C:
o
12 VDC, 1.21A minimum
o
24 VAC, 50/60Hz, 1.2A minimum
·
PoE (Power over Ethernet): 48 VDC, 0.27A minimum
For assistance with purchasing a power supply, contact Teledyne FLIR.
3 Remove Cover and Separate Base
Tip
When unpacking the camera, do not remove the plastic sheet protecting the
dome.
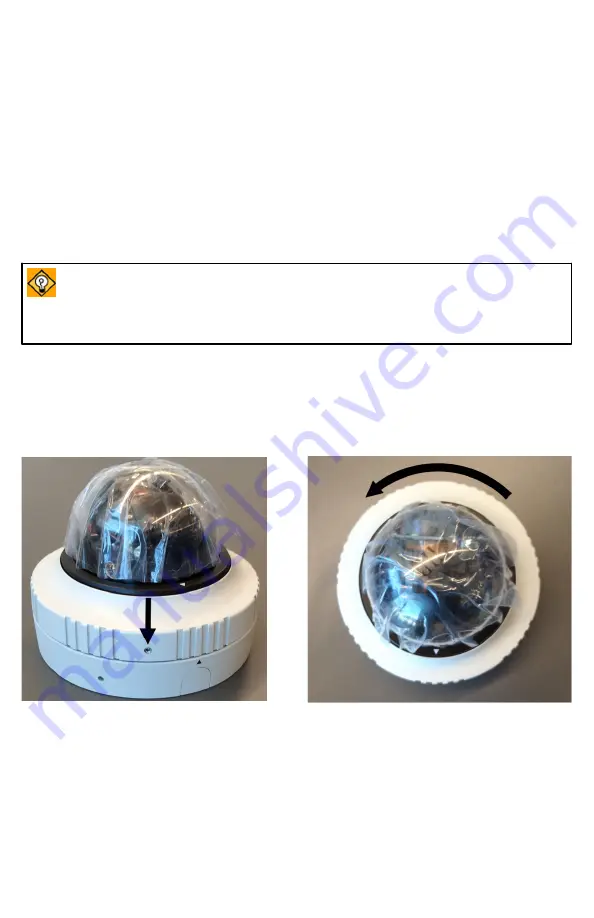
To remove the dome cover:
a. Using the Torx wrench, loosen the screw on the camera's outer circular ring
that secures the dome cover to the camera base.
b. While firmly holding the base, rotate the ring counterclockwise to loosen it.
c. Carefully pull the ring and cover away from the base.
Outer Ring Locking Screw
Loosen Ring
To separate the camera base from the mounting bracket:
a. Using a screwdriver, loosen the two twist-lock screws securing the camera and
its base to the mounting bracket.
b. Gently pull the camera and its base away from the mounting bracket.
Change the number of LEDs (optional)
The camera has a total of eight IR illumination LEDs. On the 3D lens assembly,
there is a 4 / 8 (default) switch that determines the number of enabled IR LEDs.
With the dome cover removed, you can change the switch setting.


