Outdoor node installation
19
Caution!
The PoE injector is not for outdoor use. Do not expose the
PoE injector to rain or direct sun.
8.
Ping the IP address of the edge node to make sure the node works.
Opening the mount bracket
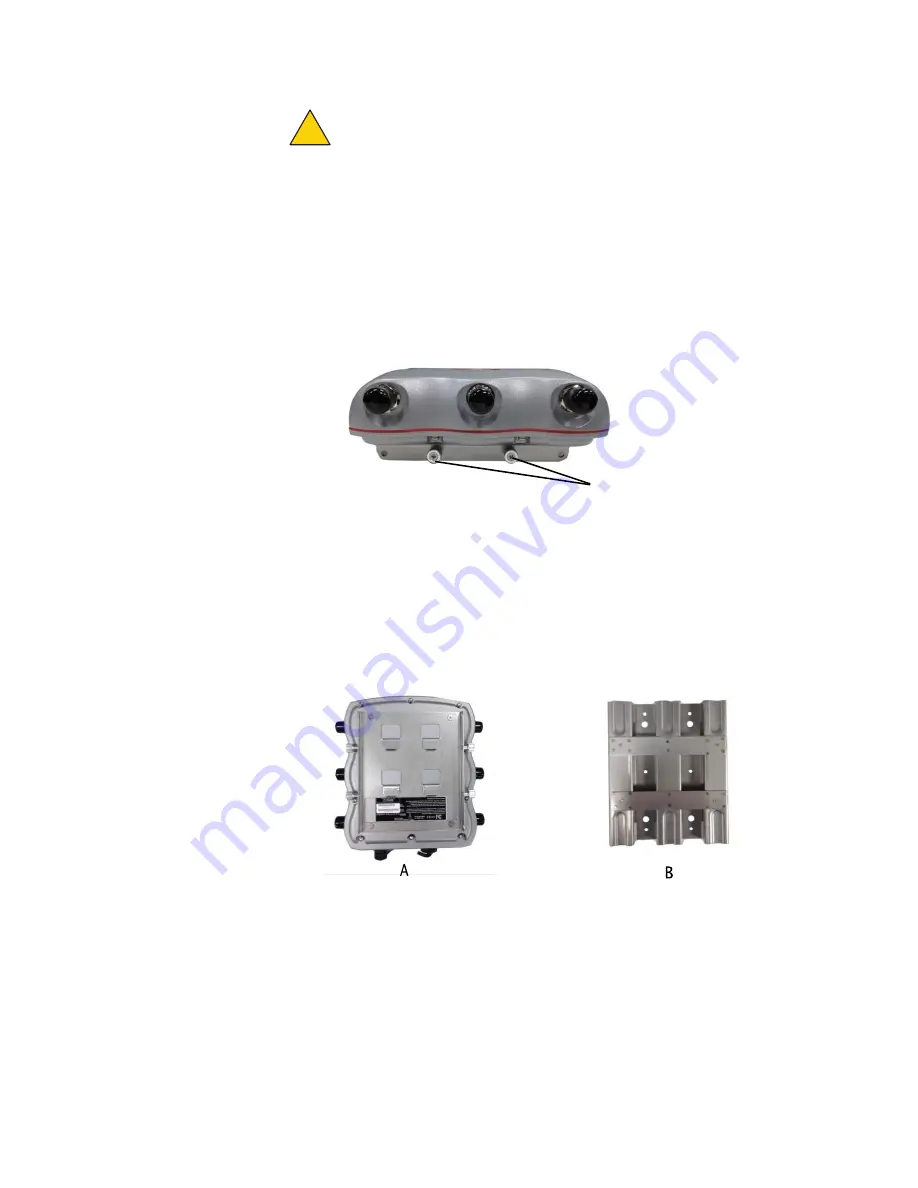
A HotPort edge node comes with an assembled two-piece mount bracket. The
next picture shows a radio-side of a node and the assembled bracket. Two captive
screws are on each side of the device.
Captive screws
The next picture shows the bracket pieces and orientation to the node. The
mount bracket has multiple holes and slots, so you can use bolts, straps, or other
materials to attach the node to a surface.
Image A shows the side of the mount bracket on which the chassis is attached.
Image B shows the bracket on which you hang the node. This bracket attaches to
a pole or other surface.
The mount kit includes extra nuts and bolts.
Required tools: #2 Phillips screwdriver
To open the mount bracket for wall or pole installation:
1.
Use the Phillips screwdriver to loosen the four captive screws (two on each
side).
!
Содержание HotPort 5020
Страница 1: ...HotPort FiretideInstallationGuide HotPort 5020 Edge Nodes Published March 2014 Revised 2016...
Страница 2: ......
Страница 8: ......
Страница 12: ...HotPort 5020 edge nodes 4...
Страница 21: ...Beforeyoupermanentlyinstall 13...
Страница 41: ...Troubleshooting 33...


