FIORI GROUP S.p.A.
Via per Ferrara, 7
41034 FINALE EMILIA (Modena Italia)
Tel. +39.0535.92357 - Fax +39.0535.90960
http://www.fi origroup.com
uk_EN
TRANSLATION FROM
ORIGINAL LANGUAGE
USE AND MAINTENANCE MANUAL
RIF. 9304444428
ed. 03
id.:
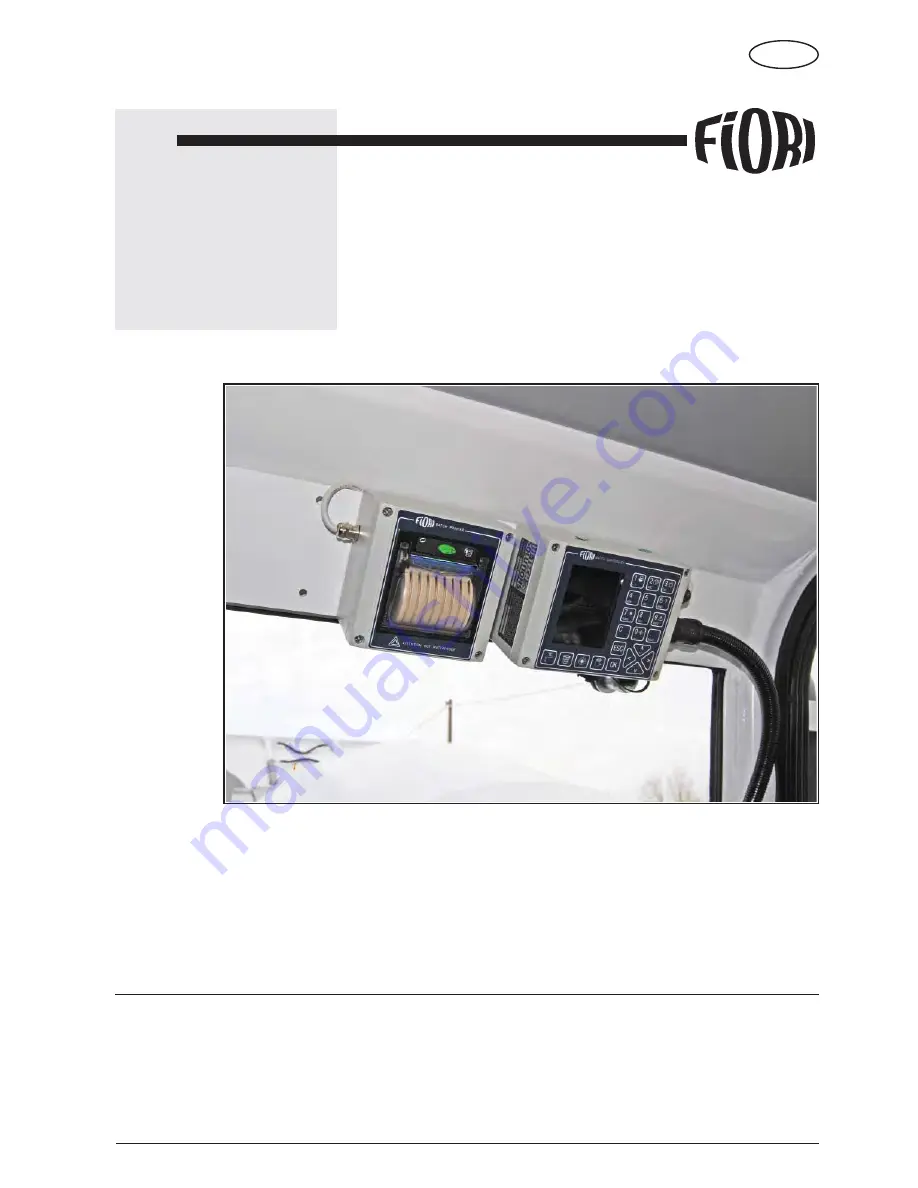
FIORI BATCH CONTROLLER
REV. 01 24/03/2015


