Zone
Programming
FCP-75 Manual —
P/N:LS10147-003FK-E:A 3/17/2021
85
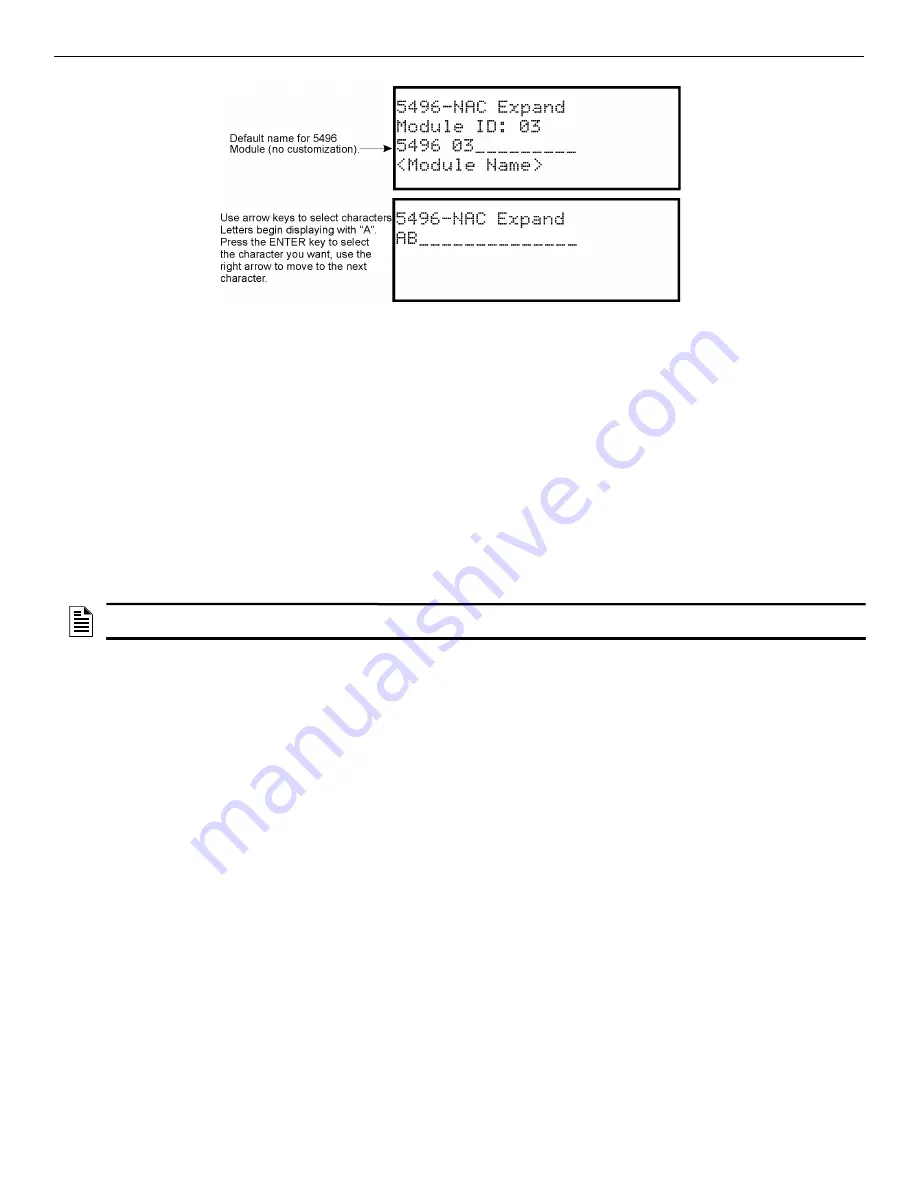
Figure 9.1 Edit Module Name Programming Screen Example
Changing Module Options
Each module has a unique set of options that specifically applies to the functionality of the module being edited.
8.
Use the left and right arrow keys to move between available options.
9.
To edit Option settings, press the up or down arrow.
9.2.2 Adding a Module
You must access the Main Menu to perform this task. If necessary, enter the Installer Code. If you need to add a new hardware module to the
system, follow the steps below.
1.
Enter the Installer Code.
2.
Select 7 for Program Menu.
3.
Press 1 to enter the Module Menu.
4.
Press 2 to add a module.
5.
From the next screen, use the up or down arrow to choose a module type to add from the <New Module Type> screen.
The screen will display
“Adding module [#]...”
for a few moments. You will be returned to the <New Module Type> screen where you
can select another module if desired.
Save the changes when you exit the Program Menu or the system will not add the new module.
9.2.3 Deleting a Module
If you need to delete a module, follow these steps.
You must be in the Main Menu to perform this task. If necessary, enter the Installer Code.
1.
Enter the Installer Code.
2.
Select 7 for Program Menu.
3.
Press 1 to enter Module Menu.
4.
Press 3 to delete a module.
5.
From the next screen, select a module to delete. A warning screen will display.
6.
If you want to proceed with deleting the module, select Yes. To cancel, select No.
9.2.4 View Module List
1.
Enter the Installer Code.
2.
Select 7 for Program Menu.
3.
Press 1 to enter Module Menu.
4.
Press 4 to view Module List.
9.3 Zone
Through the zone option in the program Menu you can edit, add, delete, and view zone points. Selections made here affect all detectors and
switches in the zone. Up to 125 zones can be used in the system.
9.3.1 Edit Zone
Features that can be edited through the edit zone option are zone name, zone properties (which includes, zone type, and detector sensitivity),
and zone accessory options.
To edit a zone, follow these steps:
1.
Enter the Installer Code.
2.
Select 7 for Program Menu.
3.
Press 2 to enter Zone Menu.
NOTE:
If you add a module that has not been physically connected, the panel will go into trouble after it reinitializes (when you exit the
Program Menu). When the new module is attached, the trouble will correct itself automatically.


