Creating the site map
Page 86
FiberPatrol IDS Software Guide
4.
Increase the Zoom on the Area-of-Interest Details field until either the Image Width or Height is
approximately 1000, and then select OK.
5.
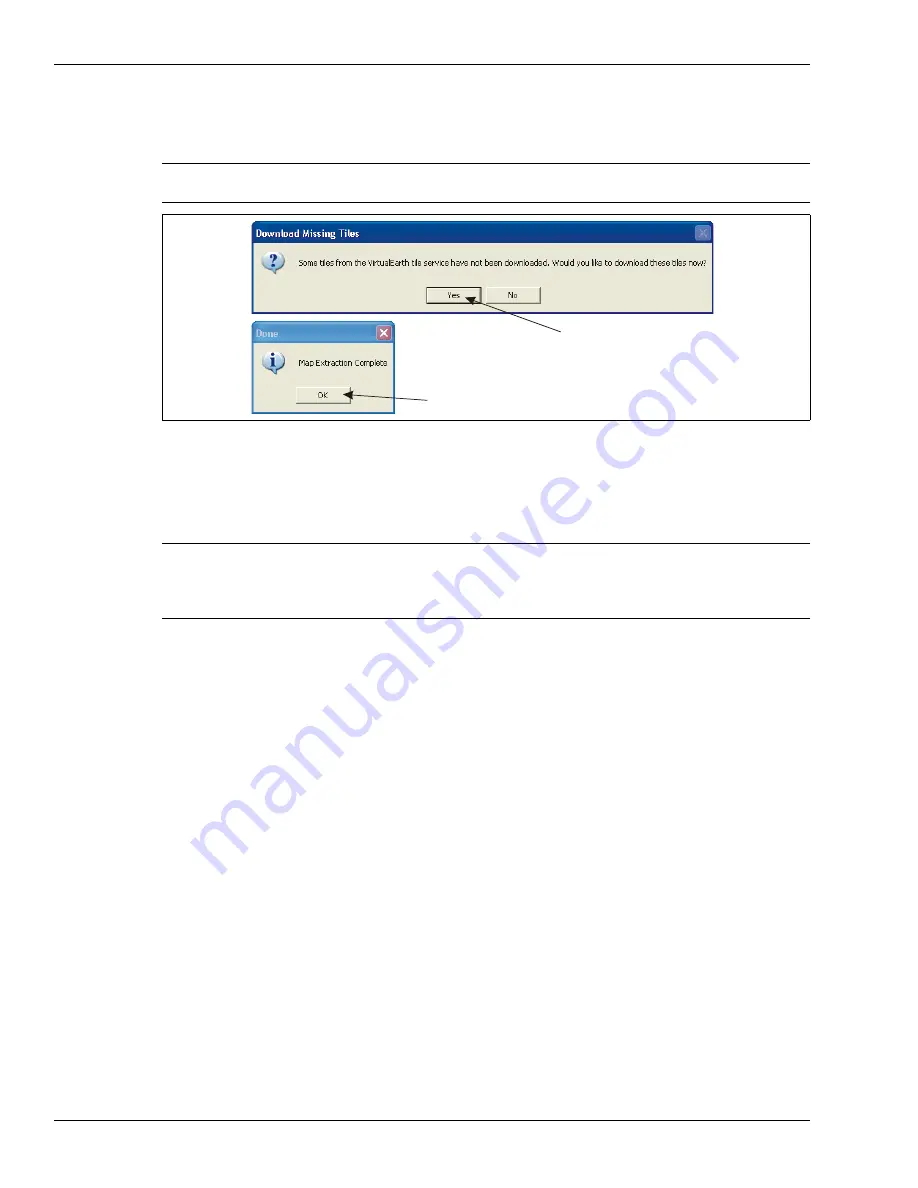
When you are prompted to Download Missing Tiles select Yes.
6.
Once the Map Extraction is complete, select OK.
7.
Go to the Project menu, and select Export > Definition file(s)...
Use the Browse button to select a folder in a known location (or create a folder) and then
select Export. When the export process is complete, select OK.
8.
Delete the IDS zone definition.txt file from the target folder.
9.
Verify that three configuration files were exported to the specified folder (IDS map
calibration.txt, IDS map image.jpg, IDS perimeter definition.txt) and check the map image
(open the jpg file).
If there is no map image, you must reselect the AOI and extract the map at a lower zoom level.
10. Save the Project, and close IDS Map Manager.
Importing Configuration Files into the FiberPatrol IDS software
1.
Save the three configuration files that were exported from IDS Map Manager to removable
media.
2.
On the FiberPatrol sensor unit, navigate to C:\FiberPatrol\Configuration. Rename the existing
files by adding ORIG to the end of the file name before the extension (e.g., IDS map
calibration ORIG.txt).
3.
On the FiberPatrol sensor unit, copy the three IDS Map Manager configuration files into
C:\FiberPatrol\Configuration.
4.
Go to the Configure menu, and select Load Configuration.
Verify that the correct map image appears in the Current Alarms sub-panel.
Note
The Download Missing Tiles process can take several minutes. Wait
until the Map Extraction Complete popup displays before proceeding.
Figure 104 Completing the Map extraction
Note
The Export function creates four configuration files. However, the IDS
zone definition.txt file is not required and must be deleted from the
target folder before the files are imported into the FiberPatrol IDS
software.
select OK
select Yes


