background image

1

Revision date: 05.13.20

©2020 FarmTek

®

All Rights Reserved. Reproduction 

is prohibited without permission.

112534 PolyMax® H2-24 

Dutch Bucket System

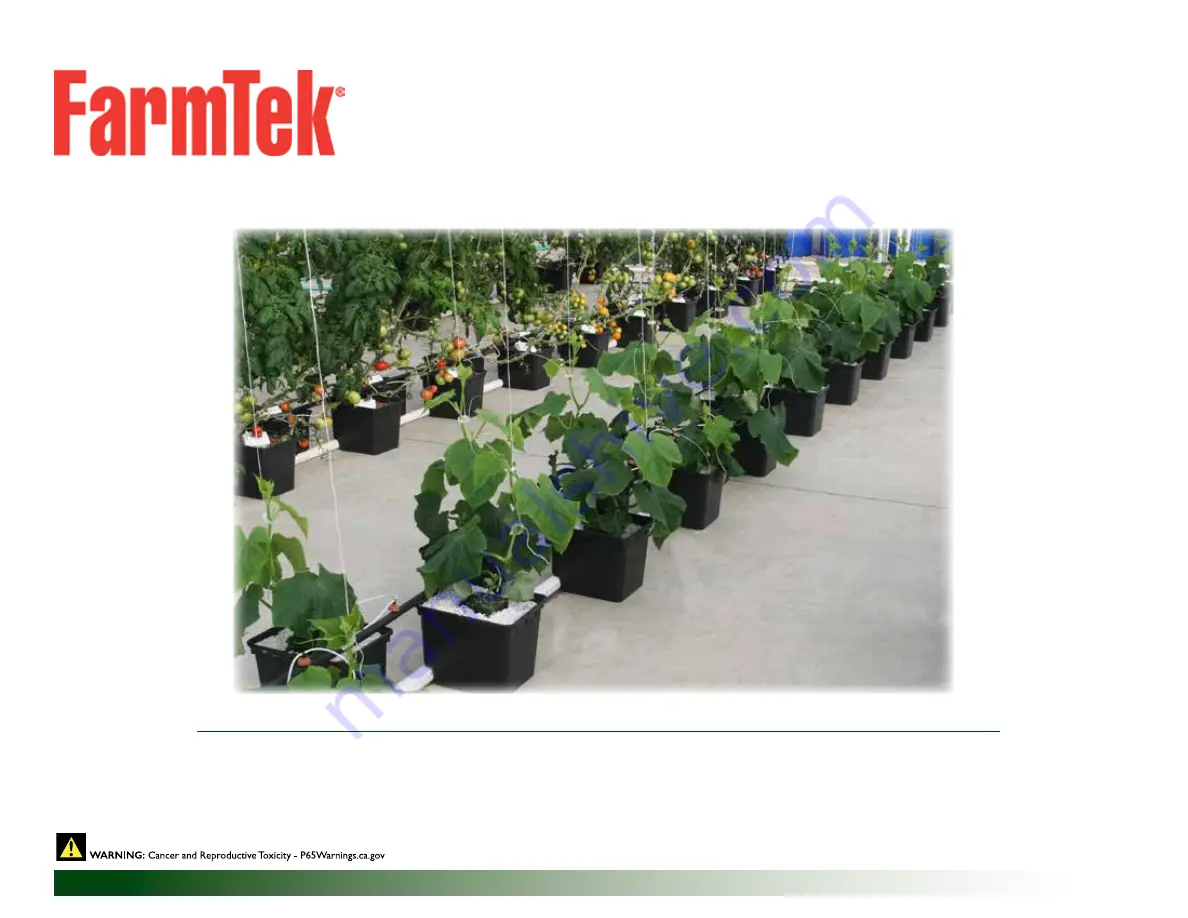
Versatile PolyMax® Dutch Buckets are ideal for both small- and large-scale hydroponic growing.

PolyMax® Dutch Buckets

*Actual system may differ.

Содержание PolyMax H2-24

Страница 1: ... Rights Reserved Reproduction is prohibited without permission 112534 PolyMax H2 24 Dutch Bucket System Versatile PolyMax Dutch Buckets are ideal for both small and large scale hydroponic growing PolyMax Dutch Buckets Actual system may differ ...

Страница 2: ...heck and clean all filters to optimize performance Clean the reservoir periodically to prevent unwanted contamination of solution Monitor temperatures room and solution to maximize plant growth SAFETY PRECAUTIONS Apply PVC primer and cement in a well ventilated area Follow all instructions on containers Use a portable GFCI Ground Fault Circuit Interrupter when working with electric power tools and...

Страница 3: ...10410 Woodpecker Drippers WF3415 WF3420 113696 111303 2 Way Manifold WF2392 WF2350 WR4067 WF8582 WF2190 WF1380 WF1390 ATTENTION This is a drain to waste Dutch bucket system As such it requires a drain or tank to capture the nutrient solution that drains from each Dutch bucket Disposal of nutrient solution may be regulated in your area Consult the services of a professional familiar with local and ...

Страница 4: ...091 Clear Vinyl Tubing WF1030 with 112066 Shut Off Valve CAUTION Do not activate pump without first priming it Doing so will damage the pump Consult all documentation included with the pump before you begin WF6990 PVC Cement and 113372 Purple Primer PVC PRIMER CEMENT Follow all directions printed on pvc primer and cement containers Purple color of primer does not fade Use caution during applicatio...

Страница 5: ...m will be operating Estimated system footprint is 8 x 24 Length depends on reservoir position 2 Follow the procedures as presented Procedures can be completed simultaneously depending on available assistants 3 Partially fill reservoir and test system 4 Mix nutrient solution fill buckets with growing medium and add plants 5 Set timer and monitor operation ATTENTION This is a drain to waste Dutch bu...

Страница 6: ... smaller greenhouses Consult the diagram on the next page for another example ATTENTION Customizing the layout of this system may require the purchase of additional fittings and tubing Contact your sales representative for additional details and to purchanse additional materials if needed Timer Air Pump 115 Gallon Reservoir Pump To Power Supply See dimensions noted on previous page To Power Supply...

Страница 7: ...ed To complete the assembly for this layout additional purchase is required for 1 pvc elbows and 1 pvc tubing See A s in diagram above The amount of additional 1 pvc tubing depends on how overall layout is completed Contact your sales representative to purchase additional WF1570 elbows or purchase 1 pvc elbows and 1 pvc tubing locally Alternative Dutch Bucket System Layout p s i 0 5 1 0 1 5 2 0 3 ...

Страница 8: ... 18 intervals working toward the other end of the drain tube Mark twelve 12 hole locations in all one for each Dutch bucket in the first row 6 Take a 1 hole saw and drill the 12 drain holes in the pvc drain tube Keep all holes aligned and centered on the chalk line 7 After drilling the holes clean all debris from inside the drain tube and from around the drain holes 8 Take one MH1123 slip cap and ...

Страница 9: ...osition the open end of tubes so they empty into the drain 2 Assemble the siphon elbows as shown Two 2 elbows are used for each assembly 3 Take the elbow assembly and install one inside each Dutch bucket 4 Using the diagram below or on page 5 set each Dutch bucket in place Use 12 buckets for each row Verify that each bucket drain nipple is inserted in the drain hole of the pvc drain tube 5 Continu...

Страница 10: ...shown above Drill 1 3 8 Return Supply Tube Holes 1 Move lid off reservoir Do not drill with lid on reservoir Debris will contaminate solution and clog pump during operation Two 1 3 8 holes are required for the angled return supply tubes In addition two 5 16 holes are required to connect the air pump to the air stones inside the reservoir Complete the procedures below to drill the required holes 2 ...

Страница 11: ...een to the threaded body of the bulkhead fitting Hand tighten until snug 3 Attach the bulkhead assembly to the reservoir Hex nut and thin flat washer are outside the reservoir Tighten until snug using large adjustable pliers 4 Continue with the next procedure WF2392 Bushing 111303 Screen Inside reservoir photo showing fittings Install rubber seal inside reservoir 3 DRILL RESERVOIR AND INSTALL BULK...

Страница 12: ...he manifold to the pump It is best to assemble the manifold and related parts in the area where the system will be operating ATTENTION Do not attempt to move the system after attaching the pump to the reservoir and the manifold to the pump Damage to the components may occur See steps and digarms on the next pages 4 ASSEMBLE SUPPLY MANIFOLD AND CONNECT PUMP TO RESERVOIR WF6990 PVC Cement 113372 PVC...

Страница 13: ...s are connected 3 After constructing the manifold assemble the plumbing pump and reservoir ASSEMBLE SUPPLY MANIFOLD AND CONNECT PUMP TO RESERVOIR continued 4 Assembly Instructions Plumbing 1 PVC 1 PVC psi 0 5 10 15 20 30 25 psi 0 5 10 15 20 30 25 WF3316 WF3316 WF1380 WF1390 WF1380 WF1380 WF2190 WF1030 WR4067 112549 Reservoir Lid 112548 Reservoir 1 PVC WF2350 WF2350 WF2190 WF3420 Align the WF1380 t...

Страница 14: ...installed 2 Connect main manifold to pump Cut the vertical 1 pvc tube to a length that positions the manifold at or below the top of the reservoir 3 Assemble and connect diagonal return lines to main manifold Length depends on pump position 4 Measure cut and connect 1 pvc tubes to manifold See next page for dimensions WF1570 x2 113696 WF3415 WF2193 1 PVC psi 0 5 10 15 20 30 25 psi 0 5 10 15 20 30 ...

Страница 15: ...adapters At the end of each 3 4 supply tube opposite the reservoir install a AC2804 valve Secure all 3 4 tube and fitting connections using the 111698 ratchet clamps The main 3 4 supply tube runs along the tops of each row of Dutch buckets 111074 WF6692 111698 Ratchet Clamp Plastic Pipe Tube Cutter Install valve in the end of each 3 4 main supply tube Secure with a ratchet clamp AC2804 Space the t...

Страница 16: ... the 2 way manifolds D E 4 Determine where you want to position the dripper assemblies Punch a hole in the 3 4 supply line for each assembly using the 110743 punch F 5 Carefully install the drippers Push the tapered nipple into the hole Gently grip the body of each dripper assembly and gently pull up to seat the fitting in the supply line G H Wet tapered end for easier installation ATTENTION Dripp...

Страница 17: ...servoir lid on the reservoir and feed the tubing up through the access holes and connect the free end of each tube to the air pump ATTENTION Always position the air pump above the reservoir water level to prevent siphoning of the reservoir ATTACH THE AIR PUMP AND AERATOR STONES Attach 110091 tube to air stone 109260 Air Stone 4 Place the air pump in the position chosen in Step 1 5 Connect the air ...

Страница 18: ...the inside of the reservoir Reservoir should be cleaned each time the nutrient solution is replenished Keep the porthole cover in place during operation to prevent light from entering the reservoir 2 Check all plumbing and irrigation connections to ensure that all are operating as designed 3 Replace worn or cracked irrigation lines and drippers as needed 4 Clean the drain tubes if needed Remove th...

Страница 19: ...d bypass flow REMEMBER Valves work together Adjust as needed to get the desired system operating psi and bypass flow Mark valve positions if desired to reset after performing system maintenance 110410 Woodpecker Drippers WF3316 B A B Valves A Use these valves to isolate either side of the system during routine maintenance cleaning and changing filters They can also be used to take either side of t...

Страница 20: ...the reservoir RESERVOIR CLEANING AND MAINTENANCE 1 Turn off pump and connect a garden hose to the shutoff valve on filter Place end of hose in a bucket or run it to the desired location 2 Open the shutoff valve on the filter and turn the pump on to pump out the reservoir Turn off the pump once the reservoir is empty 3 Clean the reservoir as needed and repeat the steps to pump it out again if neede...

Страница 21: ... CLEANING THE FILTER ARE THE SAME Clean the Filter Screen and Housing 1 Turn off pump Open valve on the filter to drain the supply line and filter 2 Grip the filter housing and the main supply line and unscrew the housing Do not apply force to the filter or the supply line fittings Hold these steady when disassembling the filter 3 Remove the screen from the housing Using clean water rinse the hous...

Страница 22: ...ary steps to contain the water as needed 6 Turn on the pump and allow water to flow through the line to flush it 7 Turn off pump and check water level in the reservoir Add water if needed 8 Set the WF3316 valves as needed to direct water to the other row of buckets 9 Repeat the steps to flush that line 10 Verify that both AC2804 valves are closed and refill the reservior with nutrient solution 11 ...

Страница 23: ...ality affects the nutrient solution Testing the water supply is strongly recommended before you mix the nutrient solution In some instances and for best results it may be necessary to treat the water supply Consult the services of a water quality professional to determine the condition of the water and how to treat it if necessary before you begin Add your desired plants to the buckets Set the sta...

Страница 24: ...consult the following page to view installation photos using the 110010 assemblies and the 110006 110007 clips Additional purchase required Contact your sales representative to purchase Tomato RollerHook Assemblies for your Dutch bucket recovery system OPTIONAL ACCESSORIES ADDITIONAL PURCHASE REQUIRED ATTENTION Photo to the right shows the spool incorrectly installed in the wire hanger When instal...

Страница 25: ...2 Pull cord from the spool so it reaches the desired Dutch bucket 3 Take one 110006 or 110007 clip wrap it around the stem of the plant feed the cord into the hinged part of the clip and snap the clip closed to lock cord in place 4 Move back to the cord spool and tighten to remove slack To prevent plant damage do not overtighten As the plant grows add additional clips as needed for support 3 2 1 4...

Страница 26: ...26 112534 Revision date 05 13 20 Photo shows using the 110010 RollerHook Assembly OPTIONAL ACCESSORIES ADDITIONAL PURCHASE REQUIRED ...

Страница 27: ...27 Revision date 05 13 20 112534 PAGE RESERVED FOR CUSTOMER NOTES AND RECORDS ...

Отзывы: