Version 1.0
Vior
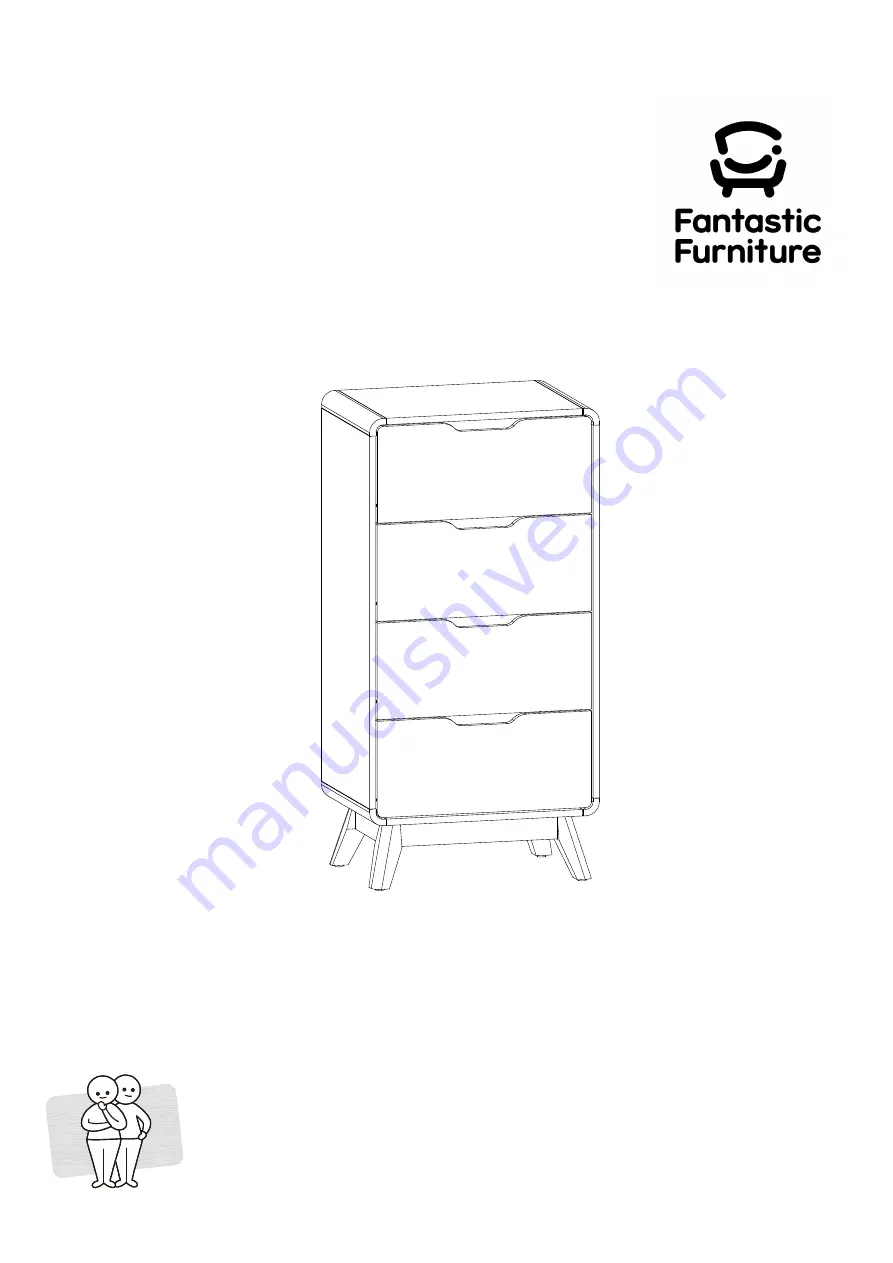
Slimboy 4 Drawer
fantasticfurniture.com.au
Required
Two People
Страница 1: ...Version 1 0 Vior Slimboy 4 Drawer fantasticfurniture com au Required Two People ...
Страница 2: ... We strongly recommend that this product is permanently fixed to the wall or other suitable surface Fixing of what fixing device to use Looks like you ve found your Fantastic Love it Share it We re thrilled you ve chosen Fantastic Furniture to help create a home you ll love Fantastic buy Share how it looks at home on Instagram for your chance to win a 250 Fantastic Furniture Gift Card fantasticfur...
Страница 3: ...d scratching or damaging the surface of the product Bulky items such as wardrobes and bunk beds should be assembled in the room they will be used in as they may not fit through a door once assembled Never use any glue until you are certain that the parts belong together Periodically check and re tighten all fasteners Check the product care label or website for product care instructions If you are ...
Страница 4: ...wer Front P18 What you need to assemble the product Other tools you need fantasticfurniture com au Page 4 Top Panel P1 Flat head screwdriver Phillips head screwdriver Hammer Mallet Left Side Panel P2 Right Side Panel P3 Back Panel P4 Back Rail P5 Front Rail P6 Bottom Panel P7 Leg P8 Leg P8 Leg P8 Leg P8 Long Rail P9 P9 Short Rail P10 P10 Top Drawer Front P16 P13 P14 P15 P13 P14 P15 P13 P14 P15 Dra...
Страница 5: ...ck 52 x Cam Bolts H1 28 x Large Cam Nuts H2 28 x Dowels H3 24 x Small Cam Nuts H4 24 x Screws 38mm H6 2 x Flat Washers H9 1 x Screws 25mm H10 8 x Slides H11 48 x Screws 12mm H5 4 x Felt Pads H8 24 x Nails H7 1 x Wall Strap H12 4 x Screws 38mm H13 ...
Страница 6: ...illips head screwdriver Step 2 Phillips Head Screwdriver You will need 14 x Dowels H3 Mallet Insert 3 x dowels H3 into each short rail P10 as shown Insert 4 x dowels H3 into each long rail P9 as shown Use a mallet to gently tap the dowels into place if needed P7 H1 H3 H1 H1 H1 H1 H1 H1 H1 P10 P10 P9 P9 H3 H3 H3 H3 H3 H3 H3 H3 H3 H3 H3 H3 H3 ...
Страница 7: ... felt pad H8 onto each leg P8 as shown Step 4 Phillips head screwdriver You will need 4 x Large Cam Nuts H2 Fit each short rail P10 between 2 x legs P8 Insert 2 x large cam nuts H2 each into short rail P10 Using a flat head screwdriver turn the cam nuts clockwise to lock 4 x Felt Pads H8 P8 H1 H1 H8 X4 Flat Head Screwdriver H2 P8 P10 P8 P8 P8 P10 H2 H2 H2 ...
Страница 8: ... You will need 8 x Large Cam Nuts H2 Position the assembled leg frame onto bottom panel P7 making sure the cam bolts on the bottom panel P7 are inserted into the holes on the assembled leg frame Insert 8 x large cam nuts H2 into short long rails P9x2 P10x2 and turn clockwise to lock Carefully turn the unit over Flat Head Screwdriver Flat Head Screwdriver 4 x Large Cam Nuts H2 P9 P7 H2 P9 H2 H2 H2 ...
Страница 9: ... 4 x screws H13 as shown Tighten all cam bolts and screws with a Phillips head screwdriver Step 8 You will need 4 x Screws 38mm H13 4 x Cam Bolts H1 Phillips Head Screwdriver Phillips Head Screwdriver H1 4 x Cam Bolts H1 P7 Screw 4 x cam bolts H1 into top panel P1 as shown using a Phillips head screwdriver H1 H1 H1 H13 H13 H13 H13 P8 P8 P8 P1 H1 H1 H1 H1 ...
Страница 10: ...bber stopper Attach 4 x separated slide tracks H11 1 onto left side panel P2 with 12 x screws H5 using a phillips head screwdriver as shown Screw 2 x cam bolts H1 into left side panel P2 using a phillips head screwdriver Insert 4 x dowels H3 into left side panel P2 as shown If needed use a mallet to gently tap the dowels into place 4 x Dowels H3 2 x Cam Bolt H1 H11 1 H3 P2 H3 H1 H1 H3 H3 H11 1 H11...
Страница 11: ...sing a phillips head screwdriver Screw 2 x cam bolts H1 into right side panel P3 using a phillips head screwdriver Insert 4 x dowels H3 into right side panel P3 as shown If needed use a mallet to gently tap the dowels into place H11 1 4 x Dowels ø8mm H3 2 x Cam Bolt H1 Raw edge H11 1 H11 1 H11 1 H11 1 H3 H3 H3 H3 H1 H1 H5 H5 H5 H5 H5 H5 H5 H5 H5 H5 H5 H5 P3 Please fasten the screws through these h...
Страница 12: ...front rails P5 P6 between left right side panels P2 P3 Insert 4 x large cam nuts H2 into back front rails P5 P6 Rotate the cam nuts so the arrows point towards the incoming cam bolts Using a flat head screwdriver turn clockwise to lock Mallet 6 x Dowels H3 Step 12 You will need Flat Head Screwdriver 4 x Large Cam Nuts H2 Required Two People Laminated edge H2 P5 P6 H3 H3 H3 H3 H3 H3 H2 H2 H2 P2 P3 ...
Страница 13: ...ght side panels P2 P3 and turn clockwise to lock using a flat head screwdriver P2 Required Two People Step 14 You will need Flat Head Screwdriver 4 x Large Cam Nuts H2 P3 P7 With assistance attach top panel P1 to left right side panels P2 P3 Insert 4 x large cam nuts H2 into left right side panels P2 P3 and turn clockwise to lock using a flat head screwdriver H2 H2 H2 H2 P1 P2 P3 H2 H2 H2 H2 Requi...
Страница 14: ...istance carfully lay the slimboy down on its front Using a hammer attach back panel P4 to top bottom panels P1 P7 and left right panels P2 P3 with 24 x nails H7 Ensure that the nail H7 goes into the back panel behind it With assistance carefully ture the unit upright Required Two People P4 Raw edge P3 P7 P1 P2 H7 ...
Страница 15: ... P18 P17 X2 H1 H1 H1 H1 H1 H1 H1 H1 H1 H1 H1 24 x Small Cam Nuts H4 Flat head screwdriver Attach drawer rails P15x4 and left right drawer sides P11x4 P12x4 to drawer fronts P16 P17x2 P18 as shown Insert 24 x small cam nuts H4 into drawer rails P15x4 and left right drawer sides P11x4 P12x4 turn clockwise to lock using a flat head screwdriver P11 P11 P11 P12 P12 P12 H1 H1 P15 P15 P15 H4 H4 H4 H4 H4 ...
Страница 16: ...eft right sides P11 P12 align with holes on drawer back P13 and the holes on drawer back P13 align with the holes on drawer rails P15 P17 P18 P16 P12 P12 P12 P11 P11 P11 Attach 2 x slide runner H11 2 to drawer left right sides P7 P8 with 6 x screws H5 using a phillips head screwdriver as shown Repeat steps for other slide runers H11 2 8 x Slide Runners H11 2 Phillips Head Screwdriver 24 x Screws 1...
Страница 17: ...2 in between the ball bearing track Position drawer so that slide runners H11 2 align with slide tracks H11 1 as shown Gently push drawer into the closed position Insert drawers into slimboy carefully as shown Slide drawer runners into position gently to avoid damaging runners Note Follow the correct order of these four drawers as shown P16 P17 P17 P18 ...
Страница 18: ...er Seek advice from a qualified trades person on how to attach this wall strap to your specific wall Screw and wall plug are not included Please use appropriate fixtures for your wall With assistance move the slimboy to its final position Attach the wall strap to the wall with the appropriate fixtures using a phillips head screwdriver Make sure they are firmly attached and secure H9 Wall Screw H12...
Страница 19: ...Step 23 Page 19 fantasticfurniture com au Job complete In the interest of our environment please dispose of all packaging thoughtfully ...