Version 1.0
www.fantasticfurniture.com.au
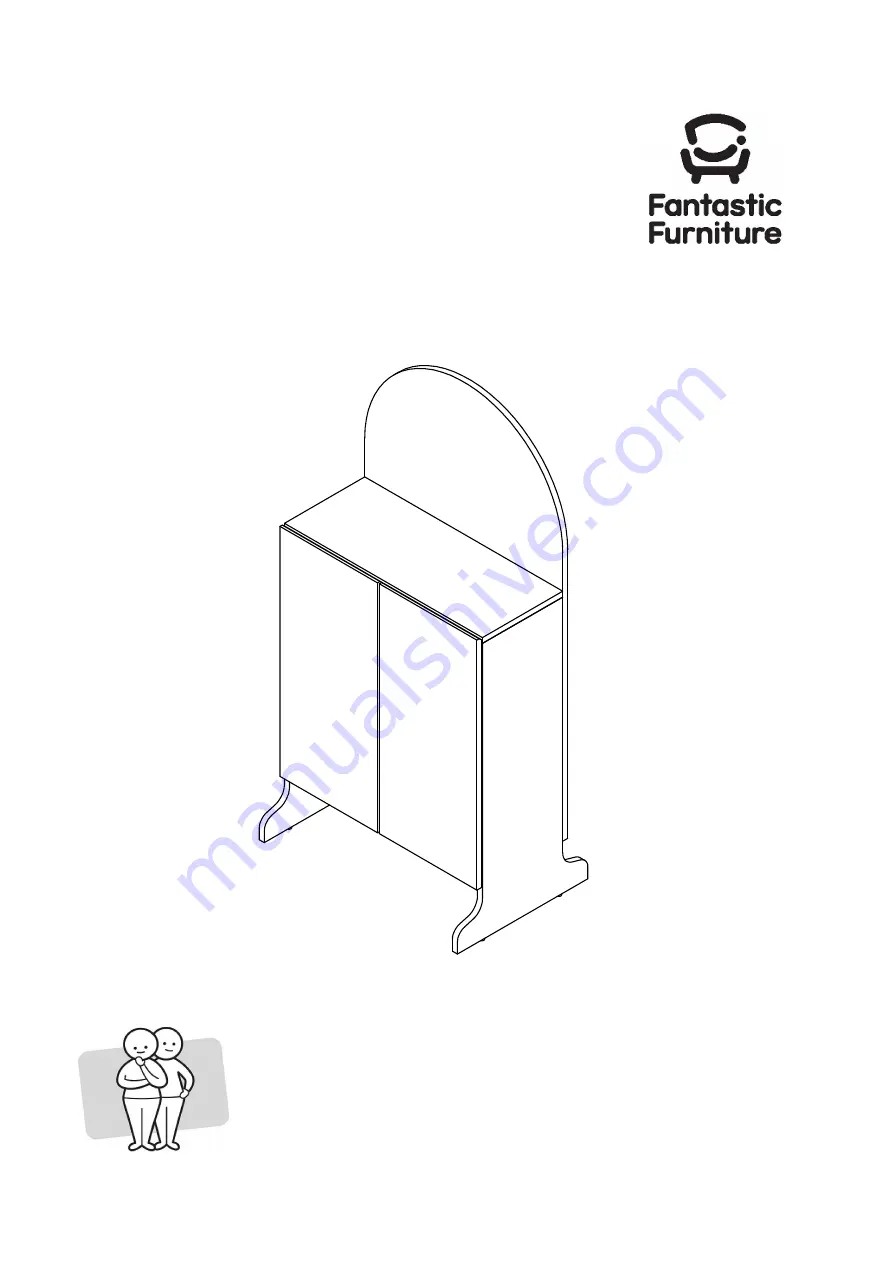
STAR WARS CUPBOARD
TWO PEOPLE
REQUIRED
RD D2
Страница 1: ...Version 1 0 www fantasticfurniture com au STAR WARS CUPBOARD TWO PEOPLE REQUIRED RD D2...
Страница 2: ...trongly recommend that this product is permanently fixed to the wall or other suitable surface Fixing devices are not included since different surface materials require different attachments Please se...
Страница 3: ...ay not fit through a door once assembled Never use any glue until you are certain that the parts belong together Periodically check and re tighten all fasterners Check the product care label or websit...
Страница 4: ...Panel P7 Door Panel L P8 Door Panel R P9 Hardware 16 x SHORT SCREW M3 5x16mm H5 8 x LONG SCREW M4x45mm H4 16 x WOOD DOWEL M6x25mm H3 8 x CAM NUT 15mm H1 8 x CAM BOLT H2 4 x PVC NAIL 5 8 H8 4 x HINGES...
Страница 5: ...into panels P1 P2 using a philips head screwdriver H1 P1 P2 H1 H1 H1 H1 H2 H2 H2 H2 4 x Cam Bolt H2 Philips Head Screwdriver H8 H2 Insert 6 x dowels H3 into panels P1 P2 by hand or gently using a soft...
Страница 6: ...H3 H3 H3 H3 10 x Wood Dowel M6x25mm H3 Step 3 You will need Insert 4 x cam nuts H1 into panel P3 Rotate the cam nuts so the arrow points towards the incoming cam bolt H2 Screw 4 x cam bolts H2 into p...
Страница 7: ...nuts on panel P3 clockwise with a philips head screwdriver to lock in position Philips Head Screwdriver Philips Head Screwdriver P1 P2 P3 P5 P6 P2 P1 Turn the unit upright and attach panel P6 to pane...
Страница 8: ...driver Make sure it is firmly attached and make sure it is snug fit Please measure the screw size first before using it Ruler is provided on page 4 6 x Long Screw M4x45mm H4 Philips Head Screwdriver P...
Страница 9: ...nel P1 using a short screws H5 and a philips head screwdriver 2 Keeping the door panel L P8 aligned repeat this step for the lower hinge 3 Repeat for door panel R P9 and side panel R R2 Please measure...
Страница 10: ...nel Door Push the hinge back a little Push the hinge forward a little Step 11d To adjust the gap between door and side Step 11e MOVE DOOR RIGHT Step 11f MOVE DOOR LEFT Top panel Door Loosen or tighten...
Страница 11: ...h wall fixing strap H9 to panels P7 with 2 x long screws H4 The side of the strap with the large washer should be facing out This will also attach panel P7 to panel P6 Note These 2 x long screws H4 ar...