background image

Step 3

Page 6

fantasticfurniture.com.au

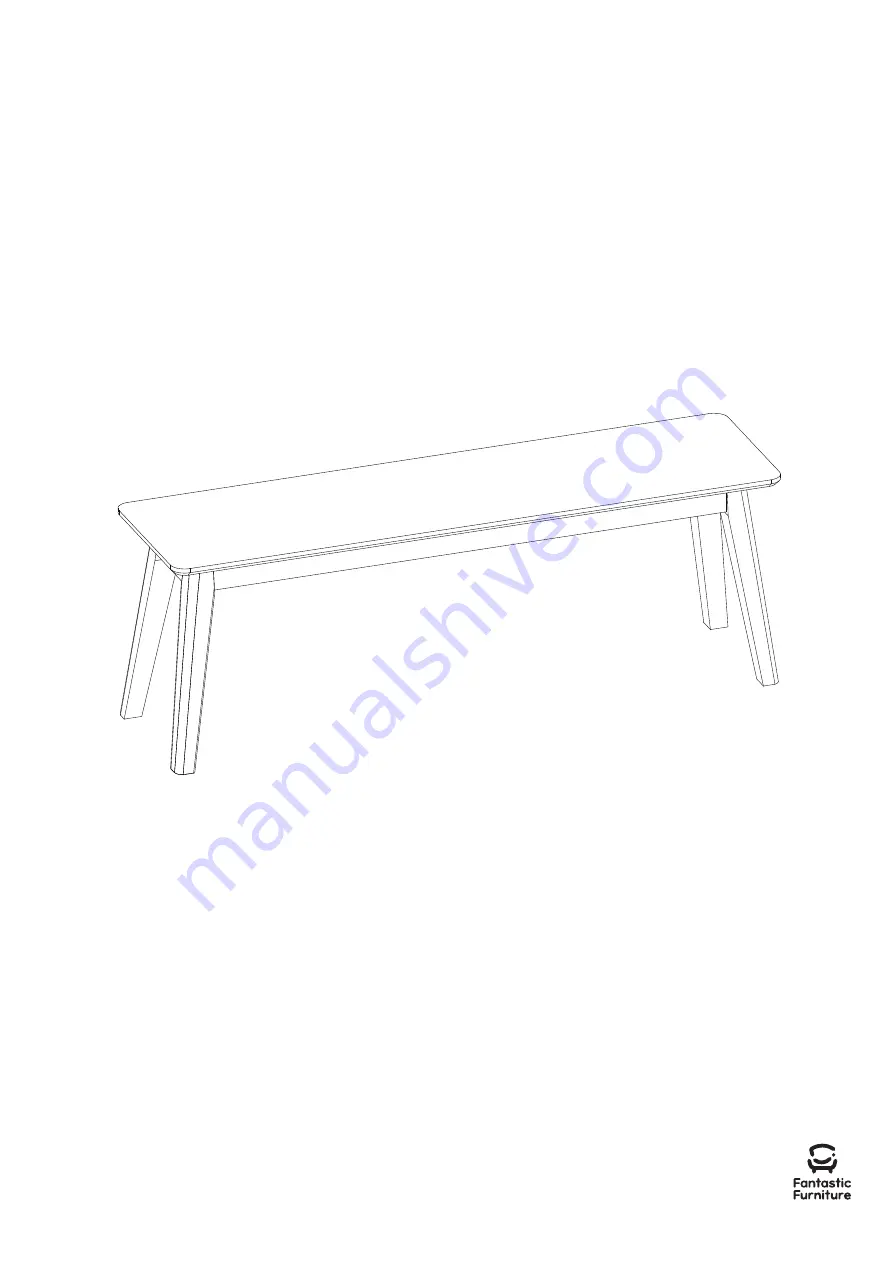
        Job complete!

In the interest of our environment please dispose

                  of all packaging thoughtfully. 

Carefully turn bench upright.

Содержание Retro Bench

Страница 1: ...Bench 2 STR fantasticfurniture com au Version 1 0 Retro ...

Страница 2: ...ot stand on or use this bench as a step ladder Use this product for seating two persons at a time This product should be checked periodically to ensure all components are secure and all hardware is tight Recommended weight capacity 200kg Caution Fantastic buy Share how it looks at home on Instagram for your chance to win a 250 Fantastic Furniture Gift Card fantasticfurniture ...

Страница 3: ...d scratching or damaging the surface of the product Bulky items such as wardrobes and bunk beds should be assembled in the room they will be used in as they may not fit through a door once assembled Never use any glue until you are certain that the parts belong together Periodically check and re tighten all fasteners Check the product care label or website for product care instructions If you are ...

Страница 4: ... to assemble the product Othe tools you need Mallet Top Panel P1 8 x Bolts H1 Part list 1 x Top Panel P1 4 x Legs P2 Hardware pack Leg P2 Leg P2 Leg P2 Leg P2 8 x Spring Washers H2 8 x Flat Washers H3 1 x Allen Key H6 4 x Dowels H5 4 x Felt Pads H4 ...

Страница 5: ...cessary Step 2 You will need 8 x Bolts H1 Attach the 4 x legs P2 to top panel P1 using 8 x bolts H1 8 x spring washers H2 and 8 x flat washers H3 Completely tighten using allen key H6 X4 8 x Flat Washers H3 8 x Spring Washers H2 1 x Allen Key H6 4 x Dowels H5 4 x Felt Pads H4 Mallet H5 P2 H4 H2 H6 H3 P2 P1 P2 H1 P1 P1 P2 P2 P2 P2 Note We strongly recommend assembling the bench on a soft surface to...

Страница 6: ...Step 3 Page 6 fantasticfurniture com au Job complete In the interest of our environment please dispose of all packaging thoughtfully Carefully turn bench upright ...

Отзывы: