Version 1.0
Pod
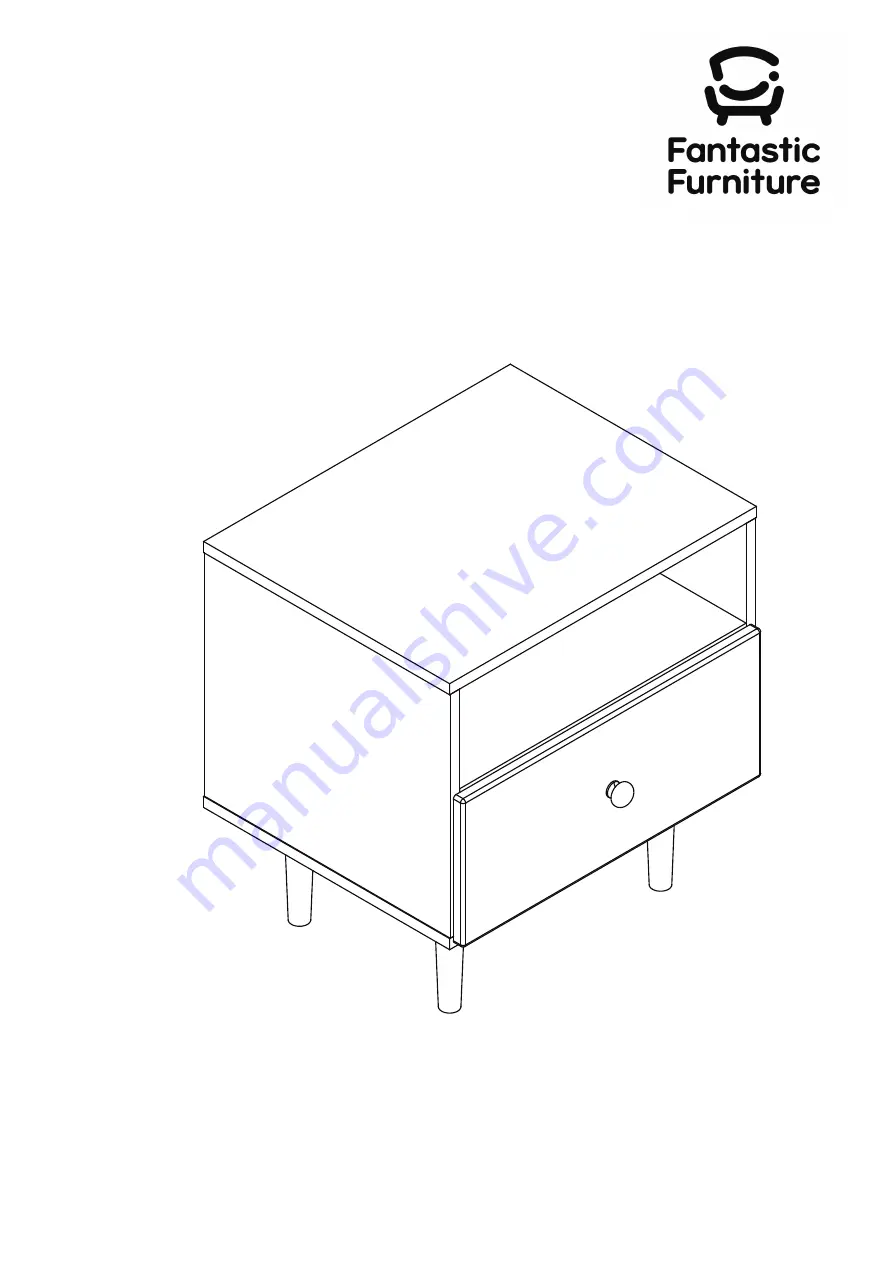
Bedside 1 Drawer
fantasticfurniture.com.au
Страница 1: ...Version 1 0 Pod Bedside 1 Drawer fantasticfurniture com au...
Страница 2: ...prevent toppling We strongly recommend that this product is permanently fixed to the wall or other suitable sur face Connecting attachments for your wall are not included since different surface mate...
Страница 3: ...to avoid scratching or damaging the surface of the product Bulky items such as wardrobes and bunk beds should be assembled in the room they will be used as they may not fit through a door once assembl...
Страница 4: ...P3 Bottom Panel P2 Back Panel P5 Shelf Panel P6 Leg P7 x4 1 x Washer H19 What you need to assemble the product Other tools you need Phillips head screwdriver Hammer Page 4 fantasticfurniture com au DO...
Страница 5: ...nel P1 by tightening with the Phillips Head Screwdriver Attach 1 x CL Runner Track H6 and 1 x CR Runner Track H7 to Left Right Side Panels P3 P4 with 6 x Small Screws H5 by tightening with the Phillip...
Страница 6: ...Shelf Panel P6 by tightening all cam nuts with the Phillips Head Screwdriver Phillips Head Screwdriver 4 x Cam Nuts H4 Phillips Head Screwdriver 4 x Dowels H1 This is how a cam nut works The head of t...
Страница 7: ...s H1 Insert 4 x Dowels H1 into Top Panel P1 Insert 4 x Cam Nuts H4 into Left Right Side Panels P3 P4 as shown Rotate the cam nuts so the arrows point towards the incoming cam bolts Attach Top Panel P1...
Страница 8: ...ed Step 8 Phillips Head Screwdriver Ensure the countersunk holes on the Leg Plate are facing up so that the Screws sit flush with the top of the Leg Plate once attached P7 H12 H14 H13 4 x Leg Plates H...
Страница 9: ...Drawer Back P12 as shown You will need Step 10 Step 11 You will need Step 9 P8 fantasticfurniture com au Page 9 Phillips Head Screwdriver Phillips Head Screwdriver 4 x Long Screws H2 H3 H3 4 x Cam Bo...
Страница 10: ...ns over the bolt P9 P10 Phillips Head Screwdriver fantasticfurniture com au Page 10 You will need Step 13 4 x Small Screws H5 Phillips Head Screwdriver 1 x DR Runner H9 1 x DL Runner H8 H5 H5 H5 H8 H9...
Страница 11: ...Screw H11 by tightening with the Phillips Head Screwdriver Insert the assembled drawer into the corresponding compartment as shown Ensure the drawer slide easily along the rails P8 1 x Handle H10 Phi...
Страница 12: ...tening with the Phillips Head Screwdriver You will need Step 17 Phillips Head Screwdriver 1 x Washer H19 Screw and Wall Plug are not provided Please use appropriate fixtures for your wall P5 fantastic...