www.fantasticfurniture.com.au
Version 1.0
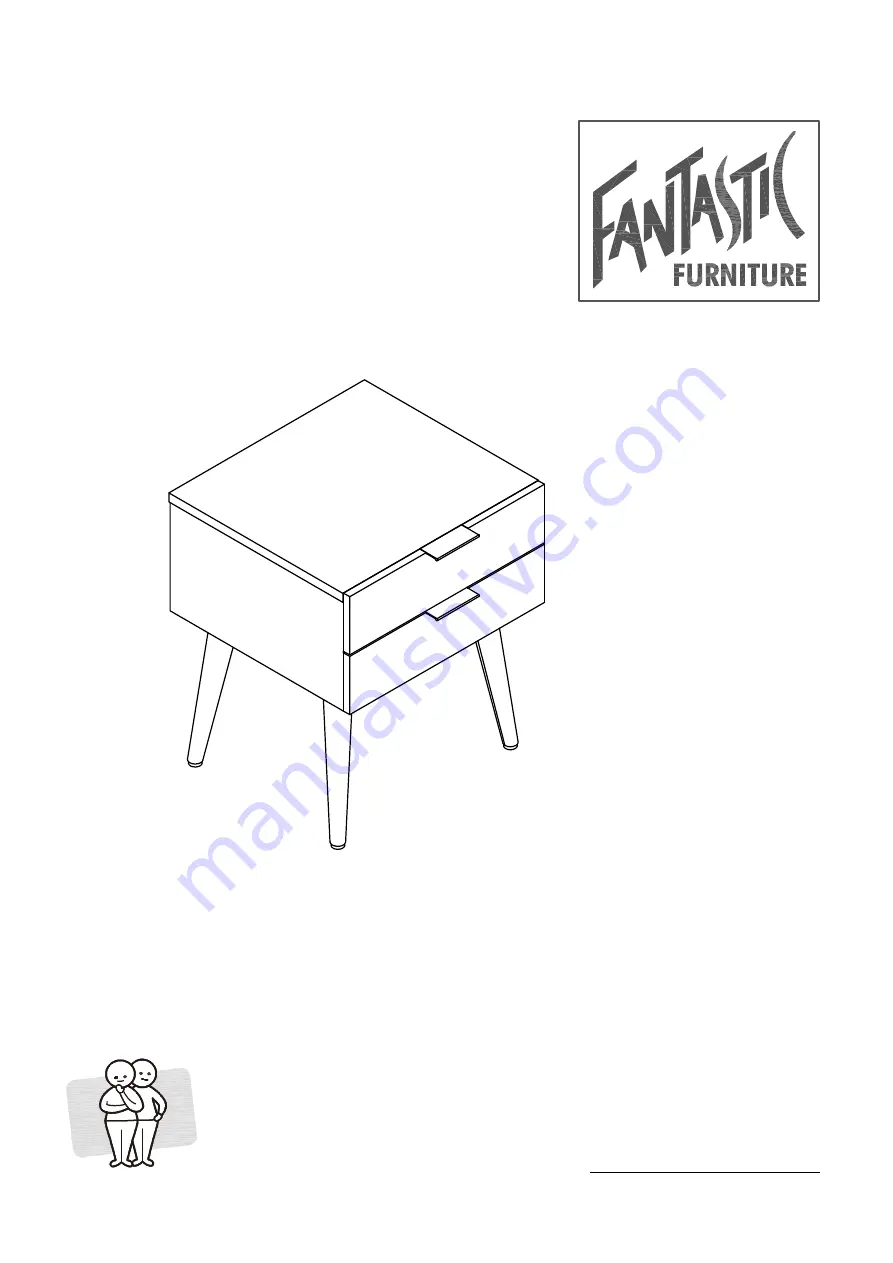
MONACO
Bedside 2 Drawer
TWO PEOPLE
REQUIRED
Страница 1: ...www fantasticfurniture com au Version 1 0 MONACO Bedside 2 Drawer TWO PEOPLE REQUIRED...
Страница 2: ...PAGE 2 www fantasticfurniture com au Enjoy Your purchase from Australia s Best Value Furniture Store...
Страница 3: ...be used in as they may not fit through a door once assembled Never use any glue until you are certain that the parts belong together Periodically check and re tighten all fasteners Check the product c...
Страница 4: ...Panel Connector H14 12 x Bolt H3 4 x Slide H15 What you need to assemble the product Other tools you need Flat head screwdriver Phillips head screwdriver Mallet Top Panel P1 Drawer Left Side P6 Drawer...
Страница 5: ...H1 into Top Panel P1 as shown Separate the Slide Runners H15 2 and Slide Tracks H15 1 from Slide H15 by following the steps below Extend the Slide Runner all the way forward Press the plastic release...
Страница 6: ...screwdriver You will need 6 x Screw H7 Mallet 4 x Big Wood Dowel H4 You will need Insert 2 x Big Wood Dowels H4 into Right Side Panel P4 Screw 2 x Big Cam Bolts H1 into Right Side Panel P4 Attach 2 x...
Страница 7: ...4 x Big Cam Nuts H2 into Bottom Panels P2 and turn clockwise to lock Allen Key H12 12 x Bolt H3 You will need P2 P2 P3 P3 P4 This is how a cam nut works The head of the cam bolt goes into the open mo...
Страница 8: ...Make sure the Back Panel P10 fits into the groove under Top Panel P1 Insert 4 x Big Cam Nuts H2 into Side Panels P3 P4 and turn clockwise to lock P1 P2 P3 P3 P4 Slide Back Panel P10 into the grooves...
Страница 9: ...5 Mallet Screw 2 x Small Cam Bolts H10 into each of the Drawer Fronts P5 using a Phillips head screwdriver Insert 1x Small Wood Dowel H5 into each Drawer left Side P6 and Drawer Right Side P7 as shown...
Страница 10: ...Drawer Side Panel P6 and 1x Drawer Side Panel P7 to 1x Drawer Back Panel P8 with 4 x Screws H6 so that their grooves are at the same side Repeat for all drawer panels P6 P8 P7 Step 12 Slide 1x Drawer...
Страница 11: ...ming cam bolt and insert the Small Cam Nut H9 into Drawer Side Panel P6 or P7 Repeat with the remaining 1 x Small Cam Nut H9 Turn Small Cam Nuts H9 clockwise to lock Repeat with other Drawer Front P5...
Страница 12: ...P5 P5 x x P5 Move Inner Ball Bearing Track outward Push Middle Track in Gently Insert Slide Runner into Ball Bearing Track Position Drawer so that Slide Runner H15 2 aaligns with Slide Track H15 1 as...
Страница 13: ...PAGE 13 Step 17 P11 If the Bedside is not level you can adjust the height of each Leg by turning the feet of Legs clockwise or counter clockwise Job Complete In the interest of our environment Please...
Страница 14: ...tion or other damage to the surface of the product Use a soft cloth that has been dampened in water to clean the surface of this product Do not use abrasive cleaners furniture wax or polish on the sur...