fantasticfurniture.com.au
Lunar
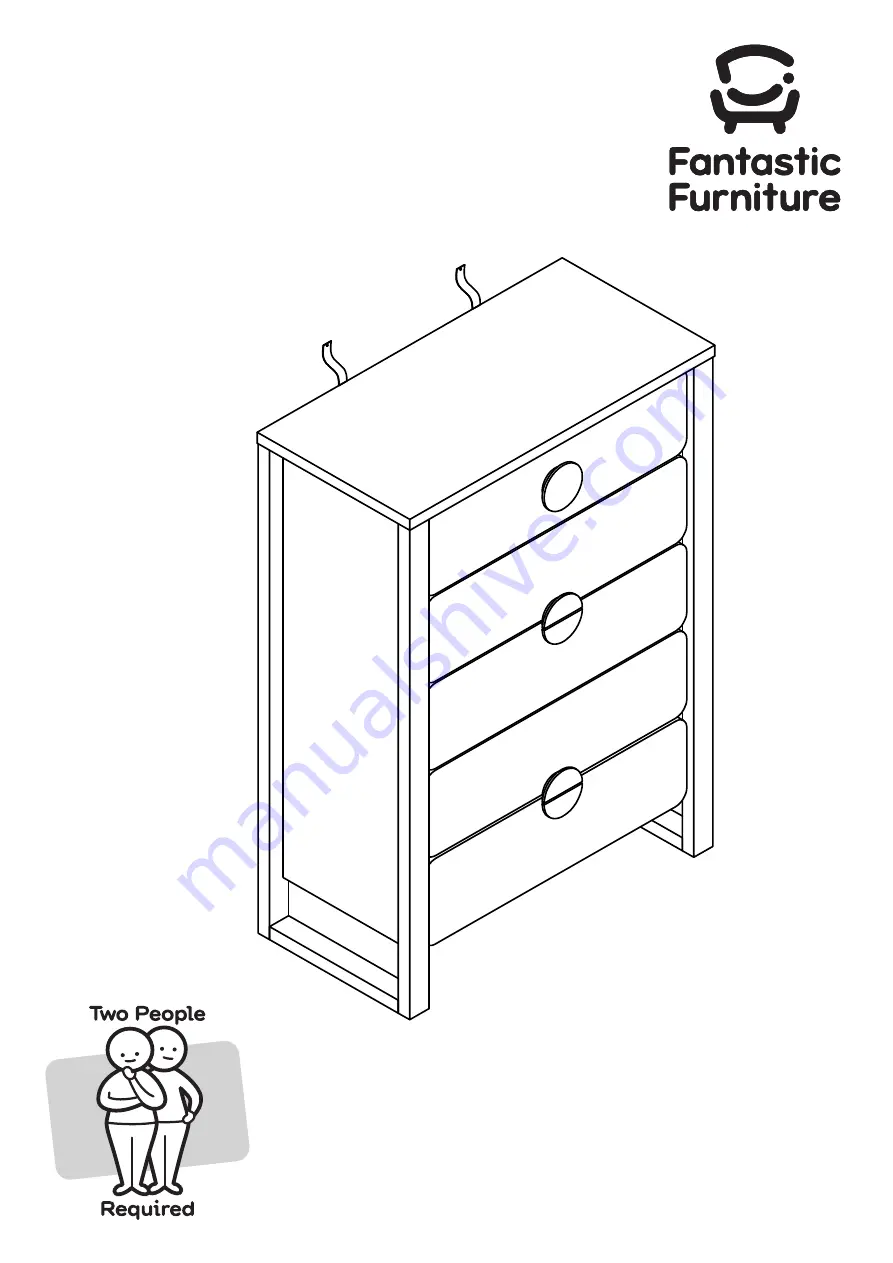
Tallboy 5 Drawer
Version 1.0
Страница 1: ...fantasticfurniture com au Lunar Tallboy 5 Drawer Version 1 0...
Страница 2: ...sticfurniture WARNING ENSURE THE WALL STRAP IS ATTACHED TO AVOID SERIOUS INJURY To avoid any serious or fatal injury this product has been supplied with a wall strap to prevent toppling We strongly re...
Страница 3: ...hardware or getting components back to front Always use a so t surface such as carpet or cardboard when assembling your product to avoid scratching or damaging the surface of the product Bulky items...
Страница 4: ...CR Runner 5 x DR Runners P1 P2 P3 P4 P5 P6 P7 P12 4 x Handles 4 x Feet Glides 14 x Wedges 14 x Wedge Screws 10 x Handle Screws P6 P6 P6 P8 P9 P11 P12 P13 P15 P14 P10 P6 P6 Box 1 Top Panel P1 Support P...
Страница 5: ...H11 H13 H13 Insert 16 x Cam Bolts H6 into the Left Side Panel P3 and Right Side Panel P4 by tightening with a Phillips Head Screwdriver Insert 16 x Dowels H7 into the Left Side Panel P4 and Right Sid...
Страница 6: ...ver H7 4 x Dowels H6 4 x Cam Bolts H7 H6 H6 H6 H6 P1 H7 H7 H7 2 x Drawer Screws H14 Attach Support Panel P2 to the Top Panel P1 with 2 x Dowels H7 and 2 x Drawer Screws H14 by tightening with the Phil...
Страница 7: ...anel P5 to the Left Side Panel P3 by tightening all Cam Nuts with the Phillips Head Screwdriver Step 6 P4 This is how a cam nut works The head of the cam bolt goes into the open mouth of the cam nut Y...
Страница 8: ...olt P1 P3 P4 Phillips Head Screwdriver You will need H5 4 x Cam Nuts H5 Insert 4 x Cam Nuts into Left Side Panel P3 and Right Side Panel P4 Attach the Top Panel P1 to the Left Side Panel P3 and Right...
Страница 9: ...antasticfurniture com au Secure Back Panel P7 in place with 14 x Wedges H3 using 14 x Wedge Screws H16 by tightening with the Phillips Head Screwdriver Step 10 H6 H6 H6 H6 H6 H8 P15 H6 P12 x 2 H6 P13...
Страница 10: ...ips Head Screwdriver Repeat for the remaining drawers Step 11 H5 H5 P9 x 4 P10 x 4 H5 P14 x 4 P12 x 2 P13 x 2 P15 Phillips Head Screwdriver You will need 25 x Cam Nuts H5 This is how a cam nut works T...
Страница 11: ...u will need Phillips Head Screwdriver 24 x Drawer Screws H14 H14 H14 H14 P14 Attach the 4 x Handles H1 to the Drawer Fronts P12 P13 with 8 x Handle Screws H8 by tightening with a Phillips Head Screwdr...
Страница 12: ...nner H10 to the bottom of Drawer Side Panel L P9 and 1 x DR Runner H12 to the bottom of Drawer Side Panel R P10 with 6 x Runner Screws H5 by tightening with the Phillips Head Screwdriver Repeat proces...
Страница 13: ...tures for your wall Seek advice from a quali ed trades person on how to attach this safety strap to your speci c wall Move the unit to the nal position and attach the safety strap to the wall securely...