Version 1.0
Bravo
fantasticfurniture.com.au
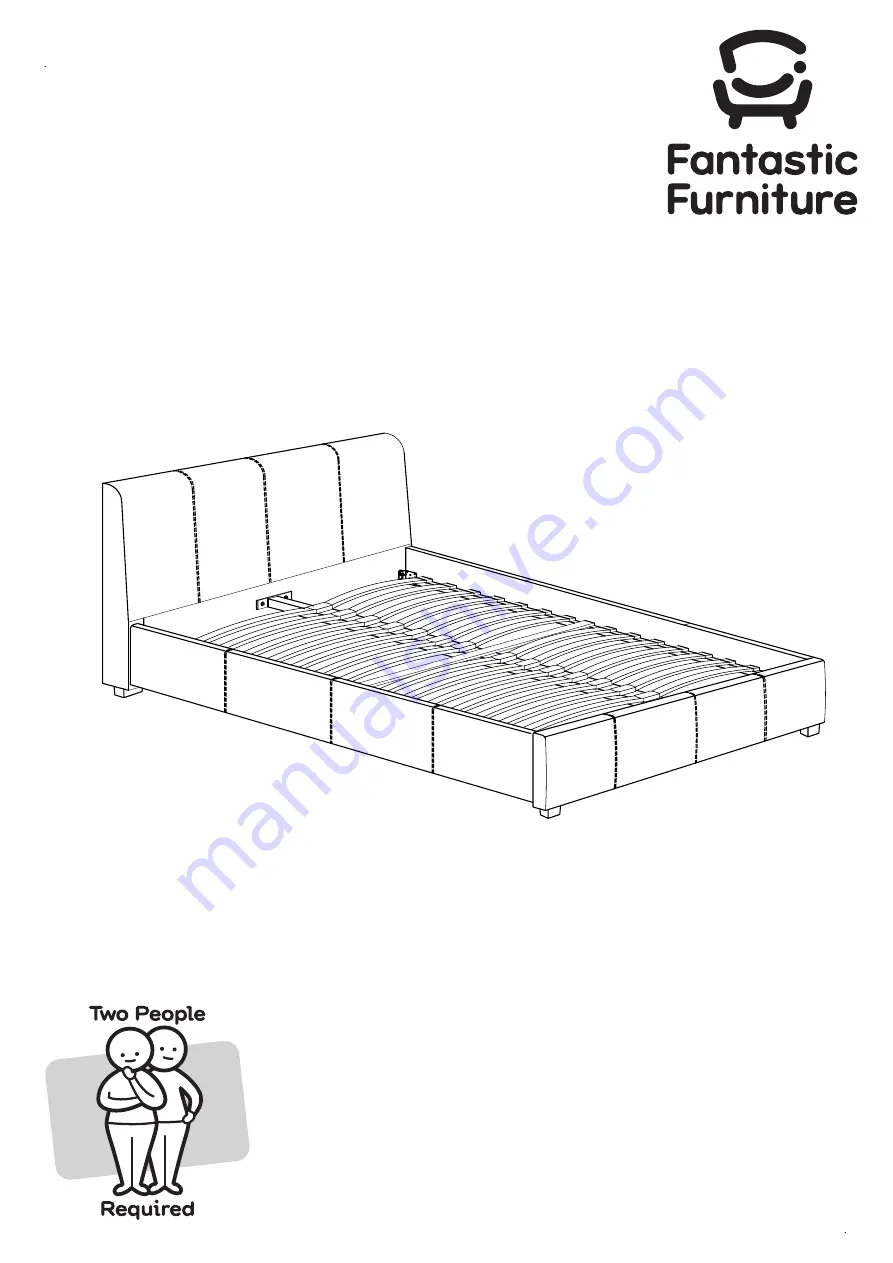
Queen/King Bed
Страница 1: ...Version 1 0 Bravo fantasticfurniture com au Queen King Bed ...
Страница 2: ...buy Share how it looks at home on Instagram for your chance to win a 250 Fantastic Furniture Gift Card fantasticfurniture fantasticfurniture com au Looks like you ve found your Fantastic We re thrilled you ve chosen Fantastic Furniture to help create a home you ll love ...
Страница 3: ...structions Never use any glue until you are certain that the parts belong together Bulky items such as wardrobes and bunk beds should be assembled in the room they will be used as they may not fit through a door once assembled Always use a soft surface such as carpet or cardboard when assembling your product to avoid scratching or damaging the surface of the product The most common mistakes made d...
Страница 4: ...e Rail P6 Support Leg P4 Support Leg P4 28 x End Connectors P7 14 x Centre Connectors P8 28 x Slats P9 Parts list Box 1 Headboard P1 Slats P9 Box 2 Hardware pack Footboard P2 Headboard Footboard Leg P3 2 x Support Legs P4 2 x Side Rails P5 Center Rail P6 End Connectors P7 Centre Connectors P8 Timber Cross Rail P10 Hardware Pack 8 x Short Bolts H1 1 x Allen Key H2 8 x Large Screws H3 2 x Small Scre...
Страница 5: ...8 x Large Screws H3 Phillips head Screwdriver not provided 8 x Short Bolts Install the 8 x short bolts H1 to the brackets of the headboard P1 and footboard P2 by using side rails P5 to headboard P1 and footboard P2 by slotting the bracket on the side rails P5 over the bolt as shown No need to tighten bolts until step 6 the allen key H2 as shown do not tighten the bolts and keep them 8mm loose Then...
Страница 6: ...e com au Page 6 as shown You will need H5 H4 Phillips head Screwdriver not provided You will need H5 H4 Phillips head Screwdriver not provided 2 x Washers 2 x Long Bolts 4 x Washers 4 x Long Bolts Slot the centre rail P6 into the headboard P1 and footboard P2 Insert and attach the long bolts H4 using a phillips head screwdriver not provided to the headboard P1 and footboard P2 No need to tighten b...
Страница 7: ...ddle of the slat to flatten it out 1 2 3 Attach 2 x end connectors P7 1 x centre connector P8 and 2 x slats P9 together as shown Repeat this for the remaining slats Lower the completed slat P7 P9 and P8 into side rails P5 Ensure the connectors are in place over the side rail holes and apply downward pressure on the slat P9 with the end connectors P7 until the end plastic cap is fully inserted into...
Страница 8: ...ead Screwdriver not provided 1 x Felt pad Make sure that the bed is square Attach the timber cross rail P10 to the centre of side rails P5 by using 2 x small screws H6 Then attach the felt pad H7 to the centre of centre rail P6 under the cross rail Now tighten all the bolts on the centre rail P6 headboard P1 and footboard P2 Make sure the small tightened screws are fully ...
Страница 9: ...Step 7 Job complete In the interest of our environment please dispose of all packaging thoughtfully fantasticfurniture com au Page 9 ...