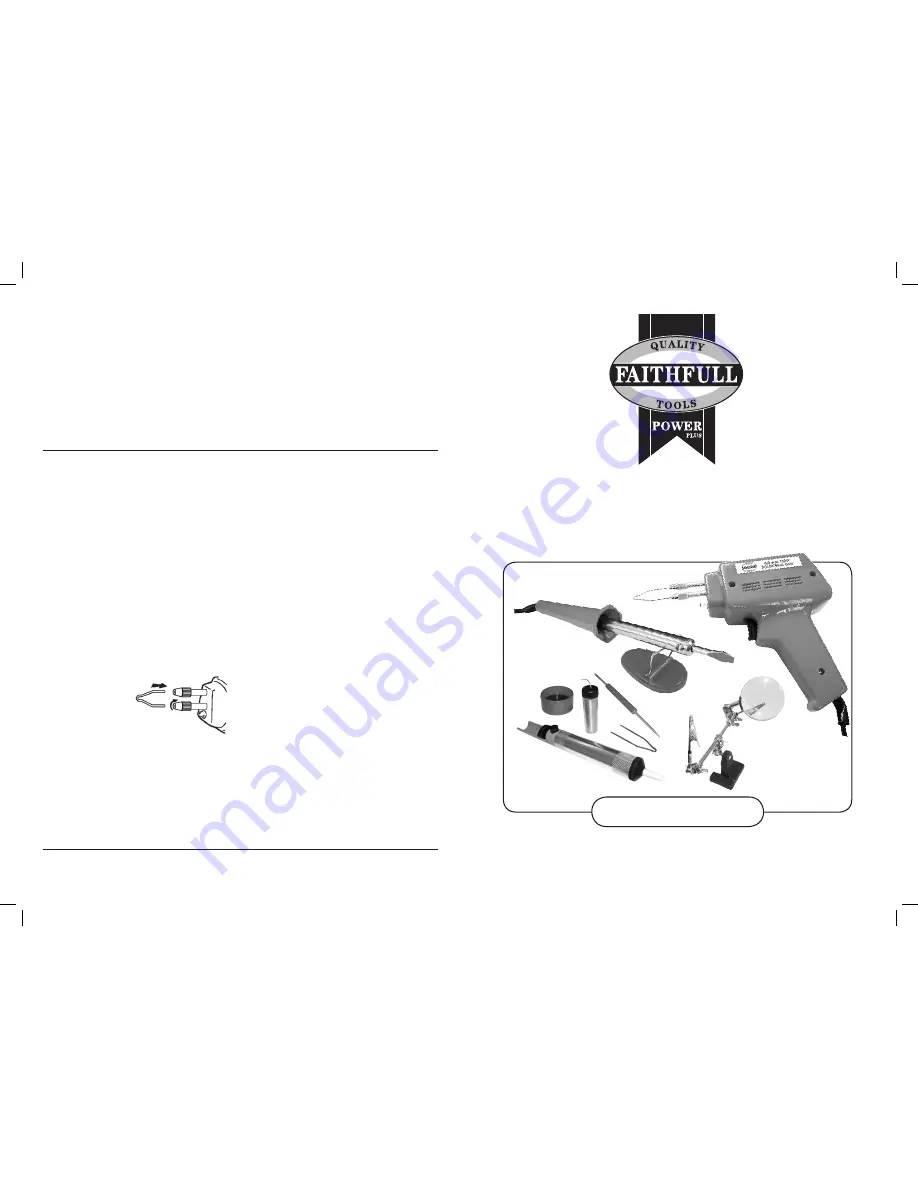
100 Watt Gun, 30 Watt Iron
Soldering Gun and Iron Kit
Instruction Manual
For your own safety, please read these instructions carefully
1. Check that the voltage displayed on the nameplate is
the same as the mains power source.
2. Before switching on, make sure the soldering tip is
properly in position and that the tip clamp screws are
tight.
3. Connect to an appropriate 230 volt mains outlet
socket, and switch the socket on (if applicable).
4. Press the trigger and the operating light will illuminate
indicating that the gun is heating. The temperature
will rise to 300 degrees in 20 seconds, the gun is now
at is operating temperature.
5. Never try to lock the trigger in the ‘On’ position by any
means. This will cause overheating and burn out the
tip, resulting in permanent damage to the gun and to
the transformer.
6. Soldering tips must only be removed when the
soldering gun is cool and disconnected from the
mains supply. Loosen the two clamping screws and
slide the soldering tip out carefully,
without using excess force.
Insert the new tip fully
into the gun and tighten
the two retaining screws.
7. Do not heat up the soldering gun
without the soldering tip fitted in place.
8. After use, allow the soldering gun to cool down
naturally in the air (do not attempt to speed up the
cooling process by applying water or any other liquid).
9. The power lead fitted to the soldering gun is a
special high quality cable, and it is resistant against
short-time contacts with hot metal parts. In the event
of damage to the power lead, it cannot be exchanged
due to the special construction of the soldering gun.
The gun can then no longer be used according to the
safety prescriptions.
Operating Instructions For The Soldering Gun
Before using the soldering gun please carry out
the following checks:
Operating Instructions For The Soldering Iron
Before using the soldering iron, it is recommended
that the following checks are carried out:
1. Check that the voltage displayed on the nameplate is
the same as the mains power source.
2. Before switching on, make sure the soldering tip is
properly in position and that the tip clamp screw is
tight.
3. Connect to an appropriate 230 volt mains outlet
socket, and switch the socket on (if applicable).
4. Soldering tips must only be removed when the
soldering iron is cool and disconnected from the
mains supply. Loosen the clamping screw and
remove the soldering tip carefully, without using
excess force. Insert the new tip fully into the iron and
tighten the retaining screw.
5. Do not heat up the soldering iron without the
soldering tip fitted in place.
6. After use, allow the soldering iron to cool down
naturally in the air (do not attempt to speed up the
cooling process by applying water or any other liquid).
7. When in use, always place the soldering iron on is
metal holder for safe storage.
8. The power lead fitted to the soldering iron is a special
high quality cable, and it is resistant against short-
time contacts with hot metal parts. In the event of
damage to the power lead, it cannot be exchanged
due to the special construction of the soldering iron.
The iron can then no longer be used according to the
safety prescriptions.
Replacement tips are available from your local Faithfull Tools stockist or online from www.toolbank.com
Please ensure that these instructions are read by the operator before using the product, and that all the safety guidelines
are understood. Please keep these instructions for future reference.
Soldering is a process for joining two metals by the
application of molten material. Nearly all metals and
metal alloys, brass, copper, iron etc, can be soldered.
There are two types of soldering: hard soldering and soft
soldering.
Hard soldering
is a process carried out at temperatures
over 450ºC. The hard soldering alloys (for hard soldering,
brazing and solver soldering) are made of metal alloys
that are first melted at temperatures that cannot be
achieved by a soldering iron.
Soft soldering
is a process carried out at temperatures
below 400ºC, and this appliance is designed for soft.
The surfaces to be soldered should be kept clean and
free from oil and dirt. Never use household detergents
since they often contain silicon. The oxide coating can
be removed by using either the chemical corrosion
method, emery paper, or by filing or scraping. If the
corrosion method is used, avoid using hydrochloric,
sulphuric or nitric acid. Citric acid, at a 10% dilution ratio,
is recommended. When cleaning is finished, do not
touch surfaces to be soldered. The correct temperature
is attained when tin deposited on the tips forms a smooth
coat. The formation of small clots means the correct
temperature has not been attained. If tin ‘pearls’ are
formed, the tip is not properly clean.
SOldeRInG
CautIon
1. Always use an appropriate soldering stand, and any other
soldering aids which are designed to avoid burns.
2. Always check that the soldering tip is fitted firmly in place
before switching on. The soldering tip must be pushed
fully into the heating unit, and tightly fastened with its
clamping screw.
3. After use, allow the soldering iron to cool down naturally
in the air (do not attempt to speed up the cooling process
by applying water or any other liquid).


