1.
In the main
Video
wall
screen, press
Next
to open the
Set
wall
size
screen.
2.
Use the left rotary encoder to select the horizontal number of displays in the Video wall
array.
3.
Use the right rotary encoder to select the vertical number of displays in the Video wall
array.
NOTE:
If you have a Video wall that is 4 displays high and 3 displays wide, you
would set
V
size
to
4
and
H
size
to
3
.
4.
Press
Next
to save the changes and open the
Set
position
screen.
5.
Use the left rotary encoder to select the horizontal position of the display in the Video
wall (1 represents the column furthest to the left).
6.
Use the right rotary encoder to select the vertical position of the display in the Video wall
(1 represents the top row).
NOTE:
If you have a Video wall that is 4 displays high and 3 displays wide, and
the video stream is output to the second monitor from the left, in the top row, you
would set
V
pos
to
1
and the
H
pos
to
2
.
7.
Press
Next
to save the changes and open the
Display
compensation
screen. This
allows you to compensate for overscan or underscan in positive or negative percentage
steps.
8.
Use the left rotary encoder to adjust the horizontal compensation.
9.
Use the right rotary encoder to adjust the vertical compensation.
10.
Press
Next
to save the changes and return to the main
Video
wall
screen.
11.
Press
Menu
to open the
Test
Pattern
submenu.
Test Pattern Submenu
The
Test
Pattern
submenu allows you to enable or disable test patterns and select a
pattern that displays on the VND 250 output to assist in calibrating the system.
Test
Pattern
MENU
NEXT
Test Pattern
[Enable] [Pattern 1]
NEXT
Select Test Pattern:
Select Pattern:
Enable
Disable
Pattern type
Figure 90.
VND 250 Decoder Test Pattern Submenu
1.
In the main
Test
Pattern
screen, press
Next
to open the
Test
Pattern
selection
screen.
2.
In the
Test
Pattern
selection screen, use the left rotary encoder to toggle between
Enable
and
Disable
.
Enable
displays the test pattern on the VND 250 (decoder)
display.
Disable
allows the normal video input to be displayed.
3.
Use the right rotary encoder to select which test
pattern is displayed.
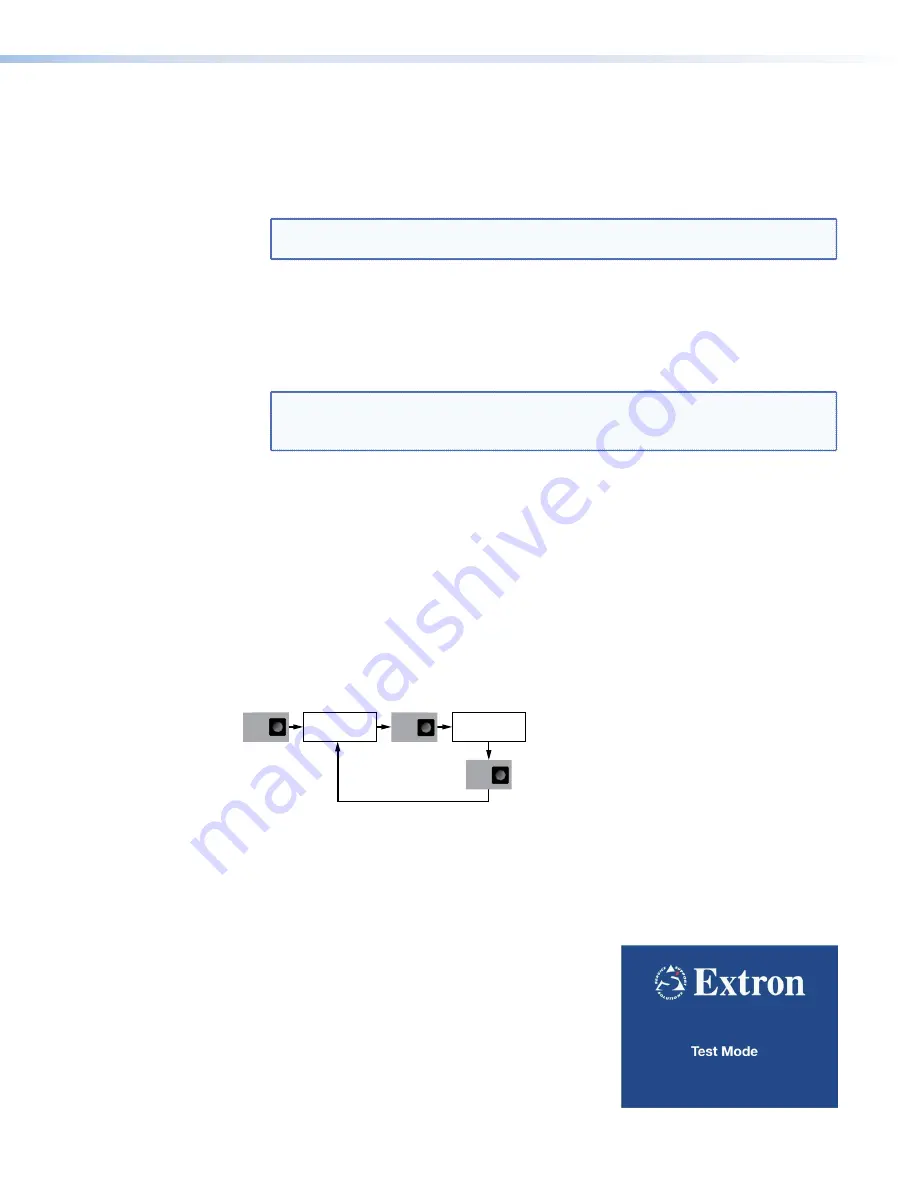
Currently there is a single
Test
Mode
splash screen
(see the figure to the right).
4.
Press
Next
to return to the main
Test
Pattern
screen.
5.
Press
Menu
to move to the main
Genlock
screen.
VNM 250 • Front Panel Menu Configuration
109
Содержание VN-Matrix 250 Series
Страница 6: ......


