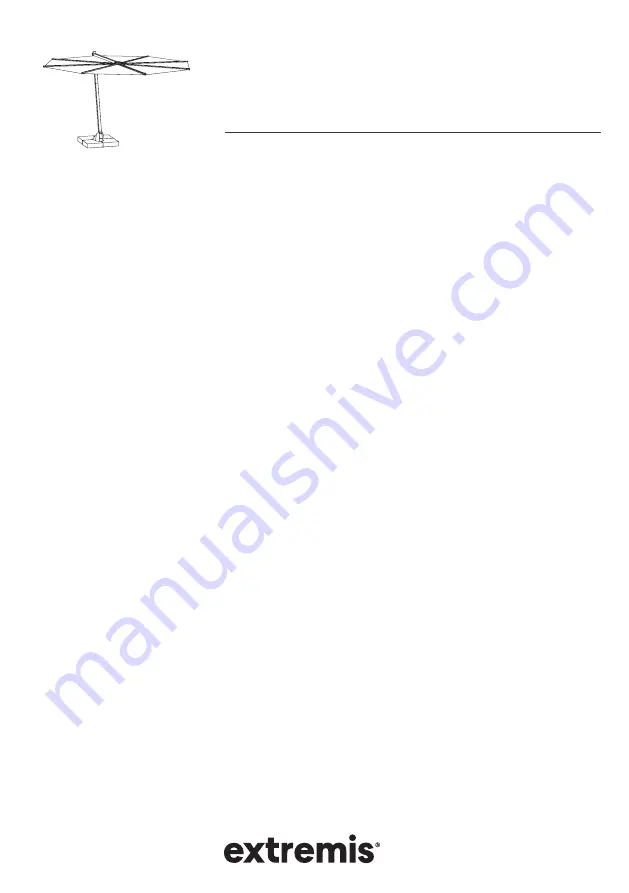
background image

PRODUCT

KOSMOS PARASOL – CONCRETE (WHEEL) BASE – 
FLOOR FASTENING – LED LIGHT – MAINTENANCE

KOSMOS PARASOL

© design by dirk wynants

READ INSIDE

ASSEMBLY INSTRUCTIONS, 
HOW TO USE, USEFUL TIPS 
FOR KEEPING YOUR TOOL FOR 
TOGETHERNESS IN SHAPE

LANGUAGES

EN – NL – DE – FR – IT – ES

MORE

WWW.EXTREMIS.BE

Содержание KOSMOS PARASOL

Страница 1: ...EL BASE FLOOR FASTENING LED LIGHT MAINTENANCE KOSMOS PARASOL design by dirk wynants READ INSIDE ASSEMBLY INSTRUCTIONS HOW TO USE USEFUL TIPS FOR KEEPING YOUR TOOL FOR TOGETHERNESS IN SHAPE LANGUAGES EN NL DE FR IT ES MORE WWW EXTREMIS BE ...

Страница 2: ...el base p 5 assembly directly to the floor p 5 assembly parasol p 6 changing the light bulb p 8 maintenance p 9 NEDERLANDS P 11 inhoud p 11 montage sokkel in beton p 12 montage sokel in beton op wielen p 13 montage grondverankering p 13 montage parasol p 14 lamp vervangen p 15 onderhoud p 16 ...

Страница 3: ...ece 4 x bolt M8x25 INUMBRA WITH FLOOR FASTENING 4 x screw M5 x 40 4 x plug 4 x plastic glide 4 x bolt M8x25 1 x frame A 1 x frame B 1 x connection piece 1 x kosmos parasol on tube round square 4 x concrete tile 4 x bolt M10x110 CONTENTS KOSMOS PARASOL ON CONCRETE BASE ...

Страница 4: ...17 spanner 2 Fix the plastic glides to the bottom of the concrete tiles put the supplied plugs into the holes and tighten the glides with the supplied screws 3 Put the four concrete tiles on top of the cross shaped base Align the holes in the concrete tiles with the holes in the metal plate of the cross shaped base The side with the bevelled corners should be facing downwards 1 Position the first ...

Страница 5: ...he stainless steel tube where you wish your handle to be You can now attach the connection piece to the concrete tiles using the four supplied bolts Tighten them with a no 17 spanner 1 Place the connection piece where you want to place the parasol and mark the spots to drill the holes Drill the holes on the marked spots 2 Align the holes in the floor with the holes in the connection piece 3 Attach...

Страница 6: ...d bring the cables as closely as possible to the top of the parasol pole In case of optional light insert the cable in the hole in the parasol pole and lower it down until it appears at the bottom Once the cable is fitted you must ask a qualified electrician to install a suitable plug on the cable 1 Align the holes two at the bottom and two at the top in the stainless steel part with the holes in ...

Страница 7: ...agnet fastening system as long as it takes to stretch the cloth 5 Now open the parasol If the magnets don t close well first loosen the velcro fasteners and open the parasol again Only now you can position the velcro fastenere again Put the leather strap on the parasol to prevent the parasol from opening 4 Now insert the parasol as far as possible into the hole in the parasol pole and fasten it by...

Страница 8: ...rame 3 Remove the protective cap at the other end of the parasol frame Pull the cable through the frame and unscrew the nut holding the light socket 4 Remove the faulty LED light bulb and unscrew the globe so that you can use it again with the new LED light bulb Do not forget the insert the rubber ring 1 Remove the parasol fram s protective cap with the switch and remove the LED adapter from the p...

Страница 9: ...adequate products necessary therefore are generally available CAUTION In case of strong winds close the parasol and use the slip over cover to prevent the parasol from opening or getting dirty Never leave the parasol unattended when opened Do not leave the parasol closed if tthe fabric is not completely dry Do not leave it closed for a long time in damp conditions If you are not planning on using ...

Страница 10: ...eel base p 5 assembly directly to the floor p 5 assembly parasol p 6 changing the light bulb p 8 maintenance p 9 NEDERLANDS P 11 inhoud p 11 montage sokkel in beton p 12 montage sokel in beton op wielen p 13 montage grondverankering p 13 montage parasol p 14 lamp vervangen p 15 onderhoud p 16 ...

Страница 11: ...MET GRONDVERANKERING 1 x kosmos parasol op paal rond vierkant 4 x betonblok 4 x bout M10x110 1 x kosmos parasol op paal rond vierkant 1 x grondbevestigingsstuk 4 x bout M8x25 1 x frame A 1 x frame B 1 x bevestigingsstuk 4 x schroef M5x40 4 x plug 4 x dopje 4 x bout M8x25 ...

Страница 12: ...ijgeleverde schroef 3 Plaats nu de 4 betonblokken op het positionneringskruis Zorg ervoor dat de openingen in de betonblokken steeds boven de openingen in de onderplaat van het postioneringskruis passen De kant waar de randen afgeschuind zijn is de onderkant 4 Plaats nu het bevestigingsstuk op de betonblokken en zorg ervoor dat de gaten van het bevestigingsstuk mooi over de gaten van de betonblokk...

Страница 13: ...NTAGE GRONDVERANKERING BENODIGDHEDEN steeksleutel nr 17 1 persoon 15 min 1 Plaats de de 4 betonblokken op het frame met wielen Zorg ervoor dat de openingen in de betonblokken steeds boven de openingen in de onderplaat van het positioneringskruis passen De kant waar de randen afgeschuind zijn is de onderkant 2 Plaats nu de rvs buis op de betonblokken en zorg ervoor dat de gaten in de rvs schijf moo...

Страница 14: ...del van stelschroeven Schroef hiervoor eerst de bovenste bouten weer wat losser tot de ideale hoek wordt bereikt en draai vervolgens de stelschroefjes in wijzerzijn tot tegen de verticale buis Gebruik hiervoor een inbussleutel nr 4 3 Neem het parasolframe met doek en ga met het snoer zo dicht mogelijk bij het uiteinde van de parasolpaal Laat het snoer door de opening zakken tot het onderaan tevoor...

Страница 15: ...w sluiten In gesloten toestand dient men het lederen riempje op het parasolframe vast te maken aan de twee buitenste baleinen om te verhinderen dat de parasol open gaat Dit riempje kan ook gebruikt worden om de parasol open te houden A bij regen creëert afvoerkanalen B Na lange tijd de parasol niet gebruikt te hebben mogelijks houdt de magneetsluiting het tijdelijk niet door interne spanning in he...

Страница 16: ...aai de moer van de verlichtingssokkel los 4 Verwijder de kapotte LED uit de buis en draai de bol er af zodat deze op de nieuwe LED lamp bevestigd kan worden Vergeet hierbij niet ook de rubberen ring te plaatsen 5 Plaats de nieuwe LED schuif de moer over het snoer en span de moer aan Steek de kabel door de buis zodat deze aan het andere uiteinde tevoorschijn komt 6 Verbind de kabeltjes met de LED a...

Страница 17: ...ndel te koop OPGEPAST Bij hevige wind of niet gebruik sluit de parasol en breng de hoes aan om te vermijden dat de parasol open waait of vuil wordt Laat de geopende parasol nooit onbewaakt achter Laat de Kosmos Parasol niet gesloten als ze niet volledig droog is Laat ze niet gedurende lange tijd gesloten in vochtige omstandigheden Als u de parasol voor lange rijd niet gebruikt berg ze dan op als v...

Страница 18: ......

Страница 19: ......

Страница 20: ...d all designs and photographs contained in this publication are copyright protected and are the property of Extremis No part of this publication may be copied or distributed without Extremis prior written consent The names of the authors of photographs to which we do not hold rights are mentioned here We have done our utmost to provide a comprehensive list of names In the event of an alleged breac...

Отзывы: