INSTRUCTIONSVENUSEXTREME2210
|
Copyright Exped AG, Switzerland.
TIPS AND TRICKS
Before leaving on your next adventure, check that your
tent is complete and free of damage. Check the tent poles
for cracks and burrs.
Appropriate ventilation can prevent condensation within
the tent. Vent the tent regularly by at least opening the
doors partially at the upper end.
To secure the pegs in loose earth, sand or snow, wrap
the tent cord around the center of the peg and bury it
horizontally. You can also use the packsack filled with
sand or snow, or use the Exped Snow and Sand Achors
available separately.
Note!
Never light a stove in a tent as it is a fire hazard or
can lead to carbon monoxide poisoning.
When camping on sand or snow you can dig a trench in
the vestible. Cold air will sink into the trench. At the same
time it can be used to sit comfortably.
If you need more space in the vestibule, partially
unhook the canopy, leave your sleeping gear inside and
use it as a backrest for comfortable lounging.
Should your tent remain stationary over a longer period,
protect it from UV by placing a cheap tarp over it.
A tent footprint (available separately) protects the tent
floor from damage and can also reduce condensation
build up.
For more information visit:
exped.com.
INSTRUCTIONS
VENUS EXTREME AND
VENUS UL
ENGLISH
3
1
2
4
5
6
6
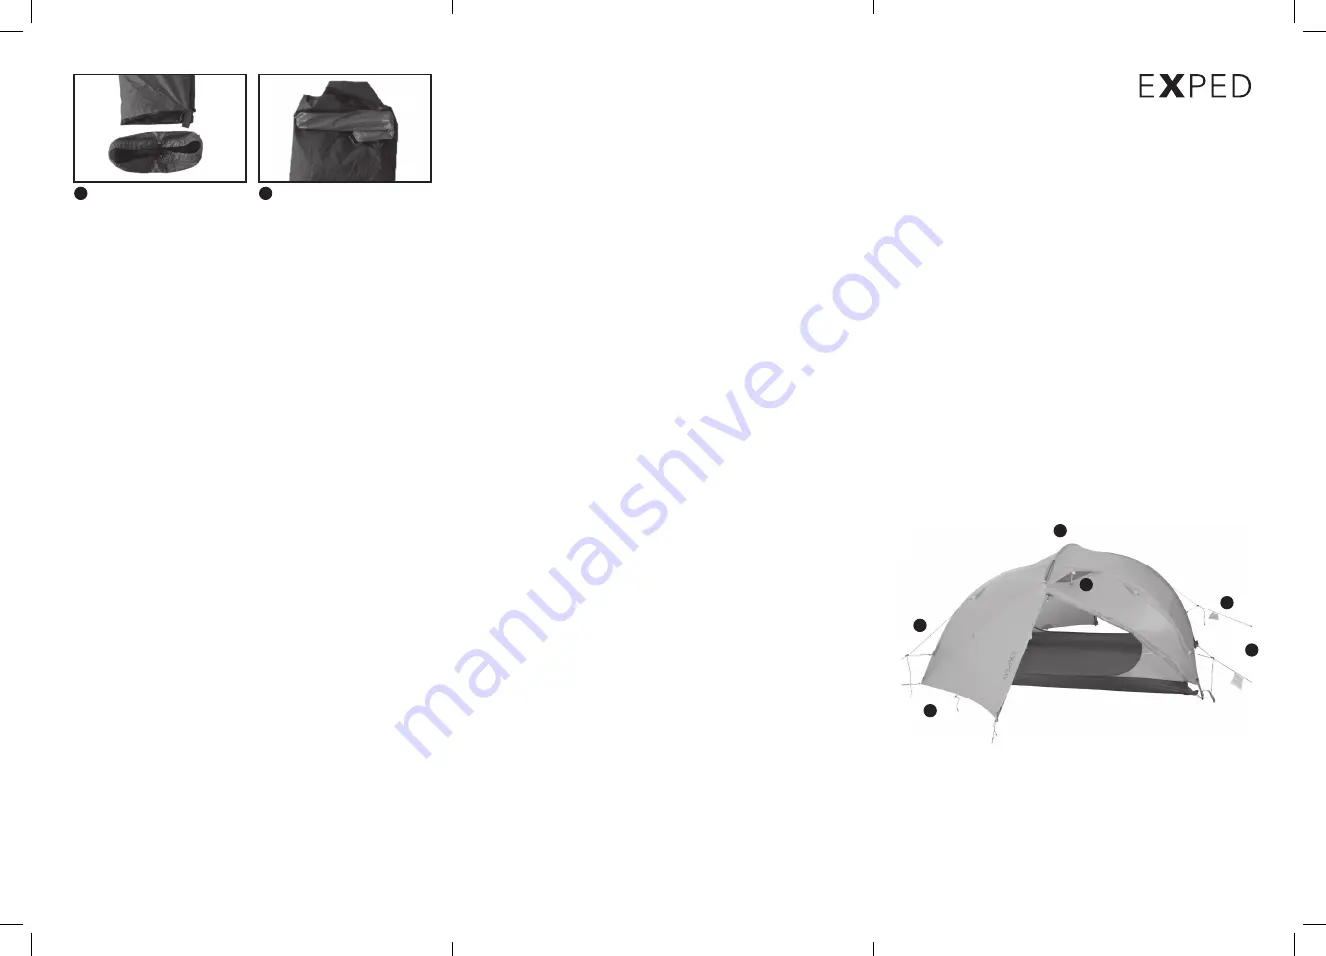
Place the accessory
bag at one end of the
folded tent and roll
together tightly before
placing it in the packsack.
5
Lay out the tent and
fold in thirds lengthwise to
fit the packsack.
SET UP OPTIONS
Canopy on its own
Using the 2 long poles and a pair of tent cords you can
set up the canopy on its own as a ventilated shelter or
bug tent.
Undo the canopy from the rainfly. Thread both long
poles through the elastic loops and place the ends into
the webbing pockets for tension, then secure with
pegs. Attach a tent cord to the center of each pole and
tension the cord.
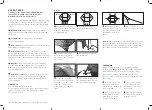
Canopy alone
Insert the poles into the pole sleeves (steps 3-5 of
setup) and secure with pegs. Align and deploy the
guylines. The optional footprint is and ideal ground
cover.
REFINED GEAR FOR ADVENTURE


