Exinda Network Orchestrator
4 Settings
|
430
To re-enable the Web UI
From the CLI type:
web enable
To configure CLI to be accessed via Telnet or SSH
1.
To enable Telnet access, check the
Telnet Access
checkbox.
2.
To enable SSH access, check the
SSH Access
checkbox and select the
SSH Version
to use.
3.
Click
Apply Changes
.
To configure CLI to auto-logout after a specified idle period
1.
Set the
Auto Logout Timeout
period to the specified number of seconds that the user can be idle before the user
gets automatically logged out. To configure the system to never automatically log out, set the field to
0
minutes.
2.
Click
Apply Changes
.
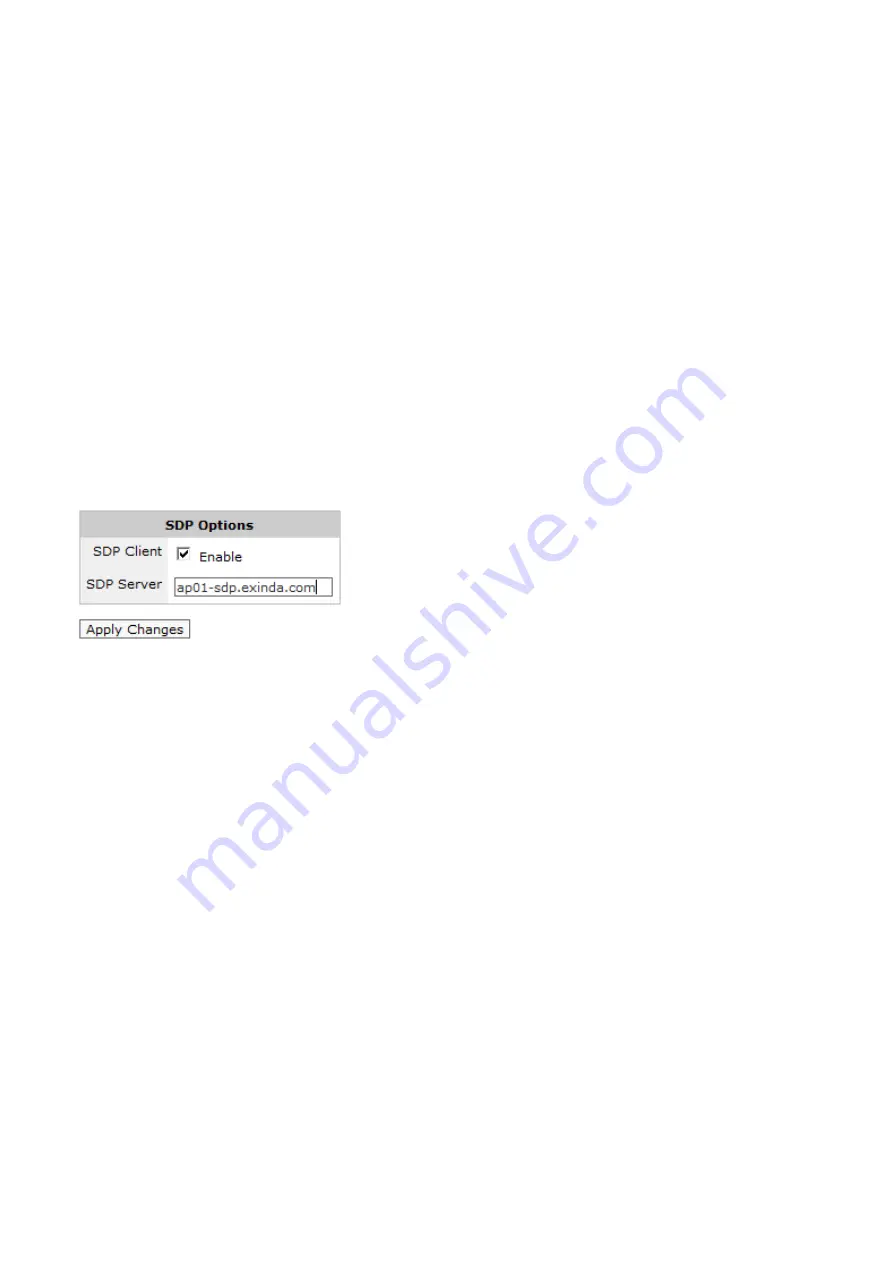
4.2.3 SDP Configuration
The SDP options form is used to enable the SDP service on the Exinda appliance and change the SDP server address if
required. This will enable communication between the Exinda appliance and the specified SDP server. A SDP
subscription is required in order to use the Exinda SDP feature.
For further information, consult the SDP User Manual.
4.2.4 Configure SQL Access
The SQL Access feature on an Exinda appliance provides access to the traffic monitoring database from any ODBC
compliant application.
In order to use this feature, SQL access needs to be configured on the Exinda appliance, and an ODBC driver needs to be
installed and configured on a client. ODBC aware applications running on the client will then be able to query the
Exinda appliance's internal monitoring database.
This How to Guide explains how to configure the Exinda appliance to accept remote SQL connections, as well as setting
up the ODBC driver on Windows 8 and Windows 10 clients.
Download the ODBC Driver
Download the ODBC driver version that corresponds to your client operating system. Follow the instructions on this site
for installing the ODBC driver on your client operating system.
The ODBC driver can be downloaded from:
http://dev.mysql.com/downloads/connector/odbc/
Set Remote SQL Options
To allow the Exinda appliance to accept remote SQL connections from an external ODBC connector, you must configure
the settings in
Configuration > System > Setup > SQL Access
.
Содержание EXNV-10063
Страница 98: ...Exinda Network Orchestrator 2 Getting started 98 6 Click New The New Virtual Hard Disk wizard opens ...
Страница 99: ...Exinda Network Orchestrator 2 Getting started 99 7 Select VHDX as the Disk Format type and click Next ...
Страница 130: ...Exinda Network Orchestrator 2 Getting started 130 Screenshot 35 The life cycle of configuration status ...
Страница 369: ...Exinda Network Orchestrator 4 Settings 369 ...
Страница 411: ...Exinda Network Orchestrator 4 Settings 411 Screenshot 168 P2P OverflowVirtualCircuit ...
Страница 420: ...Exinda Network Orchestrator 4 Settings 420 Screenshot 175 Students OverflowVirtualCircuit ...
Страница 451: ...Exinda Network Orchestrator 4 Settings 451 ...

