Electric Height Adjustable Standing
Gaming Desk
Страница 1: ...Electric Height Adjustable Standing Gaming Desk ...
Страница 2: ...fore adjusting your desks height Monitors computer towers speakers and other device cords may be pulled off or damaged if the cords are too short Keep hands and fingers clear of areas where they may get pinched by the mechanism Please ensure this manual is available to any user installer or support personnel that operates this product MAKE SURE NO OBSTACLES ARE IN THE DESK S PATH AND ALL CORDS ARE...
Страница 3: ...Philips screwdriver and or power drill Tape measure TOOLS REQUIRED customerservice eurekaergonomic com 844 416 2090 www eurekaergonomic com 844 416 2090 ...
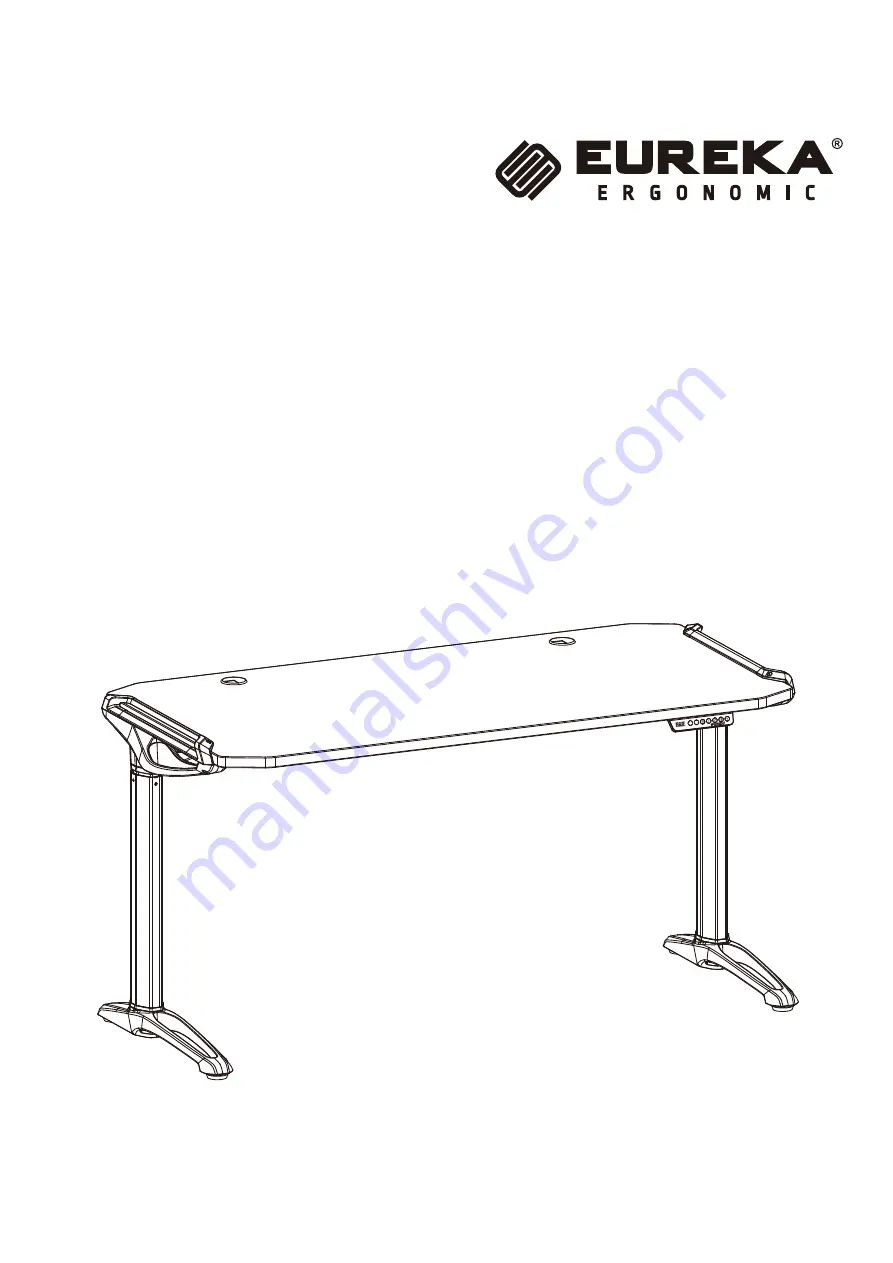
Страница 4: ...ktop Desk base Motor chamber x 4 Fixed part Crossbar end Sliding rail Storage Box Control box Hand Controller Storage box buckle Cover rin Protective ring Magnetic sheet Leveling stud Power wire Adhesive cable clips Allen Wrench Philips screwdriver C B D E F I J K L M N H O Q R S T U V P G A R R S S T T D N J G K L M C Q B S S S E F I S A ...
Страница 5: ...Attach the leveling stud to the bottom of desk base 1 2 Use a Phillips screwdriver to loosen the M4 10 screws of fixing plate that are affixed to the left right of the motor chambers 4 PCS for left and right sides M4 10 ...
Страница 6: ...2 1 2 2 x 8 Q 2 2 Attach each desk base to the motor chamber using 8 x M6 20 screws 2 1 Put the covering plate on outer tubes of the motor chamber both left and right ...
Страница 7: ...F E 3 2 3 2 Use six M6 12 screws to connect the crossbar ends to the sliding rail paying attention to the two screw holes in the base plate M8 16 3 1 Loosen four screws M8 16 on the left right of the motor chamber ...
Страница 8: ...ghten down the 4 screws you loosened in Fig 3 1 4 1 4 1 Lift the plastic cover on the motor chamber and then buckle the fixed connection slot in the middle 4 2 Secure the Crossbar ends to the motor chambers using 8x M6 12 screws ...
Страница 9: ...5 Install four Protective rings Attach 2PCS storage box clips left right to crossbar end L x 4 K With an assistant turn the desk base over so that the crossbar is in the upright position ...
Страница 10: ...6 1 6 2 T x 1 6 2 Install the control box in the crossbar and using an M6 12 screw secure the control box on the left 6 1 Attach the storage box to the storage box clips ...
Страница 11: ...7 Power wire Motor wire Motor wire Hand controller wire ...
Страница 12: ...n the desktop and decorative fixed assembly left right with four screws M4 16 Align to the holes provided in the desktop 8 1 Use four screws M4 10 to tighten the motor chamber left right and the decoration fixed assembly 8 2 x 4 S ...
Страница 13: ...ower and raise the table to its maximum height and proceed to the following steps 9 1 Use ten screws M4 16 to lock the decorative fixed assembly left right crossbar end hand controller and desktop 9 2 Use adhesive cable clips to secure the wires S x 10 P 3 2 7 1 8 5 10 6 4 9 ...
Страница 14: ...d magnetic sheets have the surface with 3MM glue facing up on the magnet of the storage box and then remove the sheet covering the glue on the surface Then rotate the stor age box up and let the magnetic sheet stick to the desktop ...
Страница 15: ...he desk by the desktop alone or the frame alone Support both the frame and the desktop equally Favoring one over the other can stress the fasteners connecting the desk frame to the desktop Lower the desk completely and lift the desk by grasping the frame Choose a placement for the desk that s a safe distance from window frames radiators furniture etc so that people do not get stuck or trapped by t...
Страница 16: ...desktop height Canremember a total of four desktop height For example set the 3 key memory desktop height of 105 the current height of 90 press the key to run the desktop to 105 and then press the M 3 key 2 seconds after the controller will flash the number 105 that memory is successful 2 Desktop height memory location query In the run mode press any of the 1 2 3 4 keys to Flash the height of the ...