V1.
0
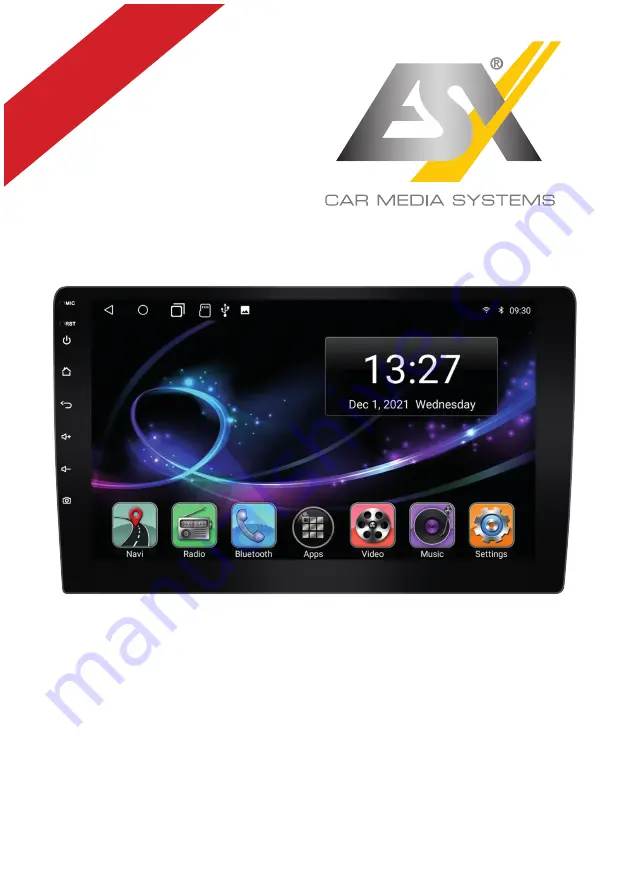
V I S I O N A N D R O I D
™
S E R I E S
SMART NAVICEIVER
MOBILE INTERNET READY
O
W
N
ER
‘S
M
A
UA
L
VN1060-MA-4G
Страница 1: ...V 1 0 V I S I O N A N D R O I D S E R I E S SMART NAVICEIVER MOBILE INTERNET READY V 1 0 O W N E R S M A N U A L VN1060 MA 4G...
Страница 2: ...Settings 14 2 1 Internet connection via WiFi Hotspot 14 2 2 Internet connection via 4G LTE 15 2 3 Date time 16 2 4 Language 16 2 5 Google account 17 2 6 Screen brightness 18 2 7 Wallpaper 18 2 8 Stee...
Страница 3: ...of limited use If so you ll need to delete apps or content to restore the feature You are responsible for the management of the store DISCLAIMER INTENDED USE OF THE DEVICE SPECIFICATIONS RADIO TYPE T...
Страница 4: ...ng tips to avoid endangering the warranty and extend the life of the appliance Children under 12 should not operate the device Keep the device and all accessories away from small children Keep the dev...
Страница 5: ...fe If problems occur while driving park the vehicle in a safe and appropriate place to continue before you operate Please use only the included original accessories Ensure a sufficient mounting of the...
Страница 6: ...the device no longer reacts to inputs the system is overloaded or has crashed Then restart the sys tem by pressing the reset button RST on the front panel Use a suitable object such as a paper clip o...
Страница 7: ...open the main menu Back Press here to open the previous menu Decrease volume Press here to decrease the volume Increase volume Press here to increase the volume Camera Press here to display the image...
Страница 8: ...screen function can also be started here USB A USB storage medium is connected SD card An SD card is connected Bluetooth A smartphone is connected to the ESX device via Bluetooth GPS The ESX device ha...
Страница 9: ...wly slide your finger down from the top to view the latest messages or activity This function is available in every view In this view you can continue swiping down to display additional control panels...
Страница 10: ...s on the other free fields on the control panel Press and hold an app icon and swipe it forward onto one of the main menus There you can place the app on one of the free positions You can then move fu...
Страница 11: ...e two widgets To remove an app or a widget from the main menu simply move it to the trash can that appears above The second main menu is initially empty in the upper control panel You can also equip t...
Страница 12: ...nt to dissolve the split screen again drag the black frame in the center of the picture to the left or right Hold the desired app briefly until the gray fields appear on the side Then slide the app wi...
Страница 13: ...uide lines which was connected to R CAM You can make further settings in the app menu under Settings and then under Reverse If you have connected an additional camera to F CAM press the camera direct...
Страница 14: ...s CONNECT After a successful entry the ESX device should be connected to the Internet after a few seconds The symbol then appears at the top right of the status bar If you tap on the network name agai...
Страница 15: ...tick If the device is successfully connected to the mobile Internet the symbol appears in the status bar at the top right After successful entry the SIM card is unlocked If the device is switched off...
Страница 16: ...or the Internet You can also set the date time zone and format manually App menu Settings System Languages time Date time 2 3 DATE TIME 2 4 LANGUAGE Important note In order for the operating system t...
Страница 17: ...gin details Here you can delete the linked account with Remove account Under Google Account you can make general settings for your account In this menu you can adjust the services of your Google accou...
Страница 18: ...he screen Here you can change the background image of the menus Press and hold on an empty space in the main menu Tap Overview or QuickPic to select a new background image Swipe through the selection...
Страница 19: ...ps until you have learned all the functions Complete the teaching with END and exit the menu 2 8 STEERING WHEEL REMOTE CONTROL Important note If the ESX device does not receive any signals from the st...
Страница 20: ...uts are used Under Surround Sound you can set the acoustic center of the stage Tap on one of the presets or use the yellow dot to set the acoustic center of the stage yourself Under Zone you can defin...
Страница 21: ...certain settings for navigation Select a suitable navigation application in order to link it with the Navigation app in the main menu Under General you can switch on the key illumination of the device...
Страница 22: ...bmenus in which you can make further settings such as e g under Network For example you will find various audio settings under Sound Under Display you can make optical settings for menu and the user i...
Страница 23: ...NA MIC AND from ESX instead of the internal microphone on the front panel you must activate this in the device In the app menu tap on SwitchMIC Now the input for the microphone is switched to the exte...
Страница 24: ...omatically searches for suitable radio stations Tap TA to activate the TA function This function enables the interruption of media play back e g audio player for traffic announcements After the announ...
Страница 25: ...orites press and hold the station name in the list for one second and then tap on the star symbol To delete the station from the favorites list select the recycle bin In the settings you can restart t...
Страница 26: ...Therefore first activate the Bluetooth function on your smartphone Make absolutely sure that the synchronization for your contacts in the smartphone is enabled accordingly Then tap on Bluetooth in th...
Страница 27: ...ymbol Function Tap here to search for contacts from your smartphone Tap here to search for contacts from your SIM card Tap here to import all phone books Tap here to delete an imported phone book Impo...
Страница 28: ...pad Important note This only applies to calls made via the naviceiver Symbol Function Tap here to delete the last entry Tap here to start the call after entering the number Tap here to end a call Tap...
Страница 29: ...e device name or the PIN code Tap on to open the audio streaming menu Use the play pause and skip buttons to play audio files from your mobile phone through the device Important note Some cell phones...
Страница 30: ...e found either on the internal device memory iNand or on optionally connected storage media USB or SD card Select the storage location in the top right in the bar Symbol Function Tap here to start ran...
Страница 31: ...st forward search Tap here to view the playback in full screen mode Tap here to go to the previous menu In the main menu tap on Video to start the audio player Compatible formats MP4 AVI WMV 3GP FLV S...
Страница 32: ...omatically This deactivates the WiFi WLAN function and the conventional Bluetooth connection in the ESX device which you have to reactivate if necessary Please note the information on page 26 After su...
Страница 33: ...the charging cable and both devices are switched on Connect the smartphone with its charging cable to one of the USB ports The connection will then be established automatically If you have an Android...
Страница 34: ...n then be copied moved or deleted as required on another storage medium If you have connected an external audio or video source at the AUX IN inputs of the device tap on AUX in the app menu Then you n...
Страница 35: ...opy the files to your SD card or USB stick Insert the SD card or USB stick into the device Apps Settings System System update Mark the circle symbol and then confirm the entry Mark the circle symbol a...
Страница 36: ...ESX Car Media Systems Audio Design GmbH Am Breilingsweg 3 D 76709 Kronau Germany Tel 49 7253 9465 0 Fax 49 7253 946510 www esxnavi de www audiodesign de All rights reserved technical changes and erro...