USER MANUAL > FIRST STEPS WITH MR. BLUE 2.0
14
Mr Blue 2.0 > v4.0 -09.16
2
1
2
1
b. Turning off the tracer-centerer-blocker
Press briefly on the ON/OFF button
under the touch screen or press
, then
.
Do not press the ON/OFF button for several seconds. This would result in a shut-down of the machine and a
warningmessage would be displayed at the next switch-on.
Select
to confirm.
Extended period of non-use
For a prolonged period of non-use (a few days), it is preferable to turn off the tracer using the main switch.
c. Using the touch screen and keypads
Using the touch screen
Use the stylus supplied with the machine to use the touch screen.
After each use, you can rest the stylus on one of the stylus rests, represented by oval stickers.
You can also touch the screen with your finger.
If the screen is not sensitive enough to finger pressure, press lightly with a fingernail.
If the response area does not correspond to the position of the key, you need to calibrate the touch screen. For more
information, refer to the following section
Maintenance and servicing > Checks and calibration > Calibrating the touch screen
.
Never press hard on the screen as this could break it.
Never press on the screen with sharp objects such as pens, scissors, clamps, etc.
Screen breakage is not covered by the guarantee.
On the screen, press the icon-buttons to access the menus and job functions required.
Using the keypads
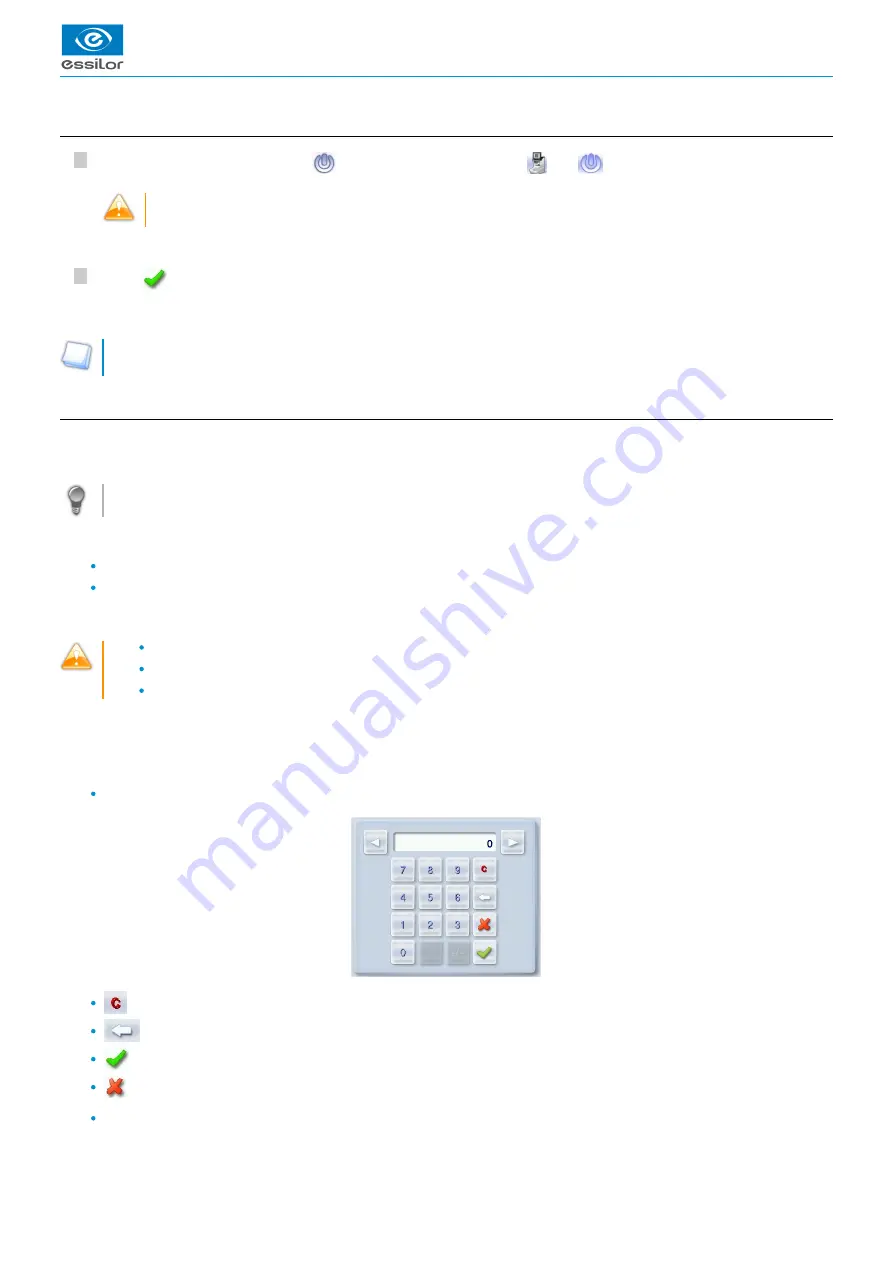
When you need to input or modify data, two types of keypads are automatically displayed, according to the information to be input.
The numeric keypad is displayed for the input of values.
Reset the fields
Back
Confirm
Cancel and go back to the work screen
The alphanumeric keypad is displayed to save or search for jobs.
A confirmation message is displayed on the screen.
>
The tracer is turned off.
>
Содержание Mr Blue 2.0
Страница 1: ...User Manual ...
Страница 2: ......
Страница 6: ...USER MANUAL CONTENTS ...
Страница 8: ...USER MANUAL INTRODUCTION 8 Mr Blue 2 0 v4 0 09 16 ...
Страница 9: ...I FIRST STEPS WITH MR BLUE 2 0 ...
Страница 10: ...USER MANUAL FIRST STEPS WITH MR BLUE 2 0 10 Mr Blue 2 0 v4 0 09 16 ...
Страница 17: ...II TRACING ...
Страница 18: ...USER MANUAL TRACING 18 Mr Blue 2 0 v4 0 09 16 ...
Страница 36: ...USER MANUAL TRACING 36 Mr Blue 2 0 v4 0 09 16 ...
Страница 37: ...III CENTERING A LENS ...
Страница 38: ...USER MANUAL CENTERING A LENS 38 Mr Blue 2 0 v4 0 09 16 ...
Страница 82: ...USER MANUAL CENTERING A LENS 82 Mr Blue 2 0 v4 0 09 16 ...
Страница 83: ...IV MODIFYING THE LENS SHAPE ...
Страница 84: ...USER MANUAL MODIFYING THE LENS SHAPE 84 Mr Blue 2 0 v4 0 09 16 ...
Страница 91: ...V PREPARING A DRILLED JOB ...
Страница 92: ...USER MANUAL PREPARING A DRILLED JOB 92 Mr Blue 2 0 v4 0 09 16 ...
Страница 103: ...VI PREPARING LENS EDGING ...
Страница 104: ...USER MANUAL PREPARING LENS EDGING 104 Mr Blue 2 0 v4 0 09 16 ...
Страница 108: ...USER MANUAL PREPARING LENS EDGING 108 Mr Blue 2 0 v4 0 09 16 ...
Страница 109: ...VII TRACER CENTERER BLOCKER CONFIGURATION ...
Страница 110: ...USER MANUAL TRACER CENTERER BLOCKER CONFIGURATION 110 Mr Blue 2 0 v4 0 09 16 ...
Страница 119: ...VIII MAINTENANCE SERVICING ...
Страница 120: ...USER MANUAL MAINTENANCE SERVICING 120 Mr Blue 2 0 v4 0 09 16 ...
Страница 134: ...USER MANUAL MAINTENANCE SERVICING 134 Mr Blue 2 0 v4 0 09 16 ...
Страница 135: ...IX M EYE SIGN AND M EYE TOUCH ...
Страница 136: ...USER MANUAL M EYE SIGN AND M EYE TOUCH 136 Mr Blue 2 0 v4 0 09 16 ...
Страница 139: ...TECHNICAL DATA ...
Страница 142: ...USER MANUAL TECHNICAL DATA 142 Mr Blue 2 0 v4 0 09 16 ...
Страница 143: ...GENERAL INFORMATION ...
Страница 147: ...GLOSSARY ...
Страница 150: ...USER MANUAL GLOSSARY 150 Mr Blue 2 0 v4 0 09 16 ...
Страница 151: ...USER MANUAL GLOSSARY Mr Blue 2 0 v4 0 09 16 151 ...


