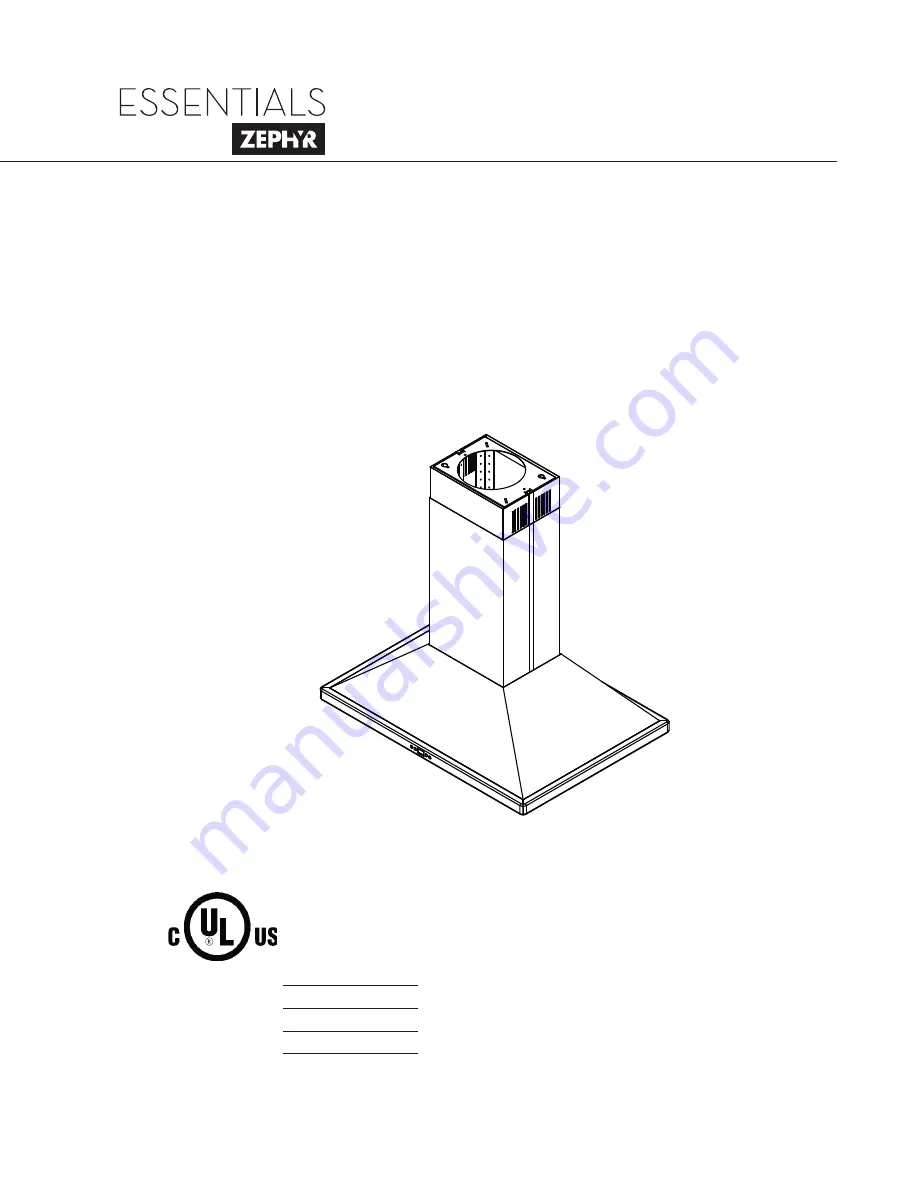
Use, Care, and Installation Guide
Model number:
Serial Number:
Date of Purchase:
Sales Dealer:
www.zephyronline.com
MAY11.0201 © Zephyr Corporation
READ AND SAVE THESE INSTRUCTIONS
Napoli
ZNA-M90BS
ZNA-E42BS
Страница 1: ...Use Care and Installation Guide Model number Serial Number Date of Purchase Sales Dealer www zephyronline com MAY11 0201 Zephyr Corporation READ AND SAVE THESE INSTRUCTIONS Napoli ZNA M90BS ZNA E42BS ...
Страница 2: ...www zephyronline com ...
Страница 3: ...ht Clearance 6 Ducting Options 7 Hood Specifications 8 Mounting the Hood 9 10 Ductless Recirculating 11 FEATURES CONTROLS Touch Controls 12 User Interface 13 MAINTENANCE Hood and Filter Cleaning 14 TROUBLESHOOTING 15 WIRING FAN CURVE DIAGRAMS 16 LIST OF PARTS AND ACCESSORIES 17 Table of Contents ...
Страница 4: ...e for the type of and amount of food being prepared WARNING TO REDUCE THE RISK OF INJURY TO PERSONS IN THE EVENT OF A RANGE TOP FIRE OBSERVE THE FOLLOWING a SMOTHER FLAMES with a close fitting lid cookie sheet or metal tray then turn off the burner BE CAREFUL TO PREVENT BURNS If the flames do not go out immediately EVACUATE AND CALL THE FIRE DEPARTMENT b NEVER PICK UP A FLAMING PAN You may be burned...
Страница 5: ... assure that the electrical installation is adequate and in conformance with National Electrical Code ANSI NFPA 70 latest edition or CSA standards C22 1 94 Canadian Electrical Code Part 1 and C22 2 No 0 M91 latest edition and all local codes and ordinances If codes permit and a separate ground wire is used it is recommended that a qualified electrician determine that the ground path is adequate Do ...
Страница 6: ...KAGE CONTENTS PARTS NOT SUPPLIED Ducting conduit and all installation tools Hack saw to cut down trim pieces Cable connector if required by local codes Duct cover extension accessory Recirculating kit accessory 2 Top Duct Covers 1 Top Support Frame 2 Bottom Duct Covers 1 Bottom Support Frame 2 Thin Trim Pieces 2 Thick Trim Pieces 1 Hood Body 4 3W LED Light Bulbs 3 Aluminum Mesh Filters 1 M4 x 12 S...
Страница 7: ... 1 Duct pieces T otal Equivalent number length x used 6 8 Round wall cap with damper 30 Ft x Ft Round wall cap with damper 30 Ft x Ft 7 or 8 Round 900 elbow 15 Ft x Ft 7 or 8 7 or 8 Round 450 elbow 9 Ft x Ft Ft Ft Ft 6 8 Round roof cap 30 Ft x Ft 7 or 8 Round roof cap 30 Ft x Ft Subtotal column 2 Subtotal column 1 Total ductwork Maximum Duct Length For satisfactory air movement the total duct leng...
Страница 8: ...rformance and efficiency If available also refer to range manufacturer s height clearance requirements and recommended hood mounting height above range Always check your local codes for any differences Duct cover extension kit available for ceiling heights up to 12 feet Turn to page 17 for part number and ordering information DAMAGE SHIPMENT INSTALLATION Please fully inspect unit for damage before ...
Страница 9: ...ted to the outside unless using the recirculating option Use single wall rigid metal ductwork only Fasten all connections with sheet metal screws and tape all joints w certified Silver Tape or Duct Tape Some Ducting Options Installation Ducting Options side wall cap w gravity damper Soffit or crawl space Roof Pitch w Flashing Cap ductless recirculating ...
Страница 10: ...OOD TOP SUPPORT FRAME top view 1 1 8 5 5 16 STANDARD min ducted 32 min recirc 36 1 2 max 50 Z1C 01NA min ducted 49 min recirc 53 1 2 max 80 9 13 16 25 9 16 12 13 16 35 7 16 41 15 16 9 9 16 10 5 16 7 15 16 2 1 16 AC In C L C L 4 1 2 9 16 FRONT 10 1 16 10 1 14 C L 4 3 14 6 3 4 ...
Страница 11: ...faces the front of the hood where the controls will be located FIG B The key holes on the top support frame should cover the wood screws previously installed in the ceiling Slide support frame towards narrow end of key holes to lock the frame in place Install the last 2 M6 x 1 wood screws with washers into the two remaining corners of the top support frame to secure it to the ceiling Tighten all s...
Страница 12: ...op Duct Covers to Top Support Frame by using 2 3 16 x 1 4 screws FIG D2 9 Assemble Bottom Duct Covers together over top duct covers using the final 6 M3 x 5 screws 3 screws on each side of the duct cover FIG D3 Bottom Duct Covers should rest on top of the Hood Body 10 Insert the 2 Thin Trim Pieces into left and right seams of Bottom Duct Covers 1 on each side FIG D4 11 Insert the 2 Thick Trim Piece...
Страница 13: ...A 3 ZNA E42BS ZRC 00NA 3 1 Purchase recirculating kit per the part number above 2 Secure air diverter plate to top support frame FIG H Open sides of air diverter plate should face left and right to direct air through the louver holes located on the top duct cover Run 8 ducting from top of hood and secure to air diverter plate 3 Remove aluminum mesh filters from hood Install charcoal filter brackets ...
Страница 14: ...urn the hood off and cancel the Delay Off Function 2 Speed Selection Button Fan Speed Decrease Button Press this button to decrease fan speed 6 burst 5 4 3 2 1 If fan is On Speed 1 and this button is pressed fan will power Off Fan Speed Increase Button Press this button to increase fan speed Fan On 1 2 3 4 5 6 burst If hood is Off and this button is pressed fan will turn On Speed 1 Burst Mode This...
Страница 15: ...ter Graphic and words will remain illuminated until reset To reset With hood off hold the Button for three seconds after three seconds the Graphic and words replace charcoal filter will turn off and the 120 hour timer will reset Clean Air Indicator Clean Air is a feature that turns the fan on every 4 hours for 10 minutes to remove stagnant air in the kitchen To enable Clean Air Function With hood ...
Страница 16: ...y with clean cotton cloth and with the grain Do not use any product containing chlorine bleach Do not use orange cleaners Aluminum Mesh Filters The aluminum mesh filters installed by the factory are intended to filter out residue and grease from cooking They need not be replaced on a regular basis but are required to be kept clean Remove and clean by hand or in dishwasher on low heat Spray degreasin...
Страница 17: ...it is vibrating 1 The motor is not secured in place 1 Tighten the motor in place 2 Damaged blower wheel 2 Replace the blower 3 The hood is not secured in place 3 Check the installation of the hood 4 The switch board or control board is defective 4 Change defective part The motor is working but the lights are not 1 Defective LED bulb 1 Change the LED bulb 2 The LED bulb plug is disconnected 2 Recon...
Страница 18: ...umption U U V W V W AC N AC L ON OFF DOWN UP LAMP 5A 250V 0 0 1 0 2 0 3 0 4 0 5 0 6 0 7 0 8 0 9 1 1 1 1 2 1 3 1 4 1 5 1 6 1 7 1 8 1 9 2 2 1 2 2 2 3 2 4 2 5 2 6 2 7 2 8 0 25 50 75 100 125 150 175 200 225 250 275 300 325 350 375 400 425 450 475 500 525 550 575 600 625 650 675 700 725 750 Pressure inAq Flow rate CFM Blower fan curve AC input 120V 60Hz Outlet diameter 8 ...
Страница 19: ...Bulb 3W LED each Z0B 0032 Aluminum Mesh Filter each 50200027 Optional Accessories Recirculating Kit ZRC 00NA Replacement Charcoal Filter each Z0F C002 Extension Duct Cover Z1C 01NA To order parts visit us online at http store zephyronline com or call us at 1 888 880 8368 ...
Страница 20: ... all labor costs associated with this warranty Limitations of Warranty OUR OBLIGATION TO REPAIR OR REPLACE AT OUR OPTION SHALL BE YOUR SOLE AND EXCLUSIVE REMEDY UNDER THIS WARRANTY WE SHALL NOT BE LIABLE FOR INCIDENTAL CONSE QUENTIAL OR SPECIAL DAMAGES ARISING OUT OF OR IN CONNECTION WITH THE USE OR PERFORMANCE OF THE PRODUCTS THE EXPRESS WARRANTIES IN THE PRECEDING SECTION ARE EXCLUSIVE AND IN LI...