113
Parent topic:
Related references
Image Quality Settings - Image Menu
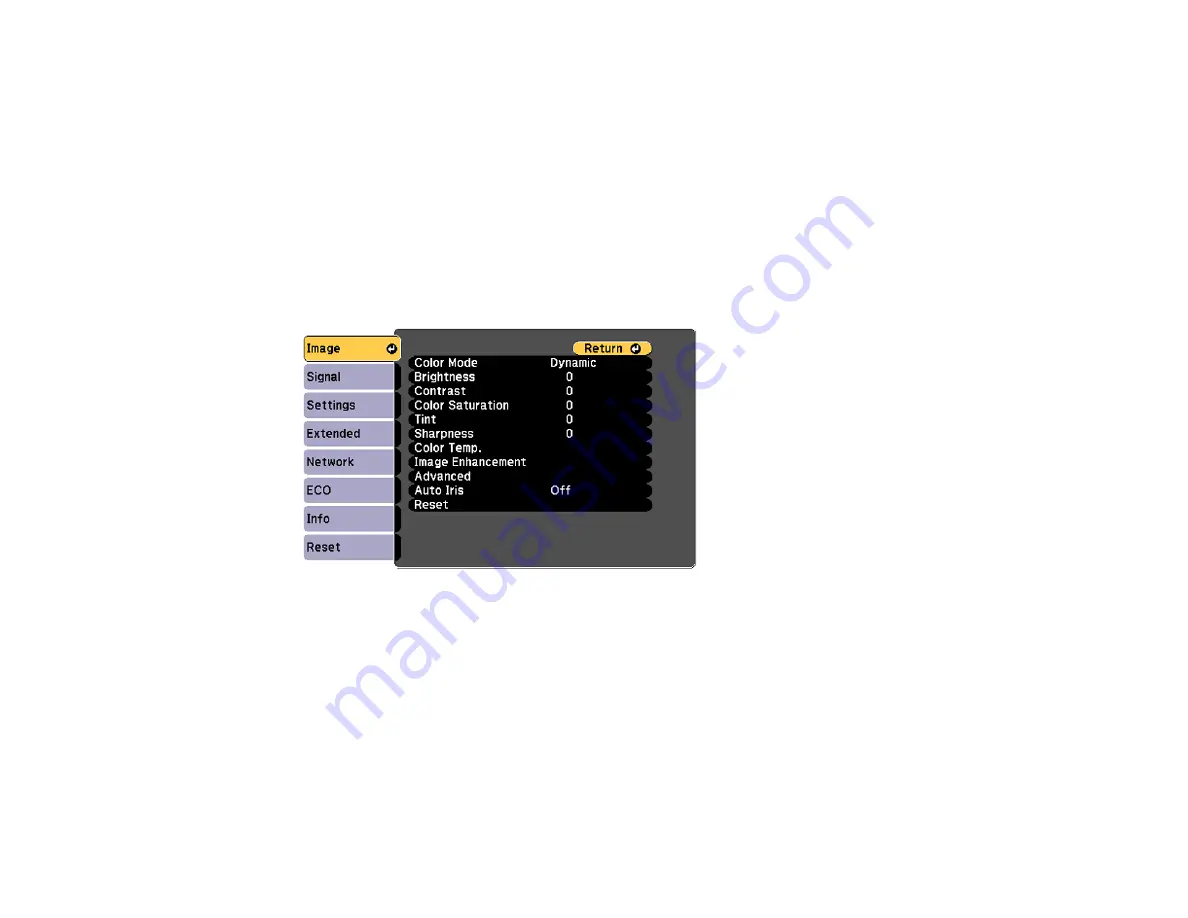
Turning On Auto Iris
In certain color modes, you can turn on the Auto Iris setting to automatically optimize the image based on
the brightness of the content you project.
1.
Turn on the projector and switch to the image source you want to use.
2.
Press the
Menu
button.
3.
Select the
Image
menu and press
Enter
.
4.
Select the
Auto Iris
setting and choose one of the following:
•
High Speed
to adjust brightness as soon as the scene changes.
•
Normal
for standard brightness adjustment.
Note:
You can set
Auto Iris
for each Color Mode that supports the feature. You cannot change the
Auto Iris
setting when you are using a
Closed Caption
setting.
5.
Press
Menu
or
Esc
to exit the menus.
Parent topic:
Содержание 696Ui
Страница 1: ...BrightLink 696Ui User s Guide...
Страница 2: ......
Страница 29: ...29 Projector Parts Remote Control...
Страница 32: ...32 6 Mounting holes Rear 1 Laser diffusion ports 2 Installation magnets Parent topic Projector Part Locations...
Страница 66: ...66 2 Unscrew and remove the cable cover if it is attached screwdriver not included...
Страница 94: ...94 2 Press one of these keystone buttons on the control panel to display the Keystone adjustment screen...
Страница 134: ...134 2 Select the Extended menu and press Enter 3 Select the Multi Projection setting and press Enter...
Страница 233: ...233 2 Slide the air filter cover latch and open the air filter cover...
Страница 237: ...237 2 Slide the air filter cover latch and open the air filter cover...
Страница 247: ...247 1 Twist off the tip of the pen to remove it...
Страница 249: ...249 1 Twist off the tip of the pen to remove it 2 Remove the soft tip...
Страница 250: ...250 3 Insert the new tip 4 Twist on the pen tip Parent topic Projector Maintenance...


