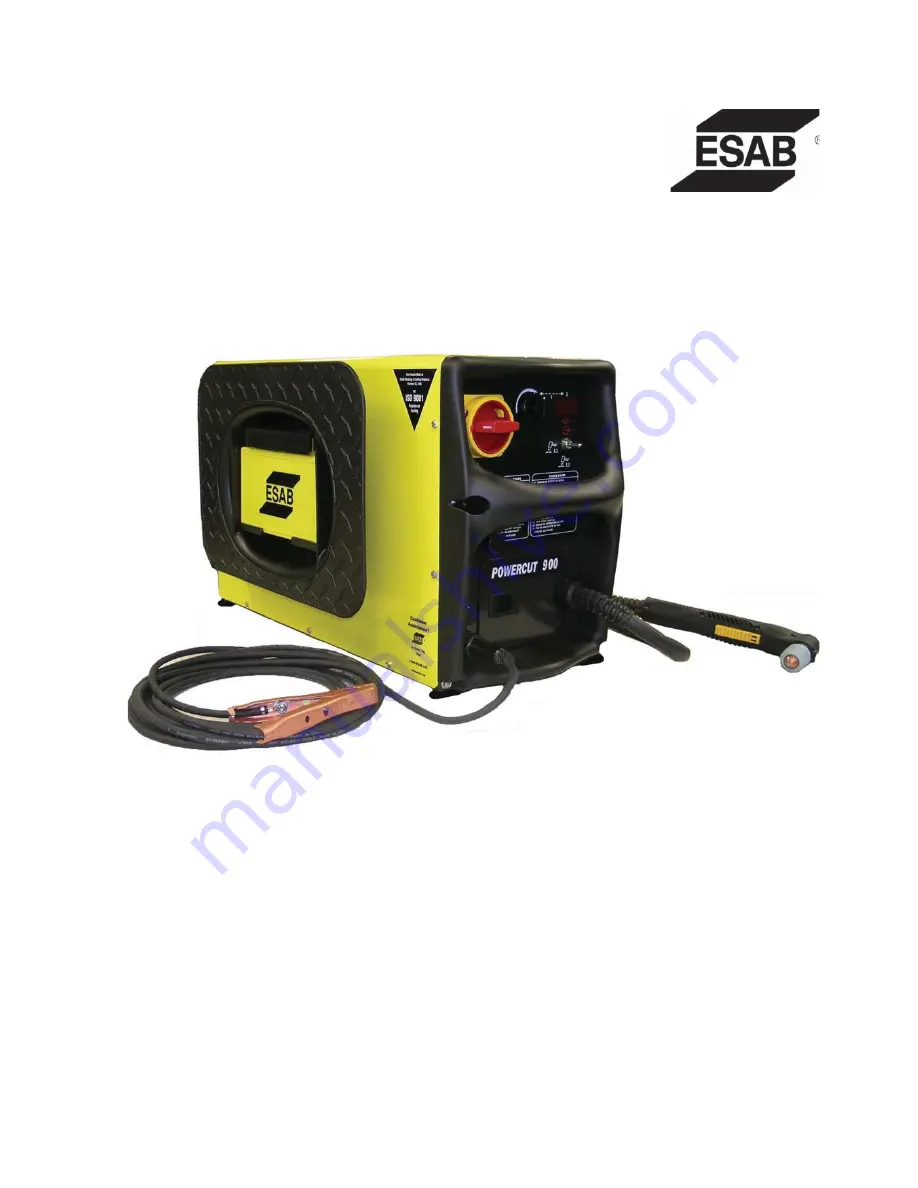
Mechanized Conversion Kit Installation Instructionsfor PC-900
0558008549
04/2009
Страница 1: ...Mechanized Conversion Kit Installation Instructions for PC 900 0558008549 04 2009...
Страница 2: ...from improper use faulty maintenance damage improper repair or alteration by anyone other than the manufacturer or a ser vice facility designated by the manufacturer BE SURE THIS INFORMATION REACHES T...
Страница 3: ...iliar with its operation location of emergency stops its function relevant safety precautions welding and or plasma cutting 2 The operator must ensure that no unauthorized person stationed within the...
Страница 4: ...r head out of the fumes Use ventilation extraction at the arc or both to take fumes and gases away from your breathing zone and the general area ARC RAYS Can injure eyes and burn skin Protect your eye...
Страница 5: ...ACLE CABLE ASSY 14 PIN 3 952002 1 TOROIDAL CORE 4 951016 1 CONNECTOR COMBICON 10 PIN 5 951005 1 CONNECTOR COMBICON 3 PIN 6 526652 1 STRAIN RELIEF SEALED 1 2 ZINC 7 2062151 1 LOCKNUT CONDUIT 1 2 8 0 75...
Страница 6: ...rewing the screws and removing the cover 2 Assemble the strain relief onto the 14 pin cable as shown and partially tighten 3 Remove the hole plug on the top right side of the back of the unit MECHANIZ...
Страница 7: ...gh the hole as shown and allow cable to hang loose Add locknut and partially tighten Add heatshrink to ca ble and leave loose before applying clamp 6 Assemble the cable clamp onto the exposed shield a...
Страница 8: ...idalcoretocableandleaveloose before installing connector Align the 10 pin connec tor with the pc board header to identify which end of the connector is pin 1 and therefore en sure proper connections o...
Страница 9: ...pc board to the frame with the screw provided Install tie wrap as shown by arrow 11 Connect the fast on connectors of the 2 wire cable to the 14 pin cable Posi tion and tie wrap toroidal core 12 Route...
Страница 10: ...connector on the existing main power control board 16 Align the 3 pin connector with the pc board header to identify which end of the connector aligns with the and on the pc board On the connector in...
Страница 11: ...a tie wrap as shown by arrow 19 Plug 5 pin jumper into J13 header Install ing this plug will change the Trigger Lock switch on the front panel for mechanized logic Refer to the mechanized section of...
Страница 12: ...ts can be tuned in by adjusting the potentiometer and making test cuts to gauge accuracy Potentiometer 21 Trim all tie wraps and replace the unit s cover Place ohm meter leads between P25 1 P25 3 Set...
Страница 13: ...13 MECHANIZED CONVERSION KIT INSTALLATION INSTRUCTIONS Mechanized Conversion Kit Schematic PC 900...
Страница 14: ...14 NOTES...
Страница 15: ...15 REVISION HISTORY...
Страница 16: ...x 843 664 5557 Hours 7 30 AM to 3 30 PM EST Repair Estimates Repair Status F WELDING EQUIPMENT TRAINING Telephone 843 664 4428 Fax 843 679 5864 Hours 7 30 AM to 4 00 PM EST Training School Information...