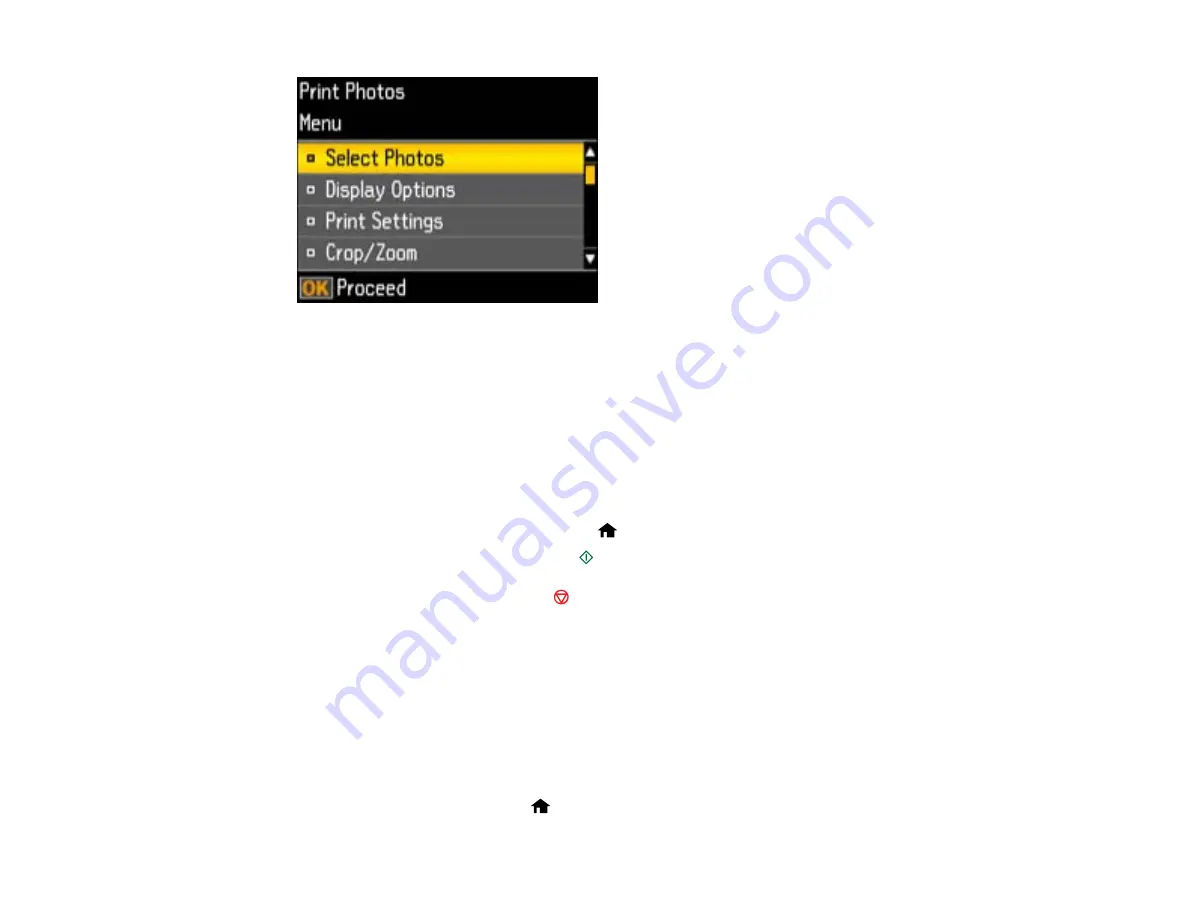
9.
Do one of the following:
• To change the selected photos and number of copies to print, select
Select Photos
, press the
OK
button, and select the necessary settings.
• To change the display setting for the LCD screen, select
Display Options
, press the
OK
button,
and select the setting you want.
• To change the print settings, select
Print Settings
, press the
OK
button, and select the necessary
settings.
• To crop or zoom into your photo, select
Crop/Zoom
, press the
OK
button, and press the
+
or
–
buttons to adjust the image area or the
home button to rotate the crop area.
10. When you are ready to print, press the
start button.
Note:
To cancel printing, press the
stop button.
Parent topic:
Cropping Photos Displayed on the LCD Screen
If you want to crop or rotate photos displayed on the LCD screen, press the down arrow button, select
Crop/Zoom
, and press the
OK
button. Then select the necessary options.
• To crop the photo, press the
+
button to move the yellow crop area inward or the
–
button to move the
crop area outward.
• To move the crop area, press the arrow buttons.
• To rotate the crop area, press the
home button.
140
Содержание XP-410
Страница 1: ...XP 410 User s Guide ...
Страница 2: ......
Страница 11: ...XP 410 User s Guide Welcome to the XP 410 User s Guide For a printable PDF copy of this guide click here 11 ...
Страница 46: ...3 Pull out the output tray and open the paper stopper on the end 4 Slide the edge guide left 46 ...
Страница 96: ...96 ...
Страница 102: ... Normal preview Click the Auto Locate icon to create a marquee dotted line on the preview image 102 ...
Страница 113: ...113 ...
Страница 132: ...Related tasks Selecting the Scan Mode Related topics Starting a Scan Selecting Epson Scan Settings 132 ...


