


Selecting Print Settings for Photos Displayed on the LCD Screen
Inserting a Memory Card
Removing a Memory Card
Printing All Photos
You can quickly select all of the photos on your memory card or other device for printing.
1.
Press the
Photo
button.
2.
Press the arrow buttons to select
Print All Photos
, then press the
OK
button.
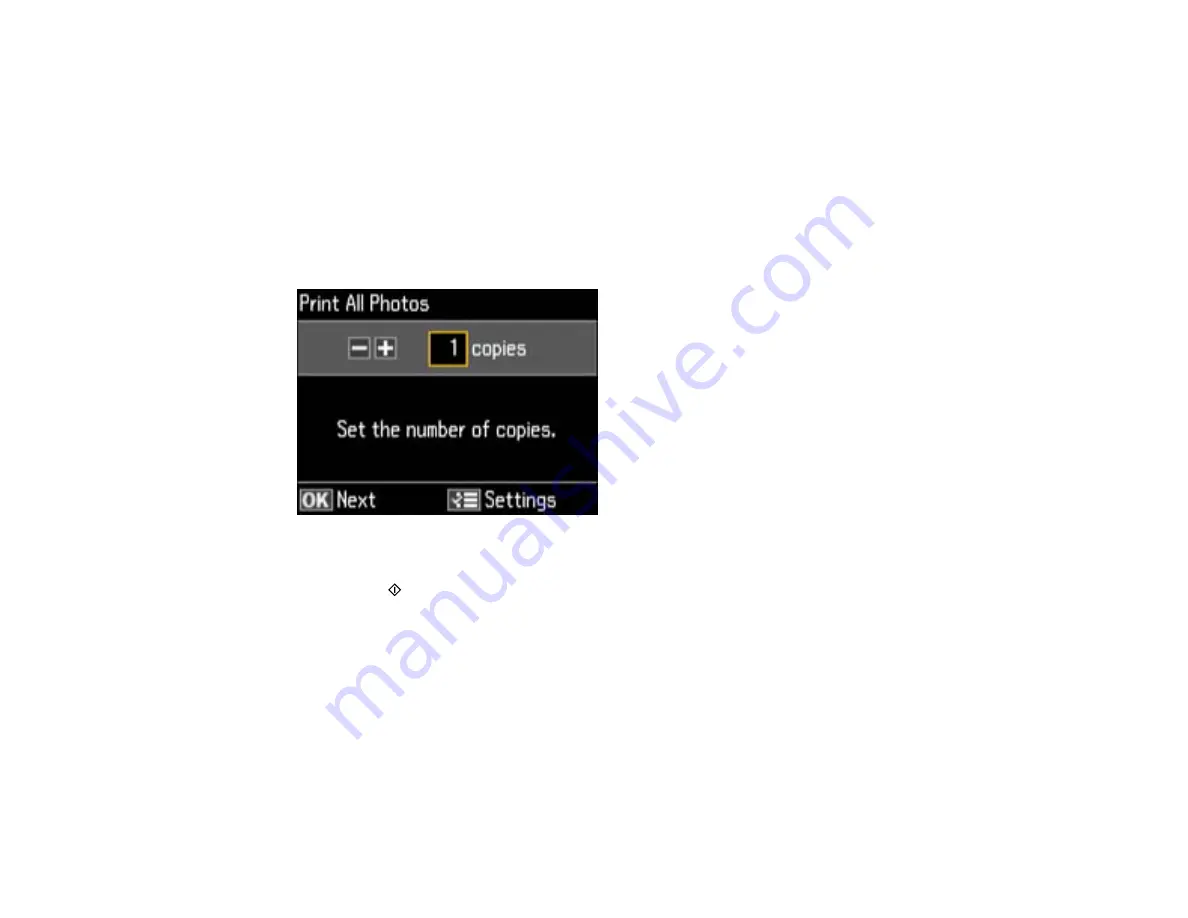
You see this screen:
3.
Do one of the following:
• Press the
Print Photo
button to immediately print one copy of all the photos on EPSON
Premium Photo Paper Glossy or EPSON Premium Photo Paper Semi-gloss in this size: 4 × 6
inches (102 × 152 mm).
• To print one copy of all the photos on a different size or type of paper, continue with the next step.
• To print more than one copy of all the photos, press the
+
or
–
button to select the number (up to
99).
4.
Press the
OK
button to see a preview of the photos that will print.
You see a screen like this:
205
Содержание WorkForce WF-7510
Страница 1: ...WorkForce WF 7510 WF 7520 User s Guide ...
Страница 2: ......
Страница 13: ...WorkForce WF 7510 WF 7520 User s Guide Welcome to the WorkForce WF 7510 WF 7520 User s Guide 13 ...
Страница 29: ...4 Slide the edge guide shown below to your paper size 29 ...
Страница 33: ...1 Close the output tray if necessary 2 Pull out the paper cassette and remove the paper cassette cover 33 ...
Страница 34: ...3 Slide the edge guides outward 4 Slide the edge guide shown below to your paper size 34 ...
Страница 38: ...1 Close the output tray if necessary 2 Pull out the paper cassette and remove the paper cassette cover 38 ...
Страница 39: ...3 Slide the edge guides outward 4 Slide the edge guide shown below to your envelope size 39 ...
Страница 57: ...Related topics Copying Scanning 57 ...
Страница 121: ... Normal preview Click the Auto Locate icon to create a marquee dotted line on the preview image 121 ...
Страница 131: ...131 ...
Страница 171: ...You see this window 5 Select Fax Settings for Printer You see this window 171 ...
Страница 182: ...6 Select your product if necessary 7 Select Speed Dial Group Dial List You see this window 182 ...
Страница 237: ...Related topics Loading Paper 237 ...
Страница 256: ...256 ...
Страница 261: ...261 ...
Страница 287: ...Caution Do not touch the flat white cable inside the printer 4 Lower the scanner unit 287 ...
Страница 289: ...7 Open the rear cover and remove any additional jammed paper 289 ...
Страница 292: ...3 Remove any jammed paper inside the cassette 4 Remove any paper jammed inside the cassette slot 292 ...
Страница 296: ...5 Remove any jammed paper 296 ...
Страница 297: ...6 Lower the document cover and close the ADF cover 7 Carefully remove the jammed paper 297 ...


